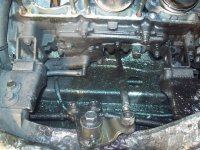
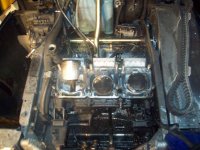
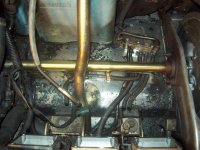
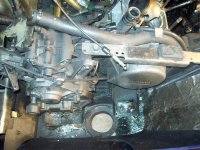
Well, here is my very first project i ever do. Summer project, looking to rebuild the motor, poilish the engine compartment and polish the motor. powder coat the pipes, and re polish the pipes as well.
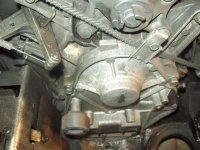
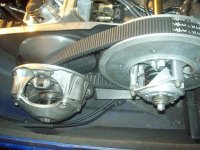
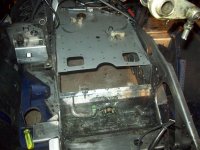
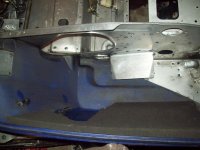
Here are some pictures of the disamble.
Here are some pictures of the disamble.
Attachments

cumminsdsl
New member
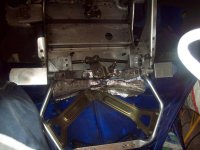
holy $hit, looks like your oil pump exploded,lol. Im in the process of cleaning mine up to while waiting for the new muscle to arrive. painting all my parts aluminum.and polishing the rest.
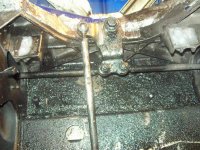
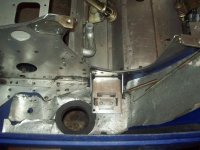
It was mostly like that when i bought it, but i had exaust leaks because of one of the pistons not firing. I've even found pine cones under neath the motor.

super1c
Super Moderator
Keep at it and keep us posted!
speedvision33
New member
nice sled man
Well did more work to the sled over the last few days, just put in a few hours.
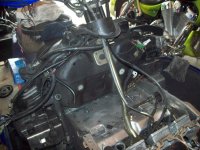
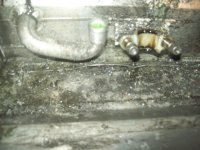
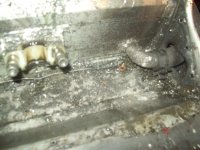
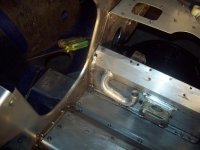
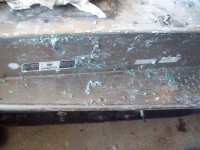
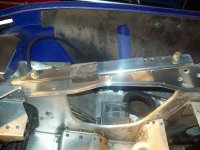
Heres what i did, pulled a part of the tunnel out because the front heat exchanger was lose and bent up(you will be able to see in some of the pictures). so ill have to re-revit it down. It also will help to do the clean up. And, ill did a bit of cleaning in the tunnel.
Heres what i did, pulled a part of the tunnel out because the front heat exchanger was lose and bent up(you will be able to see in some of the pictures). so ill have to re-revit it down. It also will help to do the clean up. And, ill did a bit of cleaning in the tunnel.
Attachments

More pictures
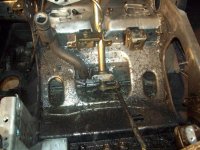
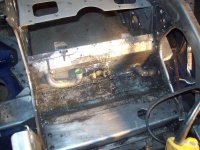
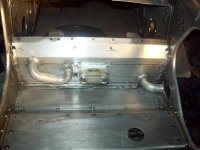
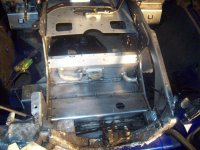
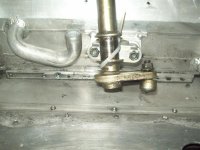
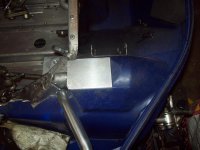
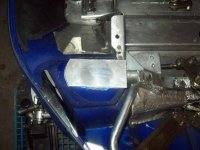
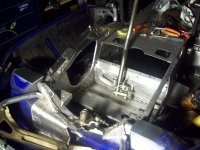
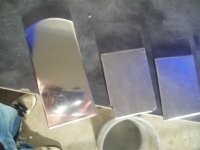
Cleaned it up abit more. Made some alluminum plates to prevent the plastic from melting, and on the other side to match. Also painted the front bumper bracket Silver.
Cleaned it up abit more. Made some alluminum plates to prevent the plastic from melting, and on the other side to match. Also painted the front bumper bracket Silver.
Attachments


valin
Active member
The zip tie on the steering post a nice touch ")
valin said:The zip tie on the steering post a nice touch
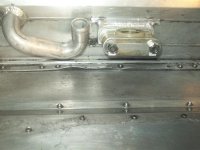
You like that eh, i thouht it would be stronger aha. Its just there till i can get that metal peice back in. And Sorry for stealing your aluminum idea for under nearth the pipes.
valin
Active member
No worries, Eric. You steal whatever you like.

Looking good.It would spice it up a little if you put the viper aluminum bumper supports in instead of the rusty steel one's.You can make them fit very easily.
pro116 said:Looking good.It would spice it up a little if you put the viper aluminum bumper supports in instead of the rusty steel one's.You can make them fit very easily.
I though about it,But i also thouht to paint mine silver. What are those viper brackets worth?
speedvision33
New member
nice man
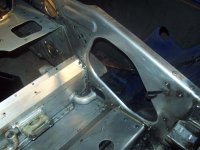
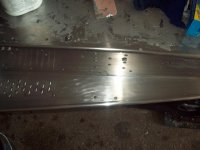
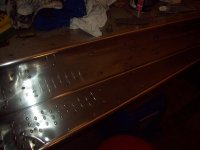
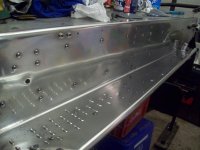
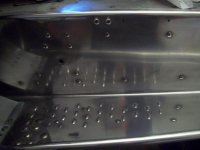
Did some work, Been doing some cleaning , sanding and polishing. Its nice to see it starting to get together even if its just the beginning of it. So I cleaned up the exaust plates i made for the belly pan, sanded it up to 2000 grit then polished it. And also removed the paint off my tunnel and started sanding at 400 grit and also worked my way up 2000 grit. Then, will alot of elbow grease, i polished it by hand. Hopefully ill buy some buffing wheels and get my tunnel like a mirror.
Here are some pictures, sorry they are abit dark, i have to wait till its nice and sunny outside in order to get a nice clear pictures.
Here are some pictures, sorry they are abit dark, i have to wait till its nice and sunny outside in order to get a nice clear pictures.
Attachments


Sideshowrob
New member
Looks great, keep at it, and keep taking pics.