Dmace
New member
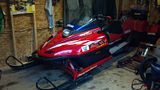
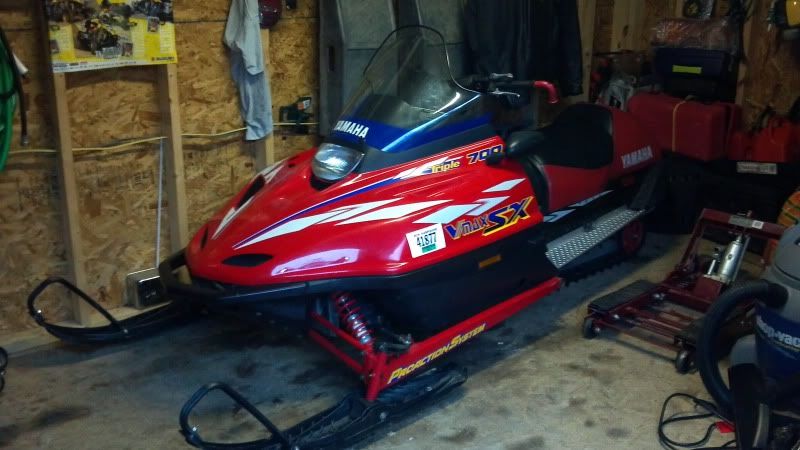
A few days ago I picked up this nice example of a great sled with a rough history. It's a 1997 V-MAX 700SX triple with 6800 miles and sold as a "project sled". I was able to get it for $500 knowing it at least needed a front heat exchanger and some suspension work. I was also given a complete Winderosa top end gasket kit and a used heat exchanger.
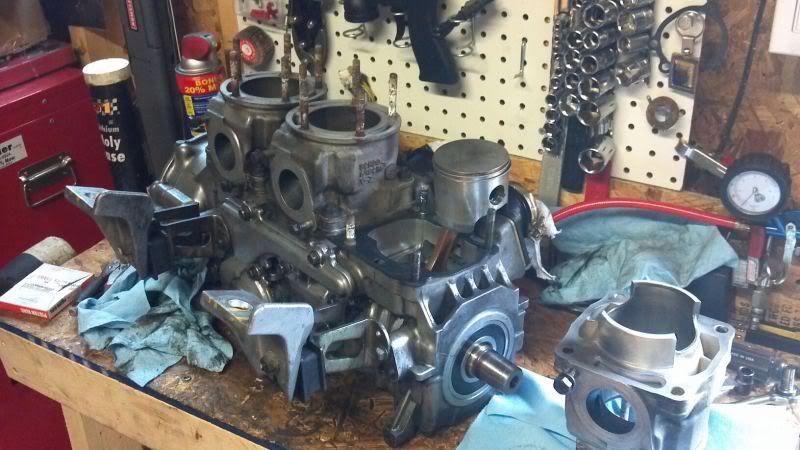
The sled started and drove but had a rough idle and no coolant due to a hole in the heat exchanger. So I got it home and immediately did a compression test. 100 psi in all three cylinders cold and 110 psi in all three with a warm engine. It's not bad but I'm certainly replacing the rings as the pistons are stock and in great shape plus the cylinder walls look brand new.
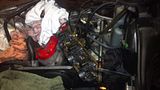
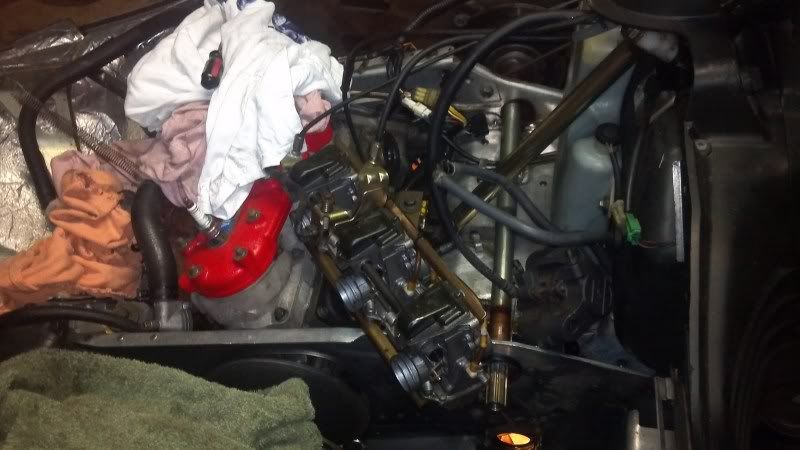
Today I spent a few hours doing a tear down to get to the exchanger. I removed the skid and track along with the air box, carbs, exhaust, secondary and chain case. The bearings in the chain case look very good but the jack shaft bearing will either be replaced or repacked. It's good but a little dry.

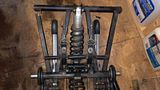
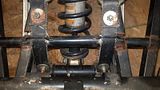
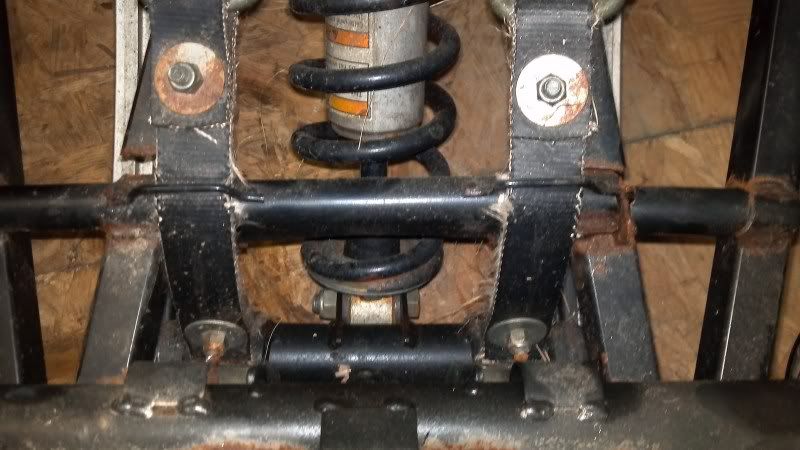
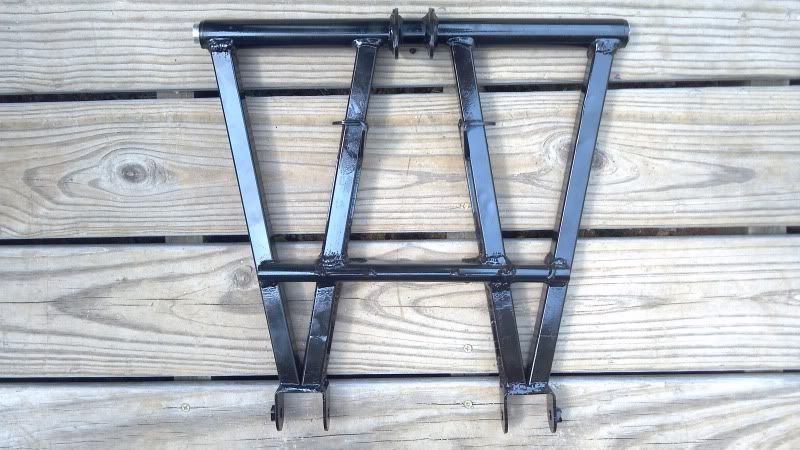
The "W" arm in the rear skid is broken in four places which is probably what led to the stud going through the exchanger. I have a mig welder so I'll just re-weld and re-enforce those areas. Also, the rear idler wheels are a little loose so I'll replace the bearings in those as well. The other wheels and shocks in the rear skid are in very good shape.
The track was in better shape than I thought so I may keep it. It's a "Polaris Camoplast" that looks near new with decent studs but has two pull through's.
So I am now ordering some parts such as rings, bearings, sliders, and possibly the clutch puller. I made my own with a bolt and rod for my old Polaris' but it's a different thread for the Yamaha clutch.
More pictures and updates will come as I have time to work on it. Luckily I have a good 3 months until the snow falls.!")
Click the thumbnails for larger images.
The sled started and drove but had a rough idle and no coolant due to a hole in the heat exchanger. So I got it home and immediately did a compression test. 100 psi in all three cylinders cold and 110 psi in all three with a warm engine. It's not bad but I'm certainly replacing the rings as the pistons are stock and in great shape plus the cylinder walls look brand new.
Today I spent a few hours doing a tear down to get to the exchanger. I removed the skid and track along with the air box, carbs, exhaust, secondary and chain case. The bearings in the chain case look very good but the jack shaft bearing will either be replaced or repacked. It's good but a little dry.
The "W" arm in the rear skid is broken in four places which is probably what led to the stud going through the exchanger. I have a mig welder so I'll just re-weld and re-enforce those areas. Also, the rear idler wheels are a little loose so I'll replace the bearings in those as well. The other wheels and shocks in the rear skid are in very good shape.

The track was in better shape than I thought so I may keep it. It's a "Polaris Camoplast" that looks near new with decent studs but has two pull through's.

So I am now ordering some parts such as rings, bearings, sliders, and possibly the clutch puller. I made my own with a bolt and rod for my old Polaris' but it's a different thread for the Yamaha clutch.
More pictures and updates will come as I have time to work on it. Luckily I have a good 3 months until the snow falls.
Click the thumbnails for larger images.

Nice pics, wish they were a bit bigger though. Where are you purchasing the OEM parts?
Dmace
New member
I can upload larger images if your interested in any in particular. I take them with my Droid X2 with 10mp camera so the images are huge.
I'm shopping around this weekend for parts, right now it looks like either PortYamaha to support an advertiser here or PartsPak for their low prices.
I'm shopping around this weekend for parts, right now it looks like either PortYamaha to support an advertiser here or PartsPak for their low prices.
The pics work for me, click on the thumbnails.

staggs65
Moderator
it can be tough getting a broken w-arm properly trued up again when re-welding. they've usually been tweaked in other areas when broke like that. It's not impossible but you'll need to make sure it's all still squared up. another option is to by a used one that isn't broke and reinforce it.
norwegian said:The pics work for me, click on the thumbnails.
Yep, good point, slipped my mind!
super1c
Super Moderator
Nice project. I would also look at a new W-arm then reinforce that one. They are a dime a dozen around here. Post in the wanted adds, some guys are even selling all done and ready to go!
Dmace
New member
I was thinking about that as I'm sure it bent before breaking. I've been looking online (ebay, craigslist, etc...) and found a few for around $100 so I may just get another and reinforce it.staggs65 said:it can be tough getting a broken w-arm properly trued up again when re-welding. they've usually been tweaked in other areas when broke like that. It's not impossible but you'll need to make sure it's all still squared up. another option is to by a used one that isn't broke and reinforce it.
Thanks, I will look around here for a replacement as well.super1c said:Nice project. I would also look at a new W-arm then reinforce that one. They are a dime a dozen around here. Post in the wanted adds, some guys are even selling all done and ready to go!
A couple of bucks
VIP Member
He hasn't been on here since May, but SXR700BANDIT does W arm blasting/repair/reinforcment. Welding that looks like it could be in text books.
http://www.totallyamaha.net/forums/showthread.php?t=74245&highlight=arm+repair
Mabey you could e-mail or IM him through his profile.
http://www.totallyamaha.net/forums/member.php?userid=5232
http://www.totallyamaha.net/forums/showthread.php?t=74245&highlight=arm+repair
Mabey you could e-mail or IM him through his profile.
http://www.totallyamaha.net/forums/member.php?userid=5232
Dmace
New member
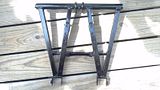
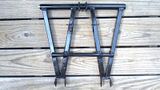
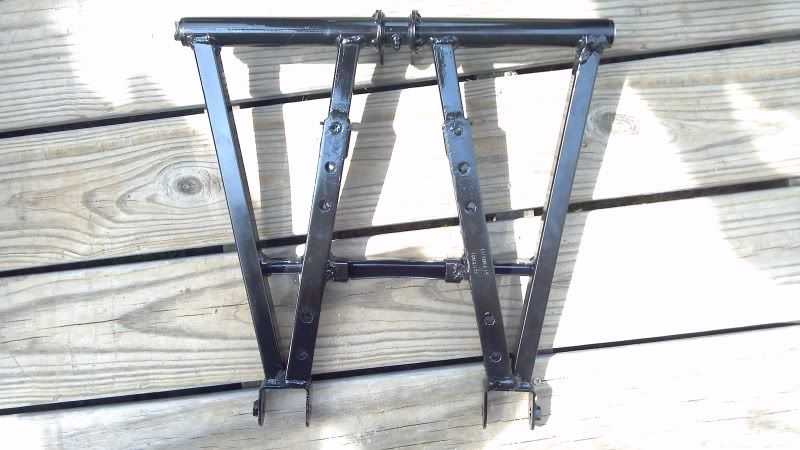
I finally got around to bead blasting the W arm and welding/re-enforcing it. Hopefully, this weekend I'll have time to remove the engine and install the new heat exchanger as well. I received the new hyfax, piston rings, plugs, misc hoses and clamps, rivets for heat exchanger, etc... in the mail yesterday. I ordered from Xtreme Powersports and was pleased with the pricing and shipping time.
It may not be pretty since I used good scrap metal I had laying around for extra strength but I guarantee it's straight and solid. I can't imagine what it would take to break it now. Let me know what you think, don't worry about saying my welding stinks I'm no expert just a weekend warrior.
As always, click the images above for the larger versions.
FJViper
New member
Looks great Dmace. Although I dont think you'll have any issues with the way you've done it, I know most guys on here weld gussets in between the outside arms just for a little extra reinforcement.Heres a link I came across that has some quality pics as to what I mean. Sounds like you're really making some progress on the project. Great job!
On a side note, Stay safe today, looks like were in for a major ****storm of weather.
ahttp://www.totallyamaha.net/forums/showthread.php?t=67686&highlight=arm+welding
On a side note, Stay safe today, looks like were in for a major ****storm of weather.
ahttp://www.totallyamaha.net/forums/showthread.php?t=67686&highlight=arm+welding
Dmace
New member
That's a good idea, Thanks for the link.
Dmace
New member
Well I got my clutch puller the other day so I spent some time pulling the clutch off and the engine out so I can get to the heat exchanger. I ordered the clutch puller from my local Yamaha dealer which sells the EPI version which seems to be of high quality. The clutch was certainly on their and took a 24" breaker bar and a couple of light taps from a hammer to get it off and the clutch puller looks unharmed so it's pretty rugged.

Once I got to the heat exchanger, I noticed the spare given to me with the sled is not the same so I spent the night trying to find the correct one online. It's discontinued just about everywhere but I found one website (XtremePowersports.com the one I ordered all the other parts from) had one listed and it was only $107. Hopefully they come through and send the right one.
For now, I'm just cleaning and inspecting until the new heat exchanger comes in.
Dmace
New member
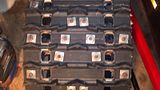
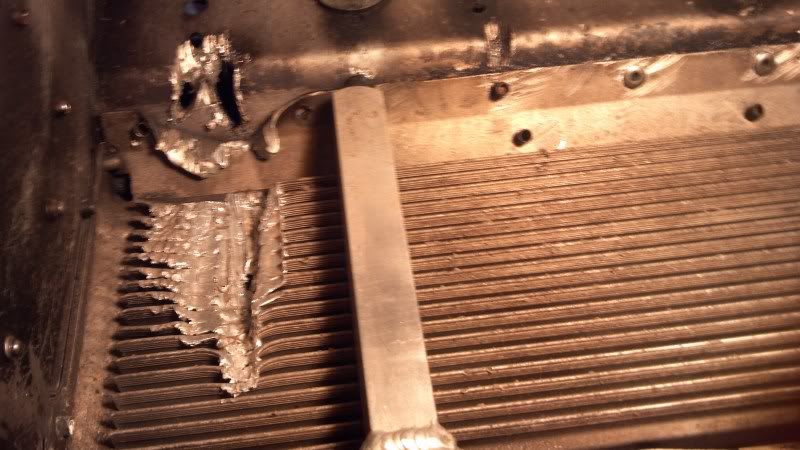
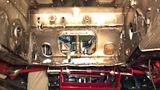
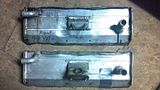
Spent some time cleaning and finally removed the heat exchanger. What a pain in the rear that was. I didn't think there was so many rivets until I started drilling them out, I think I counted about 24 rivets. I'm glad I ordered the new one as the spare that was given to me was the correct fit but was an original before the redesign and you can tell it's skinnier and has less fins for cooling. Also, the heat exchanger I took off the sled is the newer design and has been replaced before. It actually had some writing on it that said 99-Yam. So this isn't the first replacement.
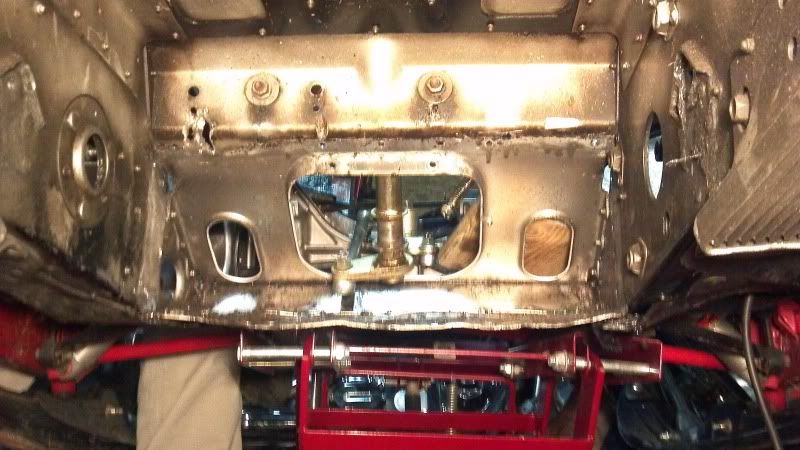
Under the tunnel:
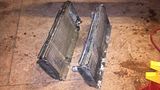
The newer exchanger that was on the sled on top vs the spare I was given on bottom:
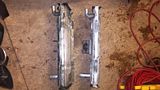
Newer on left, older version on right:
Under the tunnel:
The newer exchanger that was on the sled on top vs the spare I was given on bottom:

Newer on left, older version on right:


A couple of bucks
VIP Member
As long as it's out and another is about to going in, before you put that sucker in there, run some CLR or LIME AWAY type of product through it to get rid of any build-up and maximize thermal exchange.
Dmace
New member
I actually ordered a brand new OEM heat exchanger and am just waiting for it to arrive now. I will probably clean the spare and sell it though. I've been using Simple Green to clean the engine bay and it's worked really well so far.A couple of bucks said:As long as it's out and another is about to going in, before you put that sucker in there, run some CLR or LIME AWAY type of product through it to get rid of any build-up and maximize thermal exchange.
A couple of bucks
VIP Member
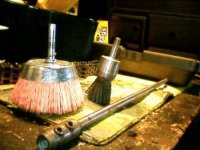
When I cleaned mine out for the first time, it was a chore to say the least. I used these nylon bristle brushes, whatever degreaser I had(probably Simple Green) and ALOOOOOOOT of HOT, HOT, HOT water that came off of the stove. Boiling infact.
The nylon bristle brushes attached to the 12" drill extension that I had for the exhaust can mod. Everything was picked up at our local FARM & FLEET.
Cleaned the livin DOG SH!T out of the belly area. Looked new infact.
The nylon bristle brushes attached to the 12" drill extension that I had for the exhaust can mod. Everything was picked up at our local FARM & FLEET.
Cleaned the livin DOG SH!T out of the belly area. Looked new infact.
Attachments
Dmace
New member
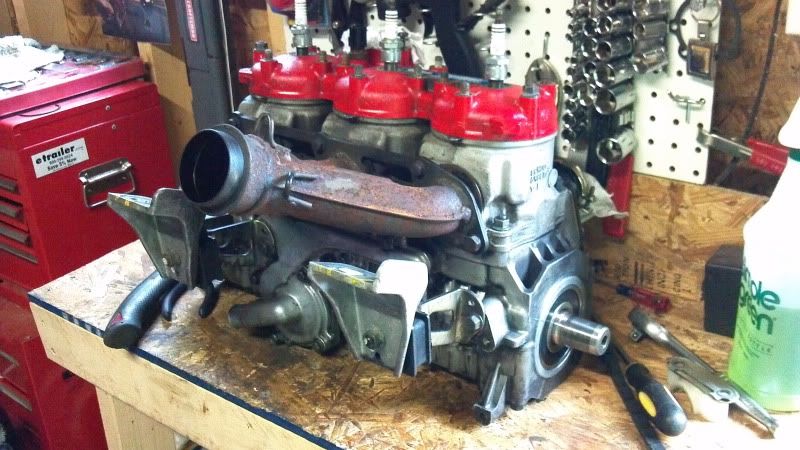
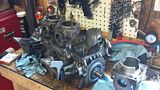
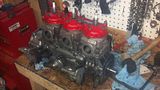
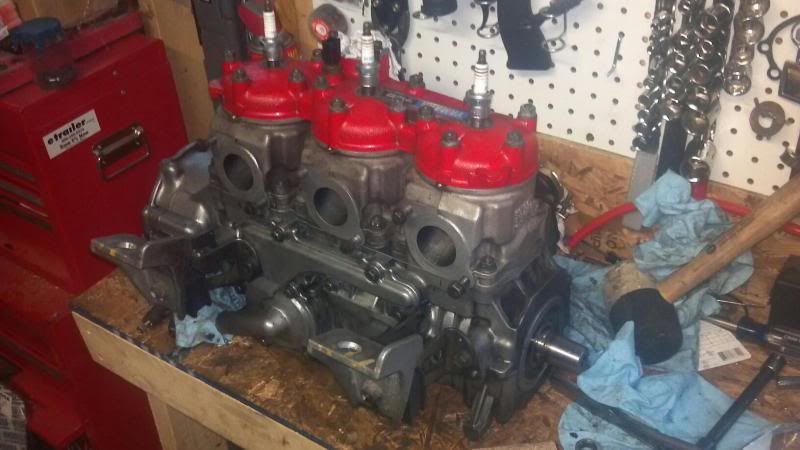
Got a little more done today, cleaned up the engine and removed the jugs. Then replaced the rings and cleaned the heads which all looked very good. Put it back together with the new gasket kit from Vanderosa and some blue lock-tite.
My order for the new heat exchanger was cancelled due to out-of-stock (no surprise...) so I tested the spare I got with the sled and it held water so I installed it. We'll see how well it holds up.
Next step is more cleaning, installing the engine, stripping and painting the exhaust, cleaning the carbs, and putting it all back together.
FJViper
New member
Making good progress. Lookin good!