TY Vmax Vintage Build Stage 8

MrSled

Site Admin/CEO
Staff member
Joined
Apr 25, 2003
Messages
9,859
Age
54
Location
Weston WI
Website
www.totallyamaha.com
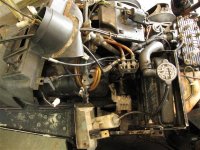
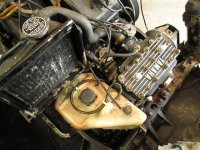
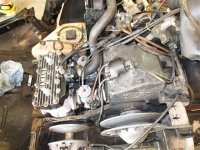
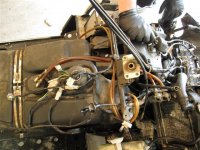
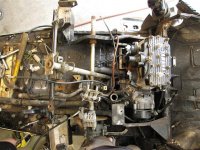
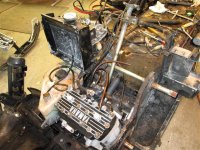
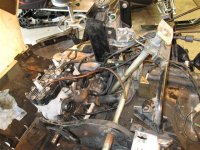
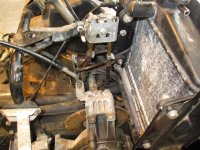
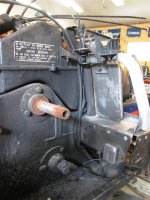
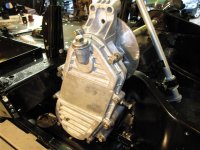
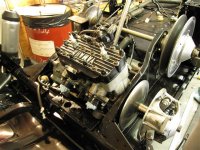
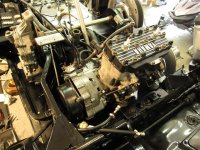
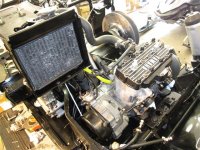
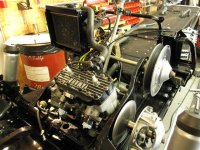
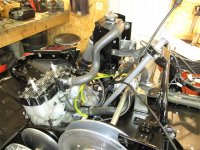
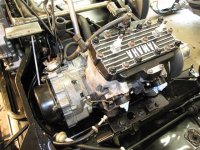
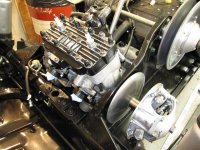
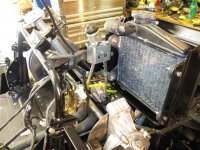
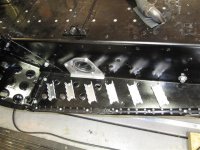
Here is some of the latest Photos from the build. I busted butt along with my son and my brother trying to get the older motor out of the donor sled and into the new chassis. It was quite a mess and many hours of cleaning scrubbing and painting. I also have one final picture of the traction brackets that I added to the tunnel from last week. The pictures show 1000 words ...LOL

Here is the motor coming out of the donor.
 

Attachments

  • Stage8 (1).JPG
    Stage8 (1).JPG
    76.1 KB · Views: 179
  • Stage8 (2).JPG
    Stage8 (2).JPG
    81.4 KB · Views: 157
  • Stage8 (3).JPG
    Stage8 (3).JPG
    82.6 KB · Views: 182
  • Stage8 (4).JPG
    Stage8 (4).JPG
    79.4 KB · Views: 162
  • Stage8 (5).JPG
    Stage8 (5).JPG
    75.4 KB · Views: 158

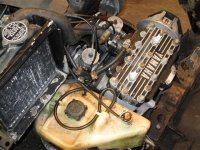
more pics of the the donor..
 

Attachments

  • Stage8 (10).JPG
    Stage8 (10).JPG
    79.8 KB · Views: 170
  • Stage8 (9).JPG
    Stage8 (9).JPG
    88.6 KB · Views: 162
  • Stage8 (8).JPG
    Stage8 (8).JPG
    83.9 KB · Views: 166
  • Stage8 (7).JPG
    Stage8 (7).JPG
    77.3 KB · Views: 162
  • Stage8 (6).JPG
    Stage8 (6).JPG
    80.4 KB · Views: 157
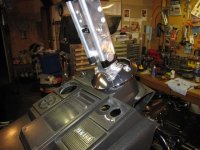
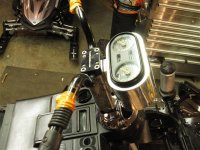
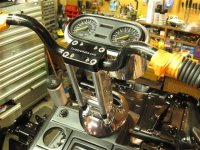
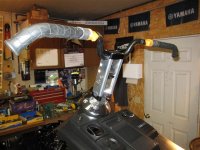
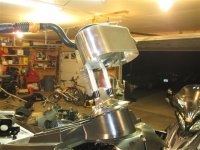
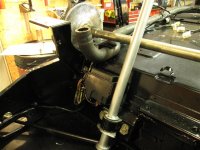
Here is the Apex trim ring fitted onto the vmax tank cover. The top 3/4" of the cover ring was removed to allow it to clear. Also added the Lake Affects riser with trim ring, 1/4 shim and the Lake Affects custom Gauge pod..... looks awesome!!!
 

Attachments

  • Stage8 (11).JPG
    Stage8 (11).JPG
    81.7 KB · Views: 151
  • Stage8 (12).JPG
    Stage8 (12).JPG
    61.3 KB · Views: 187
  • Stage8 (15).JPG
    Stage8 (15).JPG
    67.2 KB · Views: 171
  • Stage8 (14).JPG
    Stage8 (14).JPG
    82.1 KB · Views: 176
  • Stage8 (13).JPG
    Stage8 (13).JPG
    61.3 KB · Views: 172
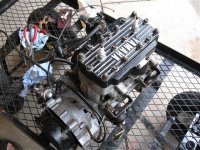
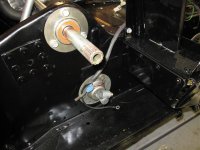
1 more of the gauge pod, jackshaft set in, chain case and washed motor.
 

Attachments

  • Stage8 (16).JPG
    Stage8 (16).JPG
    60.1 KB · Views: 167
  • Stage8 (20).JPG
    Stage8 (20).JPG
    86.5 KB · Views: 188
  • Stage8 (19).JPG
    Stage8 (19).JPG
    65.6 KB · Views: 158
  • Stage8 (18).JPG
    Stage8 (18).JPG
    69 KB · Views: 174
  • Stage8 (17).JPG
    Stage8 (17).JPG
    66.2 KB · Views: 170
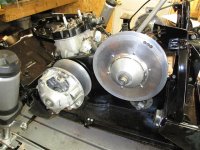
CDI, Clutches,speedo side.... and you can finally see the new motor going in place!!
 

Attachments

  • Stage8 (21).JPG
    Stage8 (21).JPG
    61.7 KB · Views: 157
  • Stage8 (22).JPG
    Stage8 (22).JPG
    53.4 KB · Views: 151
  • Stage8 (23).JPG
    Stage8 (23).JPG
    70.8 KB · Views: 164
  • Stage8 (24).JPG
    Stage8 (24).JPG
    84.3 KB · Views: 154
  • Stage8 (25).JPG
    Stage8 (25).JPG
    86.3 KB · Views: 155
more of the motor, fuel pumps, and radiator.
 

Attachments

  • Stage8 (30).JPG
    Stage8 (30).JPG
    88.2 KB · Views: 169
  • Stage8 (28).JPG
    Stage8 (28).JPG
    86.5 KB · Views: 161
  • Stage8 (29).JPG
    Stage8 (29).JPG
    81.6 KB · Views: 172
  • Stage8 (27).JPG
    Stage8 (27).JPG
    85.7 KB · Views: 166
  • Stage8 (26).JPG
    Stage8 (26).JPG
    81.2 KB · Views: 170
I appolagize for my ignorance, but what exactly are you building? What year, model etc???
 
It is nice but we had a small problem with the lighting coil... it went out just as I finished the motor install.... may have to repair that later after Hay Days.


Back
Top