02YamiSxViper
New member
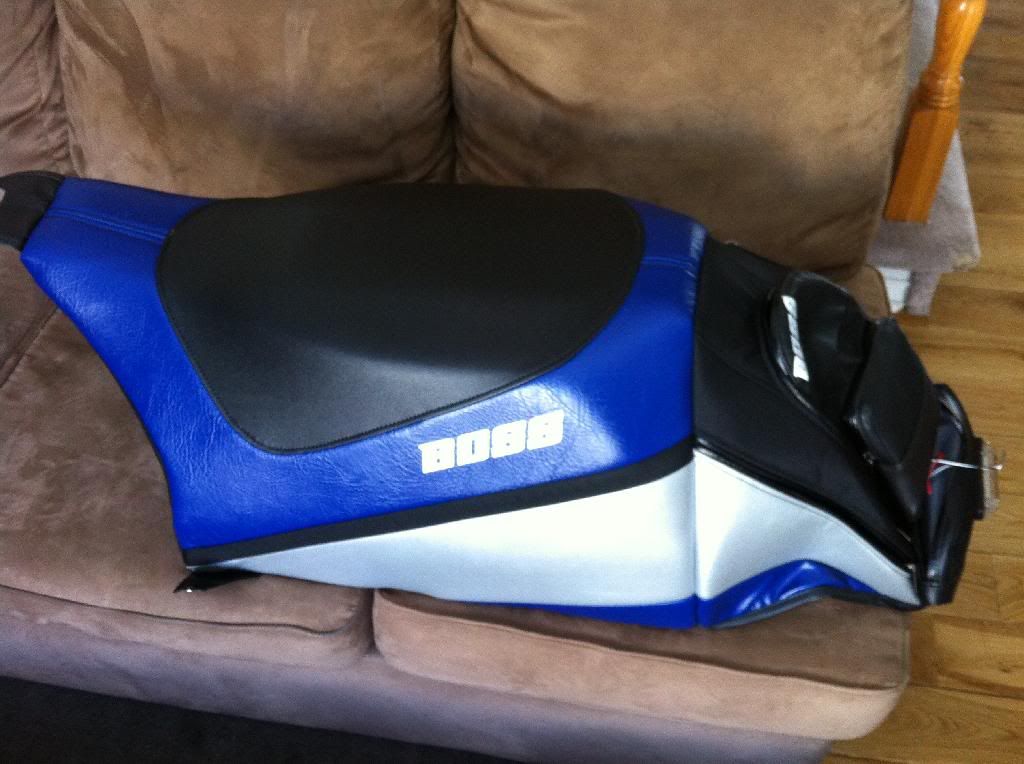
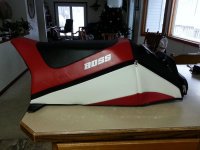
Well my knees feel like absolute crap after a day of riding. I suspected it was the seat being too low. After doing some reading I came to the conclusion that if I wanted to keep my Viper I'd have to buy a BOSS seat. I guess Boss was recently sold so the new owners are doing their best to turn the image around. Steve offered to lower my price a bit if I took some pictures of the install and showcased to quality that Boss has to offer. So here goes, my Boss seat arrived today in a Boss box. Here are some pictures of the Seat out of the box.

The Guys at the post office had the seat sitting on the trunk end so the back is a little squished, that'll straighten out at install.
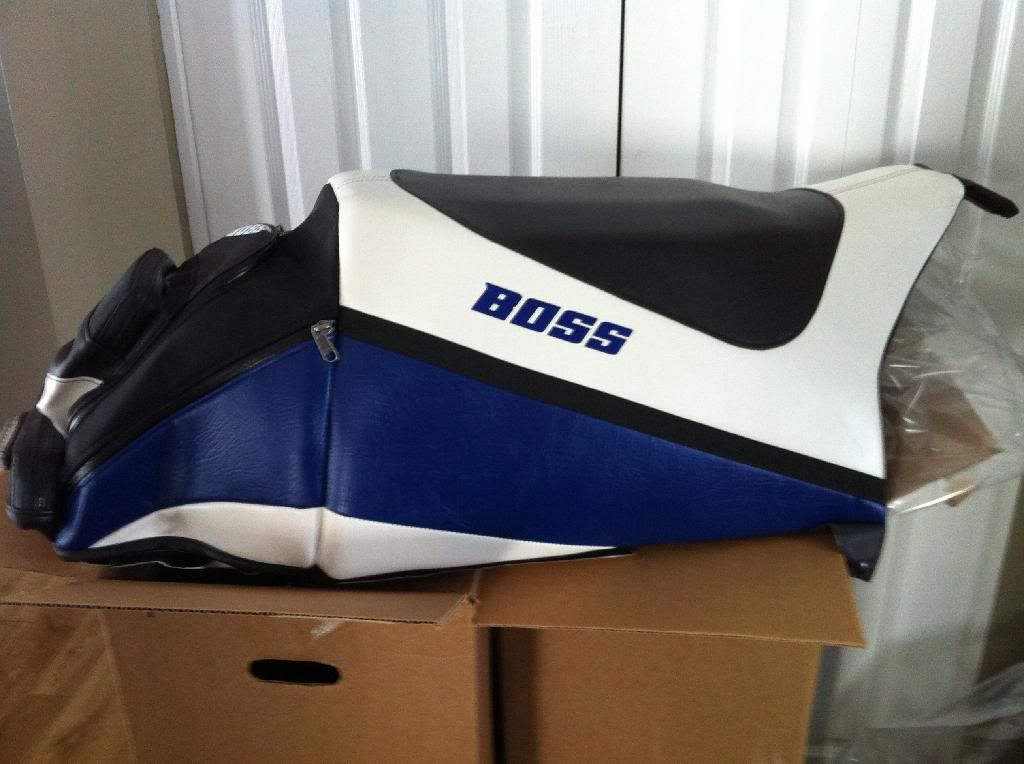
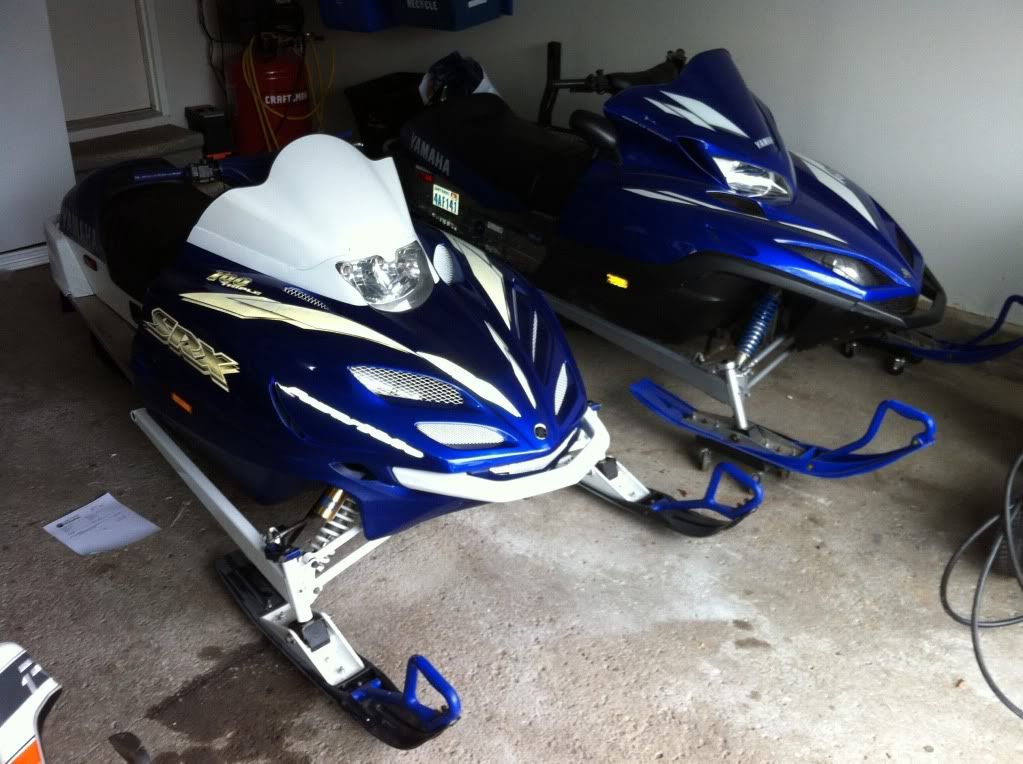
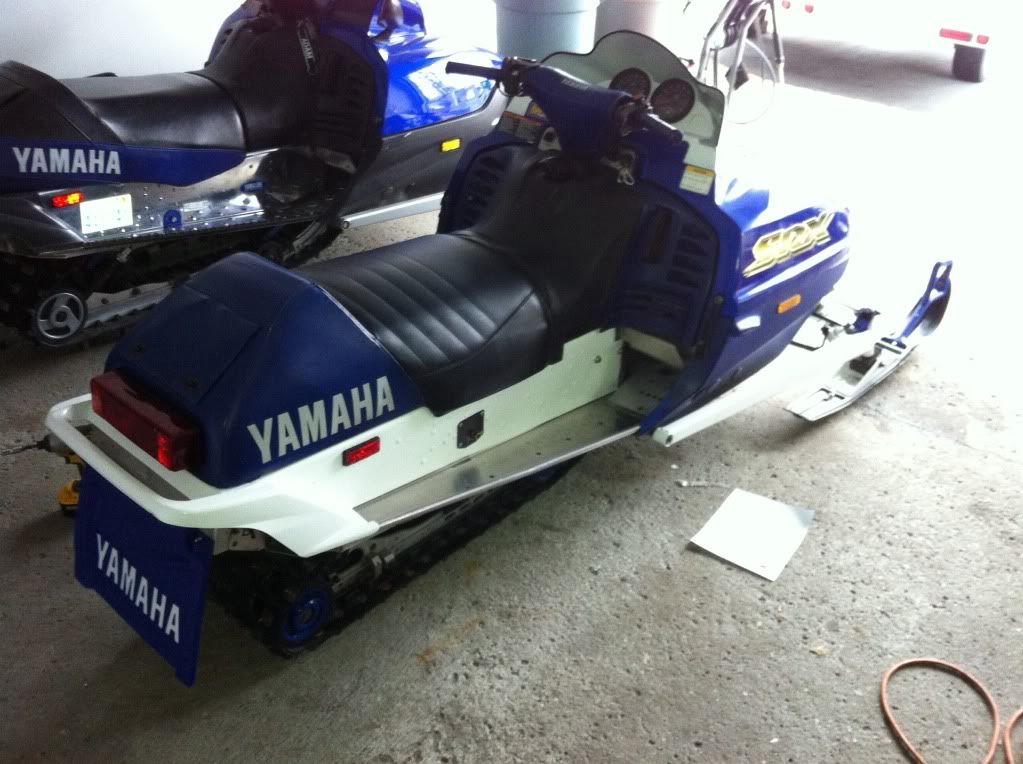
This is the wifes seat for her SRX which has a Blue and White scheme.
The First step was to Wire up the tail light, I got the boss LED. I just clipped the connector off my seat, this way it'll be just as easy to pull the Boss seat off. I used solder and shrink tubing, I used to install stereos at Best Buy this was the strongest method. Below is just a picture of me extending the wires. I only had one color of wire though.
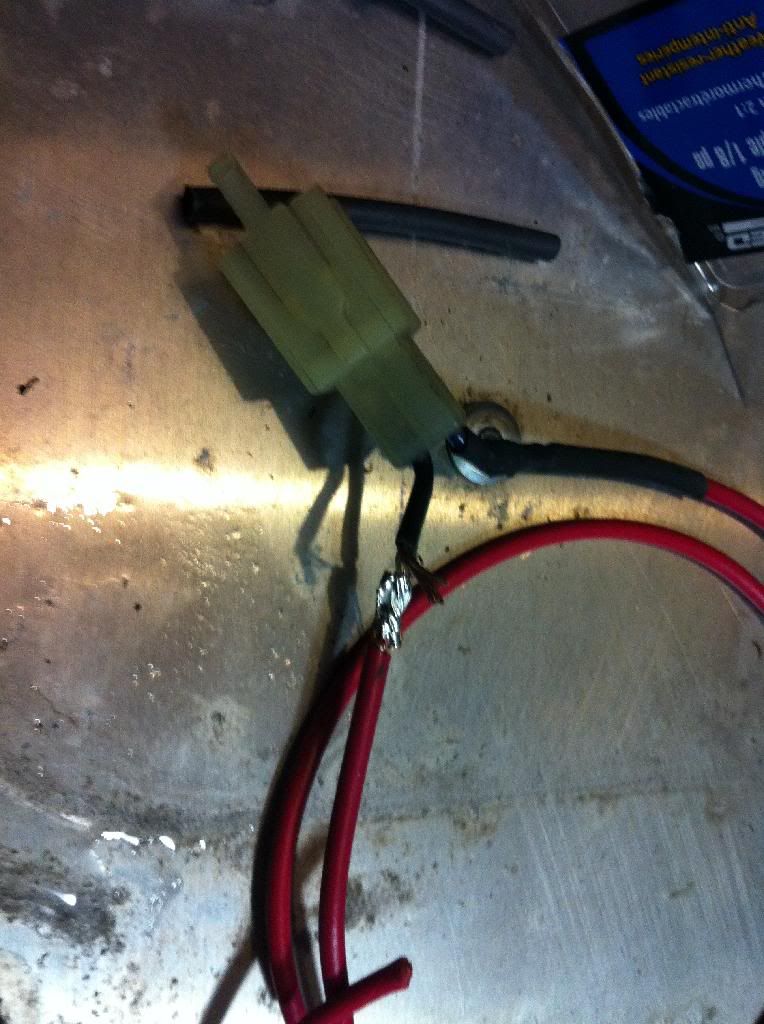
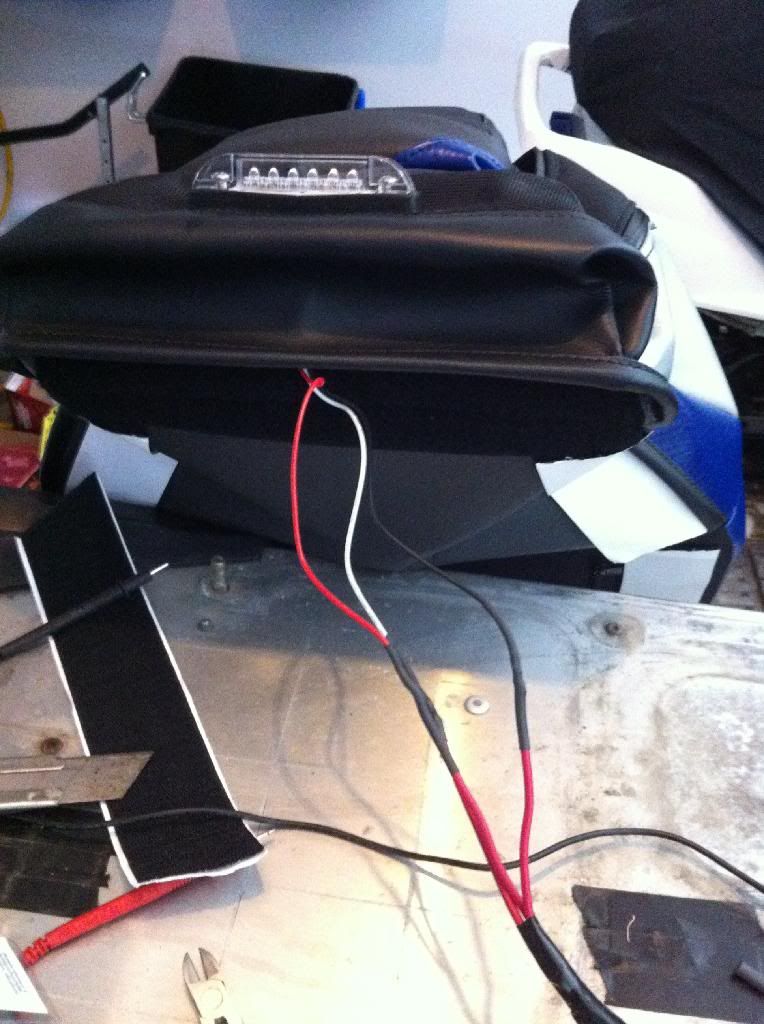
Here I connected the extended wires to the Boss led. I used a multimeter to find which wire was which. I set multimeter to 20DC and tested the wires. You'll get 13ish volts when the sled is running from one wire, This goes to black on the Boss led. You'll get 13ish from another wire when the brake is pressed, this connects the the Boss red wire and the last wire is ground that goes to white on the Boss led.
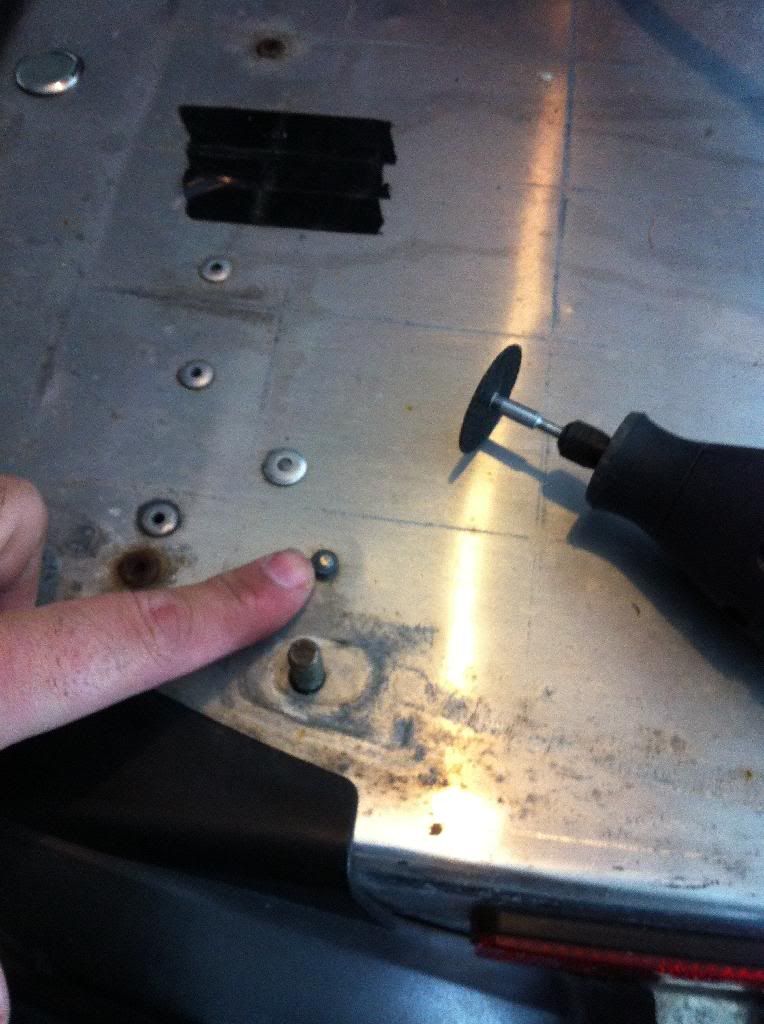
Next step is to grind off the rivets holding the bolt that holds the original seat on, I used my Dremel but I suppose anything could work.
The next step is to clean the tunnel so the supplied velcro that holds the boss seat on can stick to the tunnel (Sorry about the awful quality)

Next I pulled a little bit of the backing paper off the velcro, aligned the seat to the desired position and pulled the paper out allowing the velcro to stick to the tunnel. Looking back now you could probably just pull the velcro off the seat and install it on the tunnel without the seat attached. Whatever gets it done.
Lastly the snaps. Put the seat around the filler neck of the gas tank and pull the snap flaps as far down and forward as they'll go.
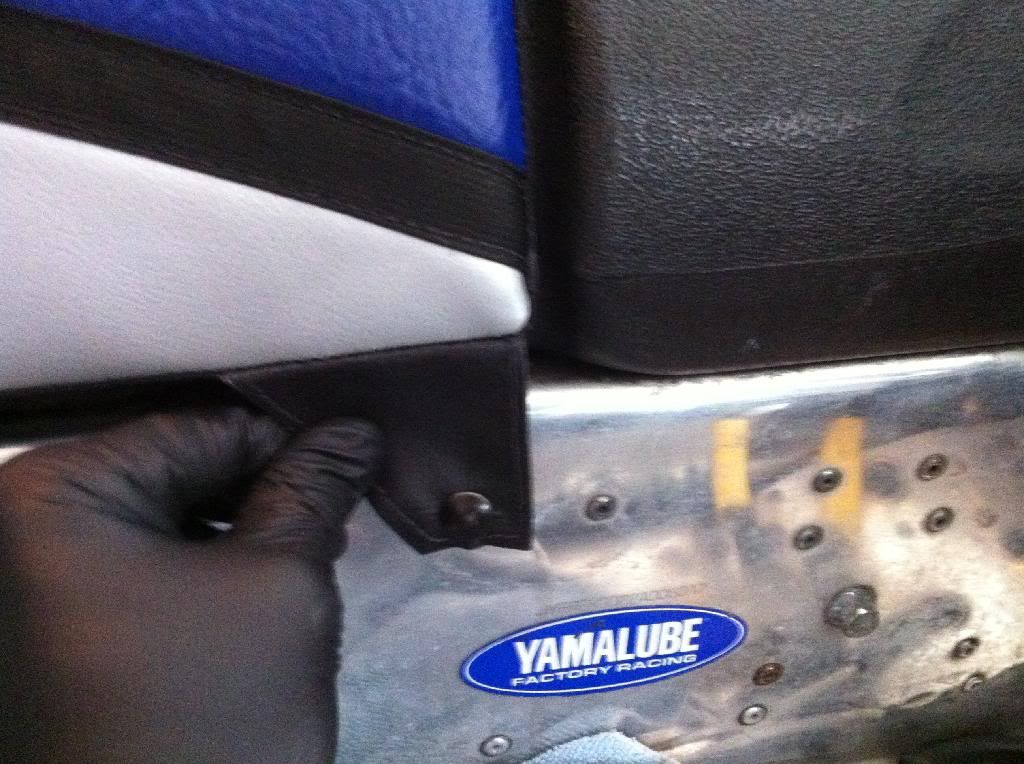
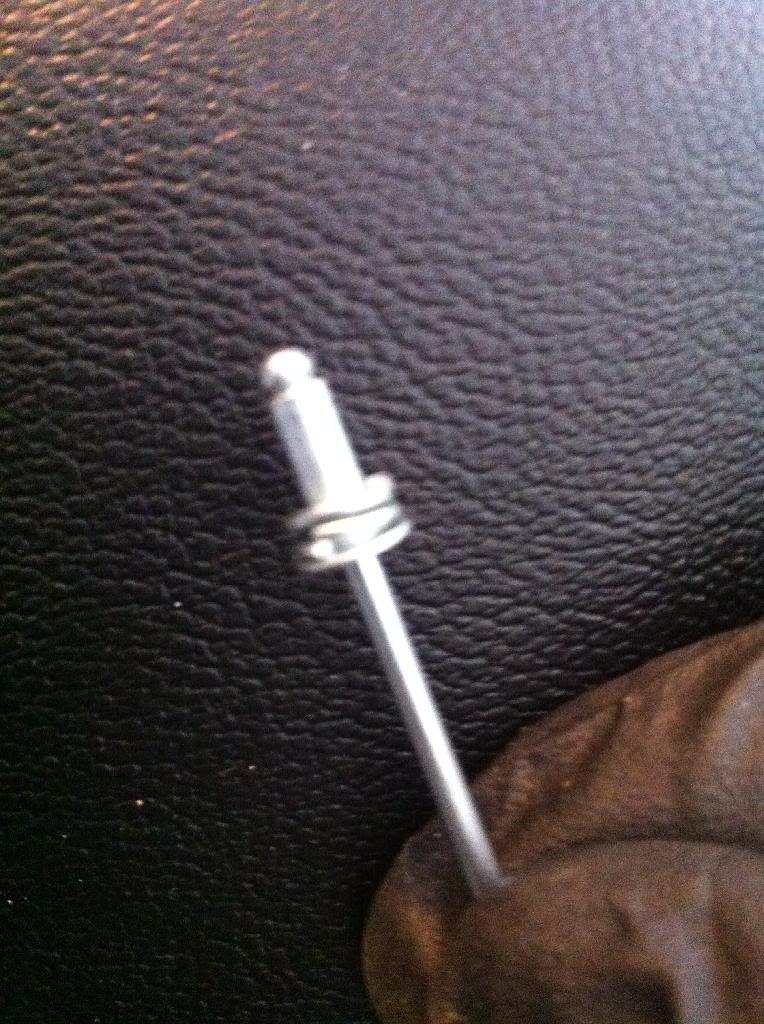
Lastly attach the supplied rivets and snaps. This is where I ran into an issue but some might not. My rivet gun was too big, so the end of the gun wouldn't sit inside the snap, making the rivet really loose. So my fix was to install a bunch of tiny washers on the rivet to sit inside the snap and allow it to be tight to the tunnel. Photo below illustrates my snap fix, like I said this may or may not be needed depending on your rivet gun.
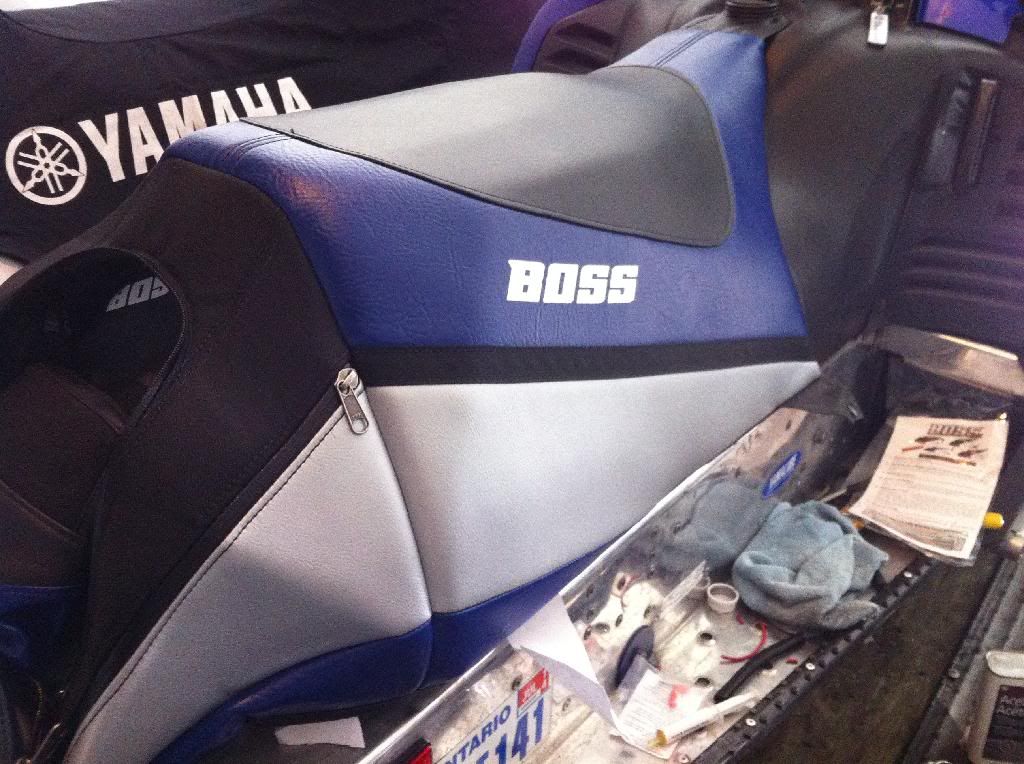
And here is the Finished product. The seating position is 100x better. The seat is made with quality materials and the pockets seem great. The only gripe I have is that the fit against the gas tank could be tighter.
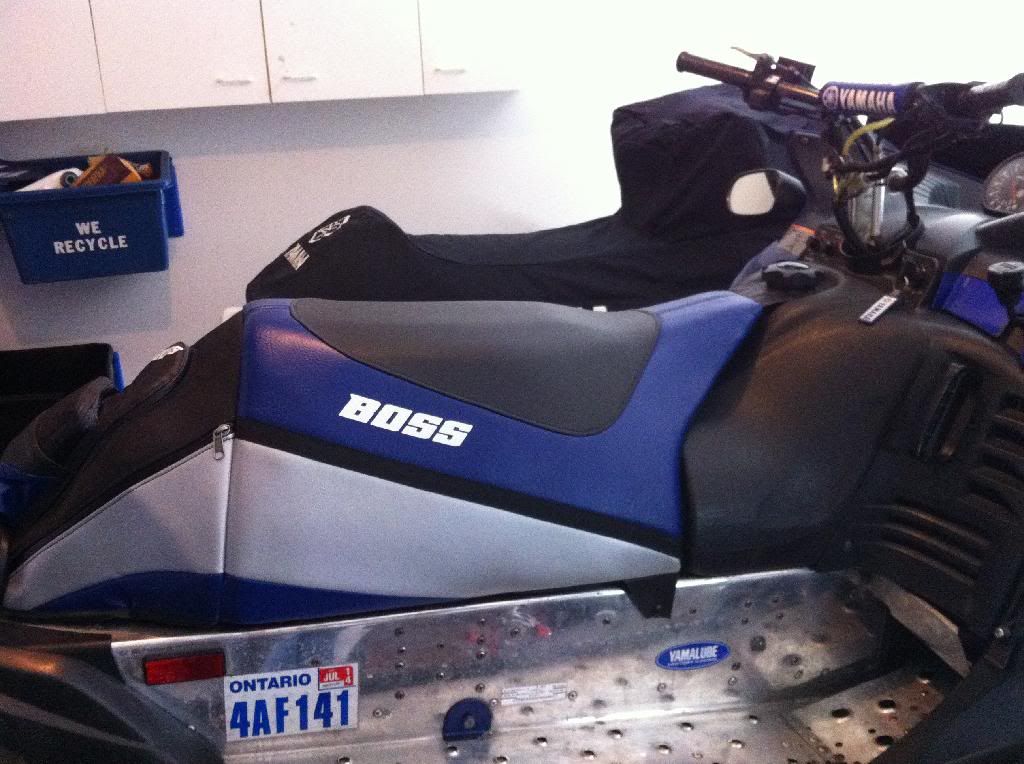
Now the seat is ready to go, just in time for Summer!
The Guys at the post office had the seat sitting on the trunk end so the back is a little squished, that'll straighten out at install.
This is the wifes seat for her SRX which has a Blue and White scheme.
The First step was to Wire up the tail light, I got the boss LED. I just clipped the connector off my seat, this way it'll be just as easy to pull the Boss seat off. I used solder and shrink tubing, I used to install stereos at Best Buy this was the strongest method. Below is just a picture of me extending the wires. I only had one color of wire though.
Here I connected the extended wires to the Boss led. I used a multimeter to find which wire was which. I set multimeter to 20DC and tested the wires. You'll get 13ish volts when the sled is running from one wire, This goes to black on the Boss led. You'll get 13ish from another wire when the brake is pressed, this connects the the Boss red wire and the last wire is ground that goes to white on the Boss led.
Next step is to grind off the rivets holding the bolt that holds the original seat on, I used my Dremel but I suppose anything could work.
The next step is to clean the tunnel so the supplied velcro that holds the boss seat on can stick to the tunnel (Sorry about the awful quality)
Next I pulled a little bit of the backing paper off the velcro, aligned the seat to the desired position and pulled the paper out allowing the velcro to stick to the tunnel. Looking back now you could probably just pull the velcro off the seat and install it on the tunnel without the seat attached. Whatever gets it done.
Lastly the snaps. Put the seat around the filler neck of the gas tank and pull the snap flaps as far down and forward as they'll go.
Lastly attach the supplied rivets and snaps. This is where I ran into an issue but some might not. My rivet gun was too big, so the end of the gun wouldn't sit inside the snap, making the rivet really loose. So my fix was to install a bunch of tiny washers on the rivet to sit inside the snap and allow it to be tight to the tunnel. Photo below illustrates my snap fix, like I said this may or may not be needed depending on your rivet gun.
And here is the Finished product. The seating position is 100x better. The seat is made with quality materials and the pockets seem great. The only gripe I have is that the fit against the gas tank could be tighter.
Now the seat is ready to go, just in time for Summer!
max17ime
New member
Very nice! I've always liked the way the BOSS seats look, but heard too many negative comments. I would probably get one for the right price however, who knows!
02YamiSxViper
New member
I heard negative reviews about them when they were made in China. Now they're made in Utah so the quality is great and the customer service is good too. Steve was awful at answering emails but always answered the phone. Like I said only complaint is the space between the tank and seat.
Sent from my iPhone using Tapatalk
Sent from my iPhone using Tapatalk


We have 4 Boss seats. All are great quality. 2 have over 6,000 miles on the seats. Absolultly love them. Our Viper Boss seat is the newest, it has well over 3,000 miles Still looks new. Al
Agpetro
Member
I heard negative reviews about them when they were made in China. Now they're made in Utah so the quality is great and the customer service is good too. Steve was awful at answering emails but always answered the phone. Like I said only complaint is the space between the tank and seat.
Check it out, you're seat looks just like mine but blue. Lol Both seats look sweet!! I have the same space between the tank as you do. Mine looks like it has closed up a bit after riding almost 1,000 miles this season. Steve was good at customer service with me, I always called never did email him. By the way after every ride you will have to clean the white on the seats. Mine gets some black on the front left side of the seat by the snap every ride.
Attachments
02YamiSxViper
New member
Check it out, you're seat looks just like mine but blue. Lol Both seats look sweet!! I have the same space between the tank as you do. Mine looks like it has closed up a bit after riding almost 1,000 miles this season. Steve was good at customer service with me, I always called never did email him. By the way after every ride you will have to clean the white on the seats. Mine gets some black on the front left side of the seat by the snap every ride.
Yea her whole sled is white and blue so cleaning it frequently is par for the course, thats her job tho. I got silver to match the trailing arms and radius rods on my viper. Hopefully winter holds out here another week so I can give it a try.
sandmann
New member
- Joined
- Dec 11, 2013
- Messages
- 15
How much didcyou have to give for that seat I want one for my srx just been scared to pull the trigger just haven't had the greatest reviews in the past
Sent from my SPH-L900 using Tapatalk
Sent from my SPH-L900 using Tapatalk
Agpetro
Member
How much didcyou have to give for that seat I want one for my srx just been scared to pull the trigger just haven't had the greatest reviews in the past
Sent from my SPH-L900 using Tapatalk
Mine was $540 with shipping. There was an extra $35 dollars for the custom color panels. Would be $35 dollars less if I just went with all black. If you want the LED trail light installed in the seat that is another $35 also. I didnt have one put in mine since I went another route. I would say the seat is well worth the money. I had my dad ride my sled one day (I have a 03 viper and he has a 02 vmax)and he loved how it rode. I think he almost wants to get a boss seat for his vmax. He said it felt like a whole different sled compared to his. I cant stand riding his sled anymore. Feels like my knees are above my head. It took a month to get my seat because they make to order but the quality of this seat is crazy. Very well put together and a lot of extra room for storage. I actually put some leftovers in the back of mine a few weeks ago and still a lot of room left. I would say if you want one go get one. You will love the seat!!
02YamiSxViper
New member
Mine was $540 with shipping. There was an extra $35 dollars for the custom color panels. Would be $35 dollars less if I just went with all black. If you want the LED trail light installed in the seat that is another $35 also. I didnt have one put in mine since I went another route. I would say the seat is well worth the money. I had my dad ride my sled one day (I have a 03 viper and he has a 02 vmax)and he loved how it rode. I think he almost wants to get a boss seat for his vmax. He said it felt like a whole different sled compared to his. I cant stand riding his sled anymore. Feels like my knees are above my head. It took a month to get my seat because they make to order but the quality of this seat is crazy. Very well put together and a lot of extra room for storage. I actually put some leftovers in the back of mine a few weeks ago and still a lot of room left. I would say if you want one go get one. You will love the seat!!
Paid less for mine then that but I bought 2 and I told Steve I'd do an install/review for him. Like I said when Jim owned the company there was lots of bad things said about boss. They are trying to turn that image around, his customer service is great and it only took about 2 1/2 weeks to stitch the seat together. The led is decently bright and should do the job, there have been complaints about its strength in the real world I guess we will see. If it's not bright enough I'll just switch them out, no biggie. All in all they look great and I'm excited to ride and not have sore knees.
Agpetro
Member
Paid less for mine then that but I bought 2 and I told Steve I'd do an install/review for him. Like I said when Jim owned the company there was lots of bad things said about boss. They are trying to turn that image around, his customer service is great and it only took about 2 1/2 weeks to stitch the seat together. The led is decently bright and should do the job, there have been complaints about its strength in the real world I guess we will see. If it's not bright enough I'll just switch them out, no biggie. All in all they look great and I'm excited to ride and not have sore knees.
You're knees will not be sore at all. Hope you get a few rides in trying the seat out.

What is the number to contact this Steve guy lol? I actually called the number from boss's website today on the way home to inquire about purchasing a seat for my vmax; my dad may also want one. Anyway.... The lady who answered the phone informed me they were not affiliated with boss anymore and that they had moved. No contact info either. Is was offputting to say the least lol. I remember reading that they had a new owner but thought that was old news. I think we need a group buy or something. It seems like a lot of people on this site want or our purchasing these!?!
02YamiSxViper
New member
This is the number he texted me when I bought mine. 801-877-5789
I filled out the form online and he called me 24 hours later. I didn't answer because I was at work, so he sent me a text asking me to call him at that number. Weird they haven't changed the number on their website yet.
Sent from my iPhone using Tapatalk
I filled out the form online and he called me 24 hours later. I didn't answer because I was at work, so he sent me a text asking me to call him at that number. Weird they haven't changed the number on their website yet.
Sent from my iPhone using Tapatalk
Maine_2JZ
New member
This is the wifes seat for her SRX which has a Blue and White scheme.
wow, i was just planning on going with an all black setup but that white blue black scheem looks really good...
i bet white trailing arms and white handguards and skid plate and you get one custom looking sled...
any more pics of your wife sled setup?
wow, i was just planning on going with an all black setup but that white blue black scheem looks really good...
i bet white trailing arms and white handguards and skid plate and you get one custom looking sled...
any more pics of your wife sled setup?
02YamiSxViper
New member
Here's the pic of her sled before the seat. Note it's been crashed a few times since this pic..... Queue jokes of woman drivers. Looks pretty good with the seat on now
Sent from my iPhone using Tapatalk
Sent from my iPhone using Tapatalk
yamahasrxman
Member
Nice looking seats and sleds which site did you order from? I can only find them in all black.