got-wood
New member
1970 SS 338 custom.
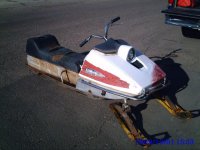
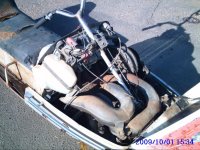
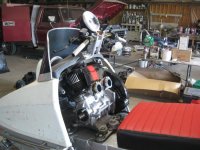
Hey guys, I have posted this elsewhere online and have been trying to find time to post it here. I found this complete SS 338 in a salvage yard and had to take it home. I began planning the restoration and things just sorta got out of hand. I love injecting modern tech into older machines. The build is well under way but I will start posting pictures from the start to the hopeful finish. Its not quite done, but I'm getting there. So here goes, this is what I found.
Hey guys, I have posted this elsewhere online and have been trying to find time to post it here. I found this complete SS 338 in a salvage yard and had to take it home. I began planning the restoration and things just sorta got out of hand. I love injecting modern tech into older machines. The build is well under way but I will start posting pictures from the start to the hopeful finish. Its not quite done, but I'm getting there. So here goes, this is what I found.
Attachments
Last edited:
got-wood
New member
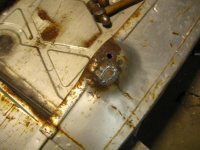
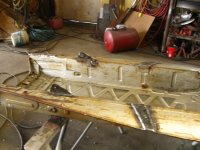
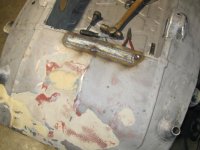
Once stripped some basic repairs then reinforcement was in order since I did not want to do this again. Now I wish I had made them larger for more room inside. Hindsight is so great! lol. It had been hit in the left front and repaired before though the repair left something to be desired. There was a LOT of work not shown fixing the chassis. and certain places had to be patched.
Attachments
got-wood
New member
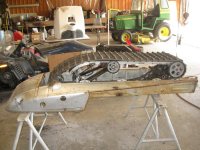
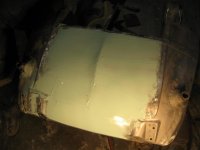
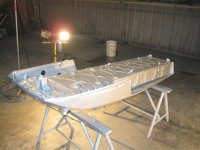
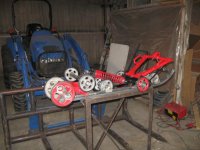
It was around this time that I figured out that GP 440 drivers would fit and I could put in a slide suspension. I wanted Phazer skid but the universe dumped no less than three 82 SRV skids on me all at once for free. That cinched the suspension choice and thankfully the shock was in excellent condition. The sandblasting revealed some places in need of patching. Then some help from a body man friend after the welding was done fixed the pan up real good. Thank goodness for short strand fiberglass filler! FORD silver metallic is a good close match for the original YAMAHA color and voila!
Attachments
Last edited:
got-wood
New member
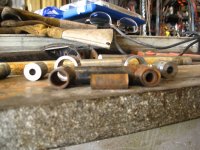
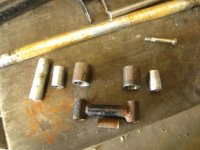
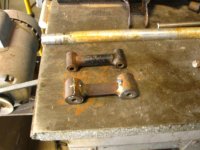
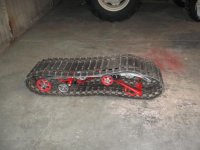
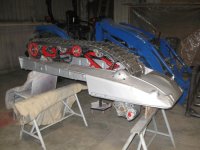
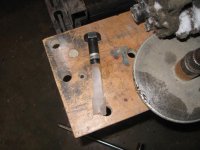
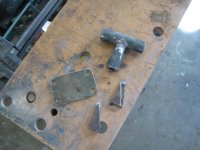
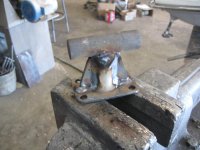
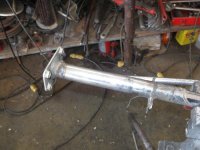
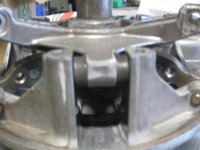
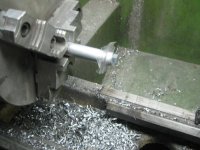
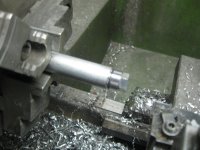
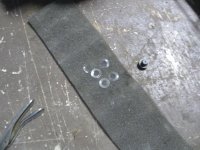
As you can see I got rid of the loops on the running boards, I always hated those things. So I added some reinforcement underneath which seems to work quite well. I completely rebuilt the skid, polishing the rails and making new cross shafts on the lathe. I also made bosses and welded them on for grease zerks. The original link in the suspension was not only worn out but weak in my view so I built it better using a 3/4 bolt for pins! Fun drilling that stuff. But very tight now and strong. Some paint and assembly and it all fits! Not much room between the track and tunnel in the top though, but it does clear.
Attachments
got-wood
New member
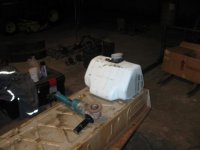
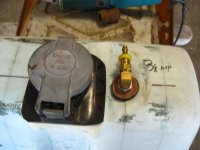
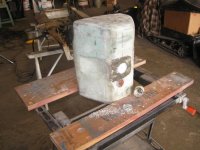
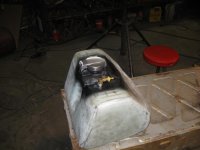
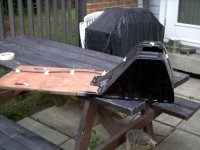
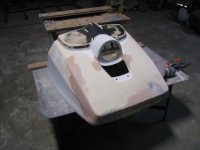
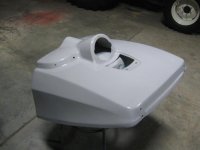
I am getting ahead of myself though and there was a lot of other work to be done. My tank was crumbs and after talking with a fellow on here who managed to find a NOS tank and had it turn to crumbs with the first tank of gas! I knew I was in trouble. MY first thought was to use a 71 or 72 tank and seat but the costs of the seats was too much plus after buying a 72 tank and finding it was cracked my Dad suggested I build a tank and use the original seat.
I used some blue foam Dad had but it was not enough so I had to buy more. The stuff I got was not the same and you can see the slight difference in color. This is very important since the stuff Dad had dissolves with gasoline. Don't ask me what kind of foam cuz I don't know, it was just scraps dad had left over. Gas won't touch the SM I got so I had use acetone for one half.
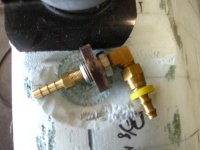
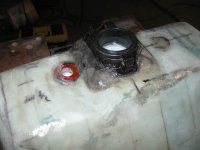
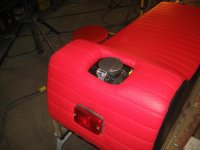
I decided a pop open cap would be cool so I cut out the filler from a wrecked Exciter tank. Plus I figured it would be easier than getting gas caps threads cut into a fiberglass tube.
I cut the basic shape of the tank and then glued the pieces together then shaped them with a grinder first, then just a sanding block with sandpaper using the original tank as a guide. Once I had three good layers of cloth and *WEST SYSTEMS EPOXY I cut the hole with a hole saw. (* DO NOT USE POLYESTER RESIN for gasoline!!!!)
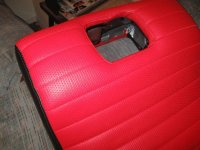
I wanted a perfect fit for the filler to bond it on, so I used some short strand fiberglass filler and pushed the filler down on top of it with some wax paper in between. Once set I glued the filler down with seal all and sealed all around inside. Then I fiberglass it on and painted it black since you can see the tank around the filler in the seat. I'm very happy with the way it turned out.
Attachments
Last edited:
got-wood
New member
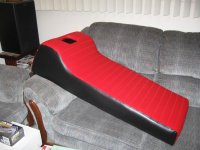
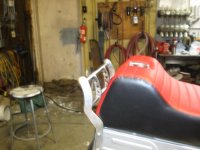
The seat also needed a lot of welding, new wood and foam. I sent it to A1 and they found the original material to cover it with. They did an EXCELLENT job and the seat looks amazing. I used a piece of 1/4" US marine grade plywood which I soaked with anti rot stuff then cleared it with epoxy. That seat won't ever rot again!
Attachments
Last edited:
got-wood
New member
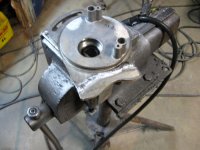
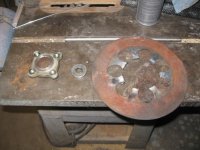
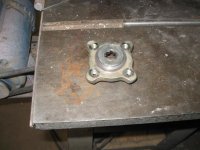
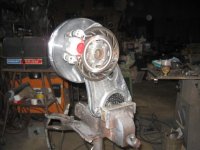
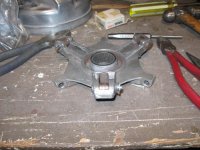
Brakes, what to do with brakes? Well how about a hydraulic brake from a quad? This was a lot of work in itself but I think it was a requisite given the other work done and my plan for the sled. I had to use the GP 440 bearing plate since the shafts on the secondaries are a different length and I wanted to use the GP 440 aluminum secondary. Which meant moving the welded on nut for the bolt. The difference in the weight between the aluminum GP 440 and the stock steel is unbelievable. Added new bearings and really had to spend time figuring how to fit it all under the hood! But it looks good and should work far better than the original.
Attachments
Last edited:
got-wood
New member
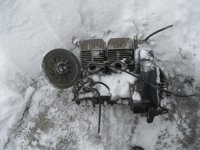
Well I was gathering pieces for the original 338 an Exciter 340 fell into my lap for $150. Had to round up another jug and piston for it after I got it apart. The only way to get that secondary was with the ice! It was bending the clutch puller tool but mother nature popped it off overnight no problem! Cool!
Attachments
Last edited:
got-wood
New member
 View attachment 58712View attachment 58712
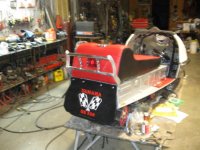
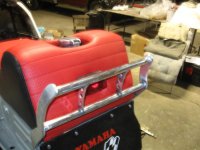 I hunted for a rear bumper for two years without success! So I decided to build my own. I didn't have any pipe bending tools so designed my bumper using plate for the sides and some creative bending to get the effect I wanted. I am very happy with the results though I found my tig welding has definitely been lost from when I used to do it everyday. Use it or lose it is not just a saying! lol.
Attachments
Last edited:
got-wood
New member
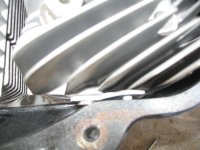
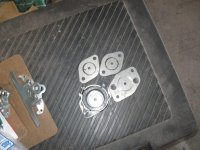
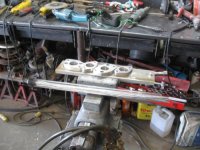
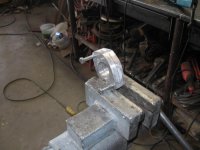
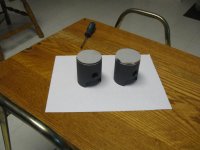
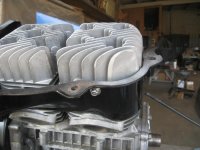
Pistons have the thermal barrier coating on the tops and the poly graphite coating on the skirts. Engine is ported and port timing checked with a few small changes, 340 Enticer heads (Thanks for the tip Mike.) I was going to buy some dual carb adapters from Mike but he was busy so I decided to make my own. Instead of mill work I used plate and glued them together with HTS 2000. Awesome stuff for aluminum repairs. I had to do a little fabrication to fit the cooling tins to the Enticer heads. This bolt will also serve as my ground location for my nology wires!
Attachments
got-wood
New member
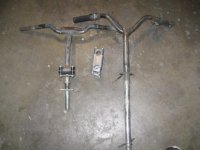
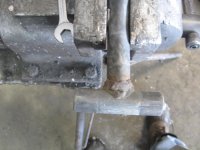
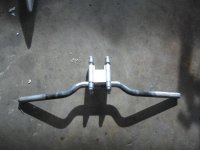
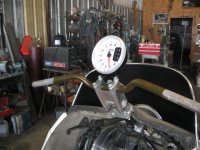
My original bars were repaired with brass and I definitely had to do away with that. I decided I wanted adjustable bars. Darren from E&S motorcycles in Fort Saskatchewan gave me a used riser block and with an old Ovation bar I set to work. In the midst of all this I found this Marshall tach and just had to have it! Still need a throttle block, cables and carbs but I'm working on it. I'll be back with more posts as this progresses but right now I have to get the heck to work! Enjoy.
Attachments
Last edited:
got-wood
New member
Whoops! Here is the tach and mostly finished bars. I got a spray bomb made locally that was supposed to be the same color used by YAMAHA on the steering gate and this color is what came out when I sprayed it. Sheesh! Color blind guys at the paint shop or what?
Attachments
Whereswade
Member
So much sledz!
Sent from my iPhone using Tapatalk
Sent from my iPhone using Tapatalk
got-wood
New member
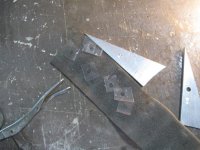
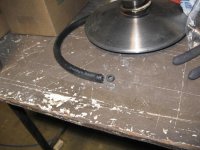
One of the reasons I was excited about the Exciter engine is the taper end crank enabling me to upgrade the clutching. This 77 primary is basically a 77 SRX clutch and is really tight after the rebuild. I ordered brand new parts from YAMAHA, weights, pins and washers and spring. Then I spaced the buttons with some shims I made up from a plastic screw box. Drilled holes in them and then cut them out square and bolted them to a spindle in the lathe. Made some nice little stainless washers the same way. The pins are coated with dry moly lube and the rollers spin with your finger. I polished the towers and then painted the buttons with dry graphite lube. It slides up and down waaay easier. I wanted to take up the slack on the roller pins but instead of making heaving steel spacer washers, I used some gas line to make washers. They don't rattle at all! Works like a darn. Can't wait to take it for a spin. I think it should be able to beat up on brand X 440 fans. Well, maybe not with my fat ole carcass on it.
Attachments
Last edited:
got-wood
New member
got-wood
New member
The original hood is salvageable but needs plenty of TLC. Put about 8 coats of heavy solid primer on it and just blocking that out now. After I fix any little flaws with the spot putty its back to more primer and more sanding, YIPPEE! I plan on taking it in for top coat to a body shop so it gets done in a booth. The topcoat will be 2014 FORD tri-white-clear-coat-metallic. Got some really cool custom decals of my own design and I think it should really pop when finished.
Attachments
Last edited:
Cooper0809
New member
Use it or lose it is very true! I keep trying to tell my wife this...hahahaaa!!
Your doing great work! Rear bumper is cool. Can't wait to see the finished product
Your doing great work! Rear bumper is cool. Can't wait to see the finished product
RON HYDRAULIC YAM
Member
WOW !... I am glad I'm not that talented .... looks like a lot of work...
I always wanted to fabricate two fluid drives , side by side... with out skis and
steer with a combination of throttle and brakes ,,,, Biggest problem is the lack
of any provision for reverse...
The drive belts look like timing belts and available in different lengths which would
allow me to move the engines back for balance..
Maybe a long rope and a rear winch for those times you just can't turn around...
..
Look what you did ,,, got me thinking like a crazy man...LOL
..
Really nice work
Ron
Srv560
New member
Nice work. You don't see that kind of workmanship anymore.
Sent from my iPhone
Sent from my iPhone
got-wood
New member
Oh man, if I told you about some of the ideas I have for projects..... It is a lot of work, but I despise the idiot box and love to tinker.
Thanks for the comments guys. Now if I can just get it finished.
Thanks for the comments guys. Now if I can just get it finished.

