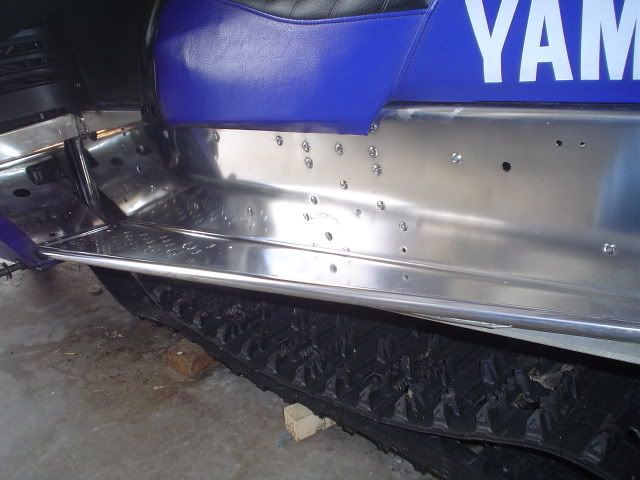
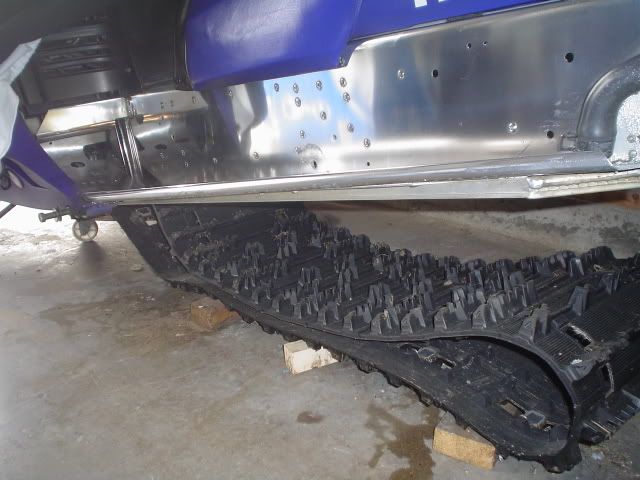
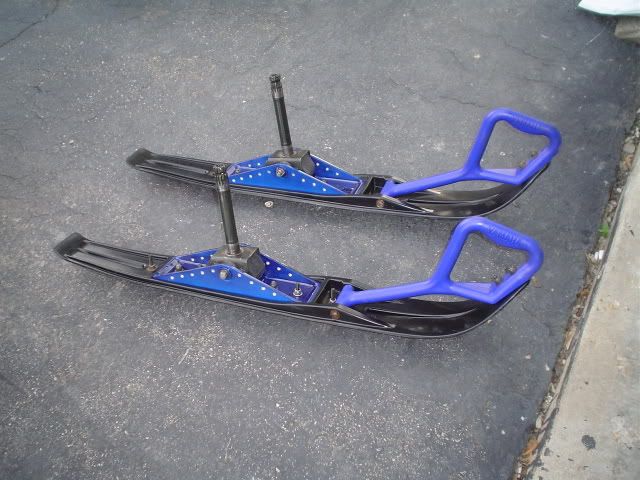
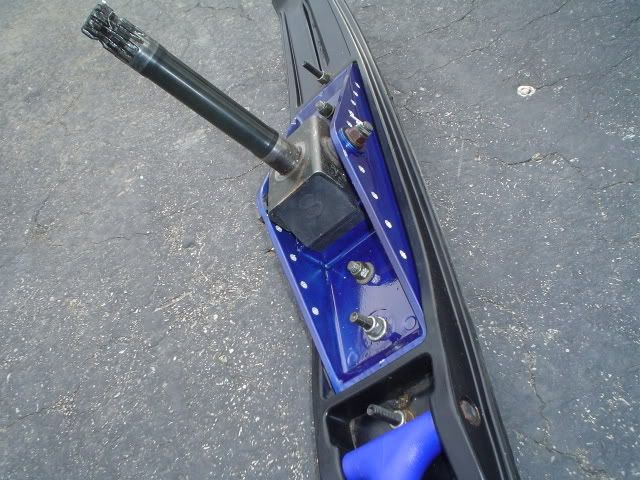
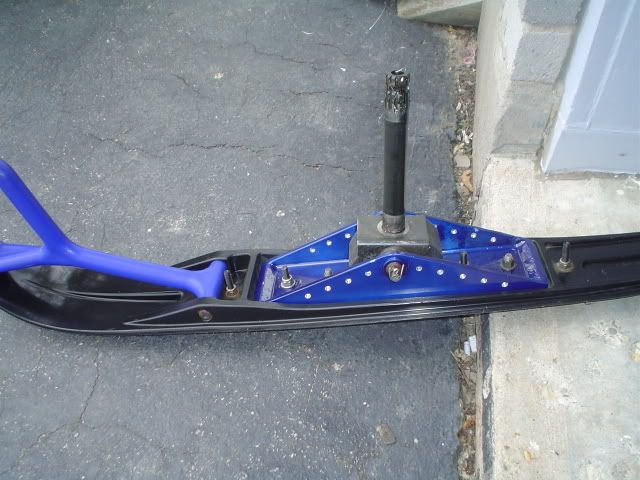
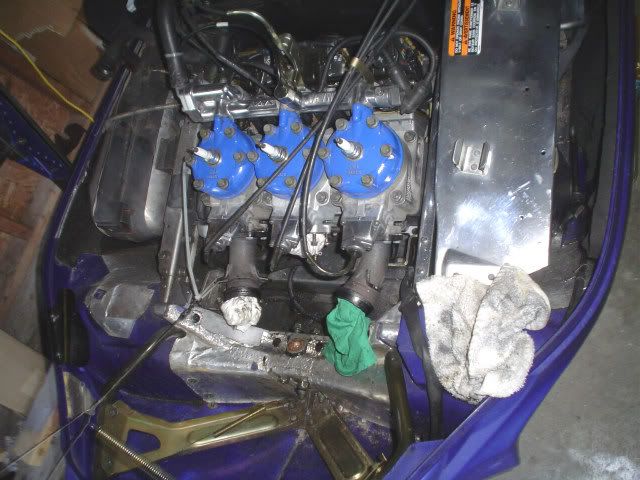
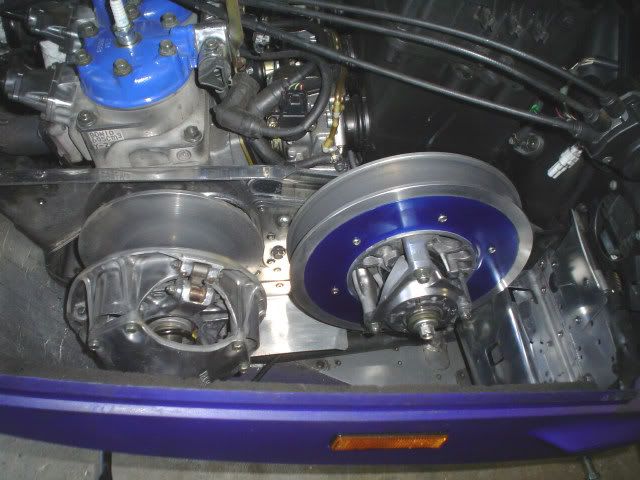
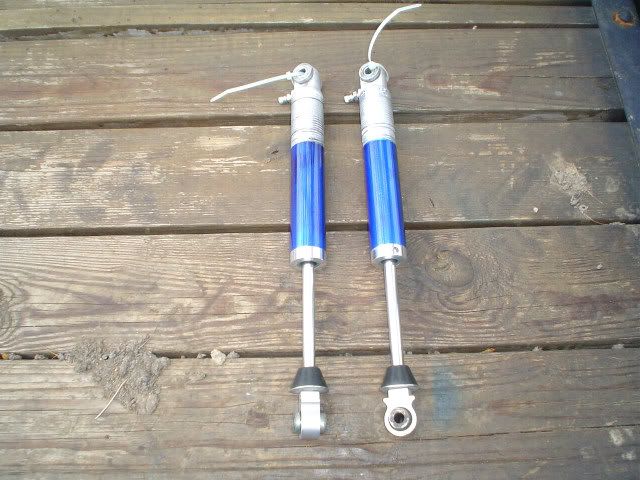
Well, the engine is all done, and the 1.25 Ripsaw is in, so thought I would do some cosmetic mods. Got the front end stripped, ready for installed the BLT/Works set-up, waiting on the springs and steering arms to get powder coated. Stripped and polished the tunnel this week, and stripped/polished the ski saddles and painted with MetalCast blue, and drilled them. Hard to see the paint in the pics, but it is kind of translucent, you can see through it, kinda neat. While the skis were apart, replaced the big rubbers and bushings, and did the shim mod.
Lots of detailing to do underhood yet, and still waiting on a Viper rear skid from a member to drop in it. Oh yeah, Sno-Tek bushings and bell crank coming too. The longer summer lasts, the more mods will get done I guess.
  May do a 2" riser too.
Lots of detailing to do underhood yet, and still waiting on a Viper rear skid from a member to drop in it. Oh yeah, Sno-Tek bushings and bell crank coming too. The longer summer lasts,
 the more mods will get done I guess.
  May do a 2" riser too.

Last edited:
xt700
New member
- Joined
- Jan 27, 2006
- Messages
- 262
lokks great theres a bunch of hours into that i give you props for the tunnel polishing. want to do mine but im scared ill do one side get fed up and well you know what it will look like anyway good work
Pat
Pat
xt700
New member
- Joined
- Jan 27, 2006
- Messages
- 262
by the way how long does it take to make the tunell look that good 
Pat

Pat
Pat, it really wasn't that bad, I used an organic paint stripper, cause I was paranoid about using the wrong kind and etching the aluminum, and it took a long time to work, but once it did, the paint basically just wiped off. The paint preserves the aluminum well, so there is very little oxidation underneath, I guess I have about 3 hrs of actual polishing on the tunnel, no more than that. I used a Flitz ball and their paste, worked excellent IMO. Did wonders on the pipe covers too. Pretty much blew 8 or 9 hours total doing the pipes, tunnel, and all the aluminum behind/under the secondary. I debated a long time on whether to do it, but it turned out OK, I'm happy with it. 9er
BTW I don't know what kind of paint was on the ski saddles, but it was an SOB to get off!
BTW I don't know what kind of paint was on the ski saddles, but it was an SOB to get off!
Looks good SRXer. I too was surprized on how quick the tunnel polished and really changes the look of the sled. Where did you get your blt kit. Let me know how you like it.
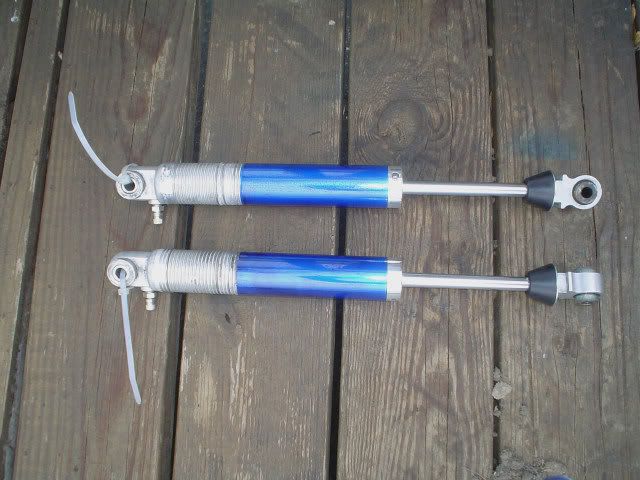
I actually bought it off a member on here, can't wait to check it out, had the shocks redone. Just waiting on the bellcrank, then I'll start putting it all on. Looks like not too bad of a job to do. I'll post a ride report for ya in the fall.
sxviper32
New member
srxer, you get the power crank off of ebay?
Yeah I did. Sno-tek makes nice stuff, it is the owner that has the stuff on there. 9er
Outlaw
Member
The BLT front end is awsome. I had one on my XTC with an M-10, it was a very smooth, good handleing ride.
One more reason to look forward to winter! 

Triple X
New member
With snowmobiling buddies like that in your avatar, I can't wait to go for a ride with you this winter!!!!!
Haha: Is that not how the girls ride in Peterborough? Must just be a local thing! 

Well finally got the skid plate off, and the old front end tore apart. Little bit of fun getting off the old bellcrank. Get the water rail, valves and clutches polished too. Lots to go yet, man you gotta take a LOT of stuff of to do this BLT thing. Oh well, goes good with beer! Here's some pics from today with the BLT rad rods, tie rods and Sno-Tek bellcrank ready to install.
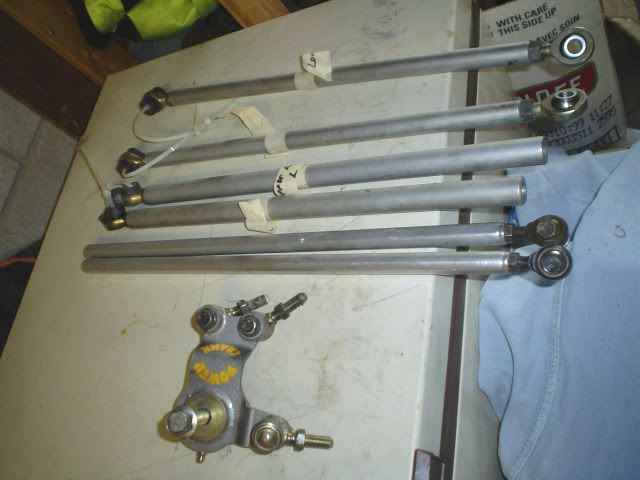


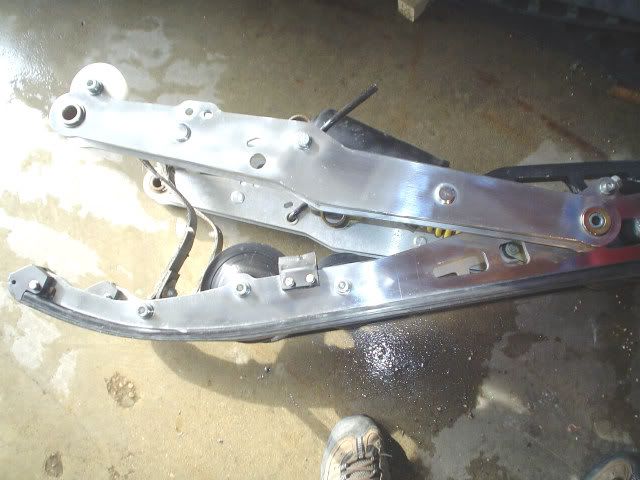
Well finally got a skid, picked up an Expert, started cleaning it up yesterday. Also thanks to Sno-Tek for helping me out with heim joints for my BLT rad rods (even tho it's not his kit). Can't wait to ride this thing with the BLT/Expert, should be a totally different sled! 


2ooosrx
VIP Member
- Joined
- Oct 2, 2004
- Messages
- 2,414
- Age
- 36
- Location
- Gurnee, Illinois
- Website
- www.cbperformanceparts.com
looking good so far! Taking a couple Idea's ehhh. lol
I really have to start working on my sled again this year. Only a couple things left to do this year on it. Go through and clean it, buff the crank maybe, rear suspension aluminum parts, and throw the finished belt drive in. When I am finiahed it should look just like it did last year, little better too!
http://www.totallyamaha.net/forums/showthread.php?t=20326&highlight=2ooosrx's
03viperguy
Moderator
looks great! should make an already sweet sled just that much better 

One step forward, two back.....
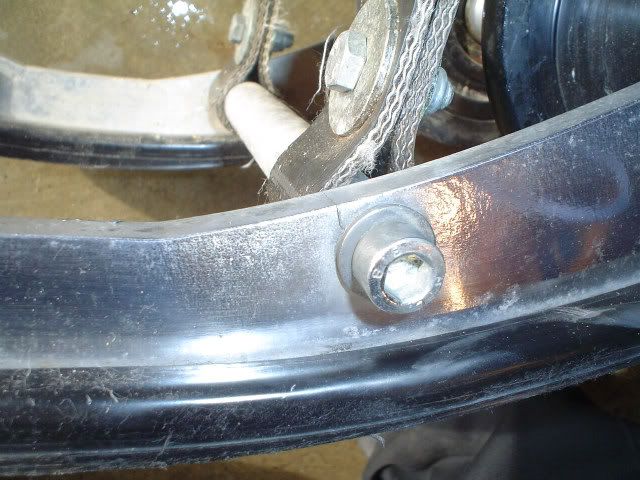
Left rail on the expert is cracked right through. They are sending some type of repair kit. So that was an excuse to dismantle the skid and change all 10 bearings. The loctite they use on the bolts is tough sh!t. Oh well, done now, mounting kit and repair kit should be here next week. Once I see what the repair kit consists of, I'll decide whether to prep and weld the crack with a high freq. welder too.
Why do small jobs always turn into big ones???? LOL

