yamahaboy701
New member
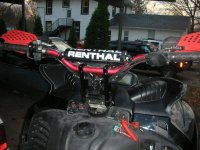
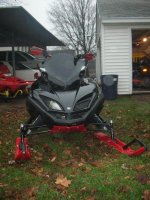
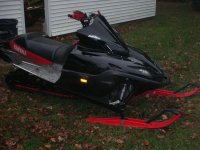
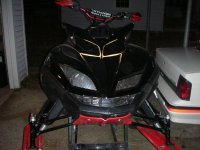
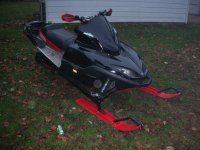
So close to being down with my project viper. It has felt so good to own a snowmobile again and make it my own. As some of you may know 2 years ago both of my sleds were stolen and my new trailer. (Still looking for them  ) Here a link to the what they were and where they were stolen from: http://www.ty4stroke.com/viewtopic.php?t=54044.
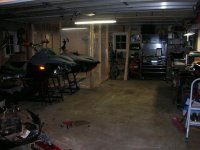
I have moved on and with the help of ty members I have put together a nice viper. I bought the sled from one of my good buddies. I'm not going to say how much I bought it for but it was about what you would pay for a rolling viper chassis. It needed some work that turned into a 4 month project. I can't find the picture of before I started but it was in rough shape and need some tlc.
Here are some of the things I did to it:
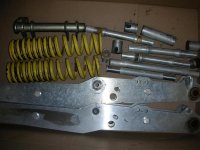
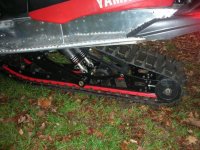
Pioneer re-valved front shocks
Excell Motorsports re-valved rear shocks
136 X 2"
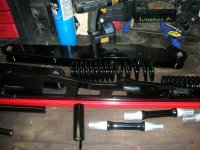
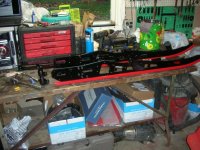
Expert X 136" and powered coated black
New bushing kit for expert X
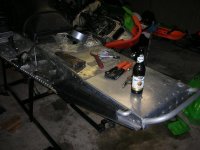
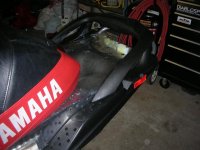
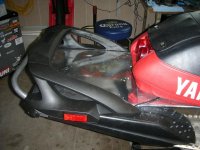
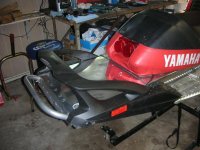
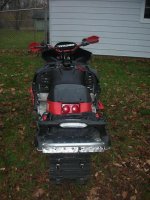
Custom tunnel extension
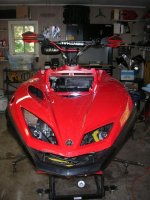
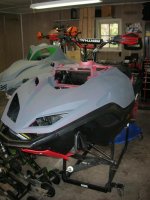
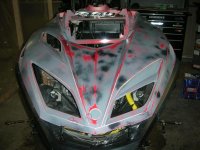
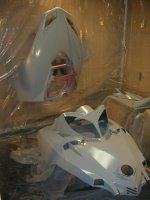
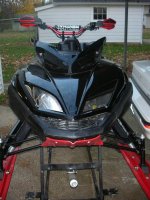
Painted hood and misc body parts
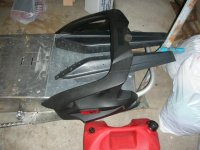
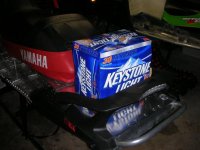
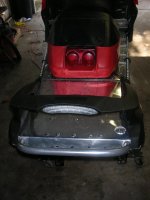
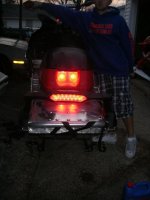
Mtn Apex rear rack
8 tooth drives
Fully rebuilt both clutches
Used/New power valves and cables
Used/New y-pipe
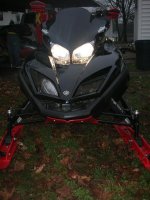
Britelights 55/100w
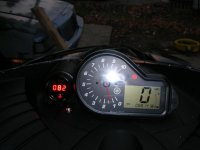
Cyberdyne water temp gauge with memory recall
Bender can
4 drive line bearings
Low black windshield
new gauge pod
To come:
Custom graphis (next week)
Really long snow flap (any suggestion?)
Total investment and sled purchase $2300.
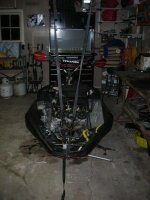
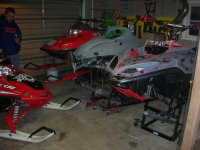
I am sure there is stuff I am missing but lets get to the pics:
 ) Here a link to the what they were and where they were stolen from: http://www.ty4stroke.com/viewtopic.php?t=54044.
I have moved on and with the help of ty members I have put together a nice viper. I bought the sled from one of my good buddies. I'm not going to say how much I bought it for but it was about what you would pay for a rolling viper chassis. It needed some work that turned into a 4 month project. I can't find the picture of before I started but it was in rough shape and need some tlc.
Here are some of the things I did to it:
Pioneer re-valved front shocks
Excell Motorsports re-valved rear shocks
136 X 2"
Expert X 136" and powered coated black
New bushing kit for expert X
Custom tunnel extension
Painted hood and misc body parts
Mtn Apex rear rack
8 tooth drives
Fully rebuilt both clutches
Used/New power valves and cables
Used/New y-pipe
Britelights 55/100w
Cyberdyne water temp gauge with memory recall
Bender can
4 drive line bearings
Low black windshield
new gauge pod
To come:
Custom graphis (next week)

Really long snow flap (any suggestion?)
Total investment and sled purchase $2300.
I am sure there is stuff I am missing but lets get to the pics:
Attachments
Last edited:
yamahaboy701
New member
yamahaboy701
New member
yamahaboy701
New member
yamahaboy701
New member
yamahaboy701
New member
yamahaboy701
New member
What brand is that temp guage? I'm looking for one.
Nice looking project. Building them is almost as much fun as riding the finished product.
Nice looking project. Building them is almost as much fun as riding the finished product.
yamahaboy701
New member
Its a Cyberdyne A020E060Y from summit racing. The kit came with gauge and sending unit. Summit messed up my order so I got an upgrade to the one with the memory recall which is really cool. Thats what the button is for just under the gauge. You press it and it will show the low and high temps.
The pod is just a basic dash mount pod that need some small modification.
The pod is just a basic dash mount pod that need some small modification.
progold
New member
Looks awsome ,i think you should post some of your pics in the custom vipers thread i started a few weeks ago because that is a custom viper graet job hope you enjoy slede this season,again great job,this is the stuff i like to see with a little money and some hard work you can make yourself a sweet ride and plus it`s a two stroke.
yamahaboy701
New member
Thank you progold, I will post some better pictures in the custom viper post when I get my graphics next week. Thanks again!
yamyrider
Active member
what a great job....nice sled.
Nice Job Where Did You Get That Rear Rack And Tail Light
yamahaboy701
New member
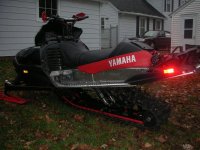
The rear rack is off a 2006 Yamaha mountain Apex SE. I believe other newer yamaha mountain models also come with the rack. Seen it at haydays for a price I could not pass up! The length of the tunnel extension is because of the rack. I really did not want to go that long with the extension but I wanted to be able to lose the backpack this year and just put everything in my tunnel bag. (shovel, tow rope, extra gloves, snobunje, etc). Also I had to mod the rack a little to make it work, the width of the tunnel was good but I used both the coolant hose covers and the rack and molded them together. Wiring up the led tail light was the easy part.
Mstangman70
New member
What do you use for primer and paint? single stage?
RK-SXVIPER700
New member
That sled looks awesome!! I'm getting ready to stretch my viper to a 136 as well. I hope you don't mind, but that rack idea is awesome and I'd love to find one for mine. Did you trim the rack to fit over the hose cover, or the hose covers to fit up to the rack?
YamahaBoy sorry for you loss on your old sleds, your old sled was wicked too. This new one looks really Bad A$$, Its nice to see your back in the saddle have a good winter
Yamahammer485
Member
Lookin good dude!
Going to keep an eye out for your sleds + trailer!!
For your can, you should wrap it with header wrap. Keeping it hot makes you gain power that you would typically loose with adding a can with the end result maybe slightly more power than stock. Header wrap is $30
Going to keep an eye out for your sleds + trailer!!
For your can, you should wrap it with header wrap. Keeping it hot makes you gain power that you would typically loose with adding a can with the end result maybe slightly more power than stock. Header wrap is $30
good looking sled. have to keep my eye out for one of those racks as my brother is wanting to fab one for his 136" viper. i tell him about this thread.
yamahaboy701
New member
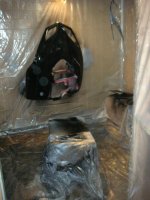
I used automotive dupont paint. A local guy I know has a body shop and he mixed it all up for me. One of my roommate paints for a hobby so I let him do the paint job. It was two stage plus the primer(Primer, 3 coats of black, and 3 coats of clear). I built the paint booth for $60 dollars plus $60 dollars in paint. I would love to have the trailing arms and rods powder coated but did not have it in the budget. So I sand blasted them, sanded them, and then primer. I then brushed paint on on paint, re-sanded and then sprayed. The brushed paint is very thick and will not chip as easy as spray, and spray looks better and has a clean finish.Mstangman70 said:What do you use for primer and paint? single stage?
Thanks everybody for the compliments!

