This is a little bit of a "restomod". For those unfamiliar with the term, it means restoration/modification. This is my buddy's sled. Unfortunately, it suffered another melt down... suffered by the owner.
As of 12/1/12, this is a work in progress.
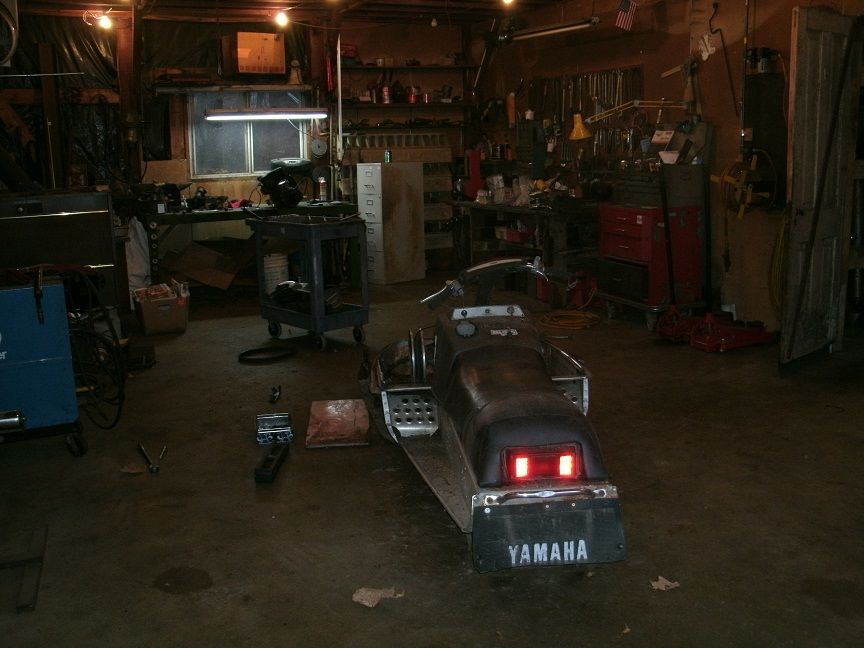
Simply put, the sled with the hood and engine stripped out of it.
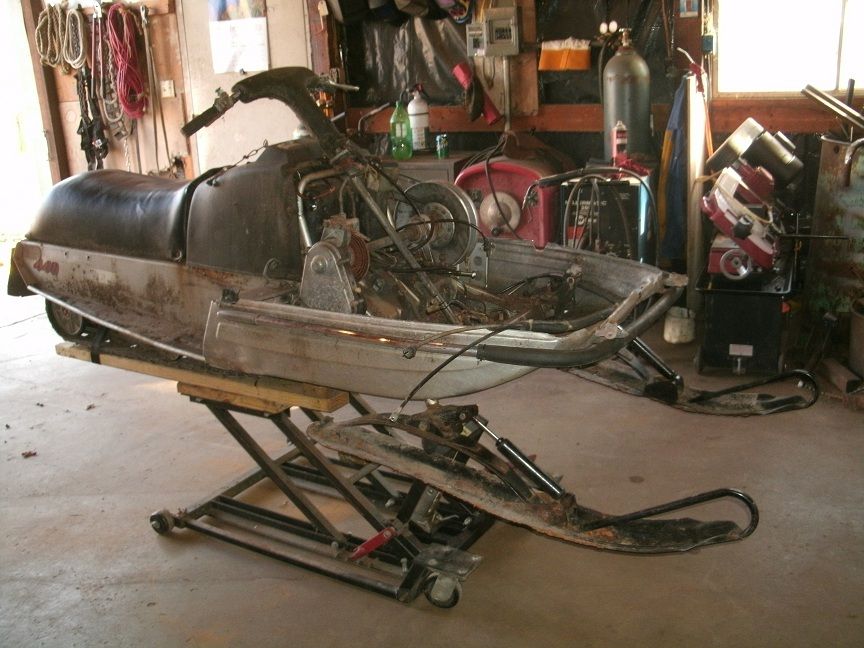
Sled on a lift, self explanatory. A little work to be done, as clearly seen in this picture.
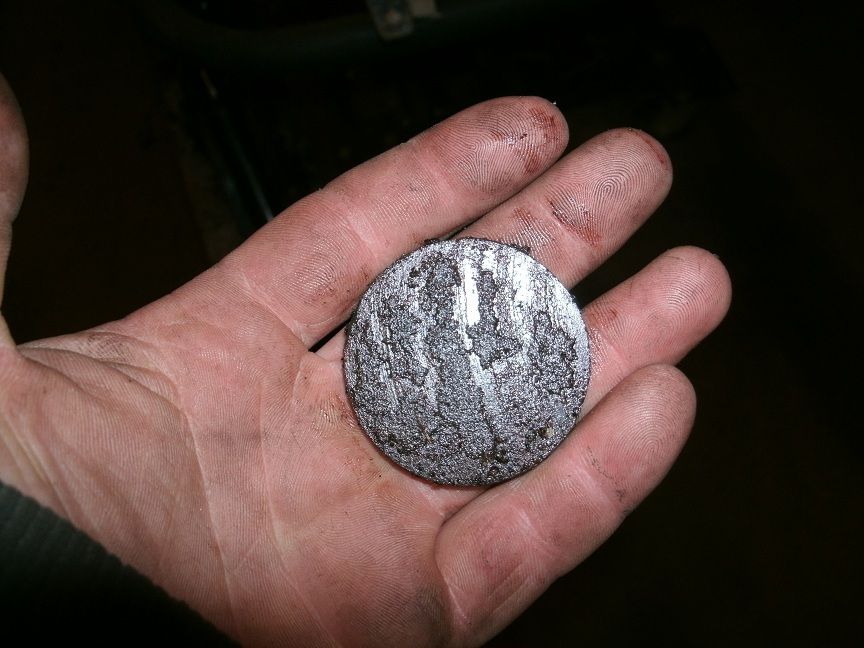
What is left of the brake "puck" after about 10,000 kilometers, or roughly 6,213 miles.
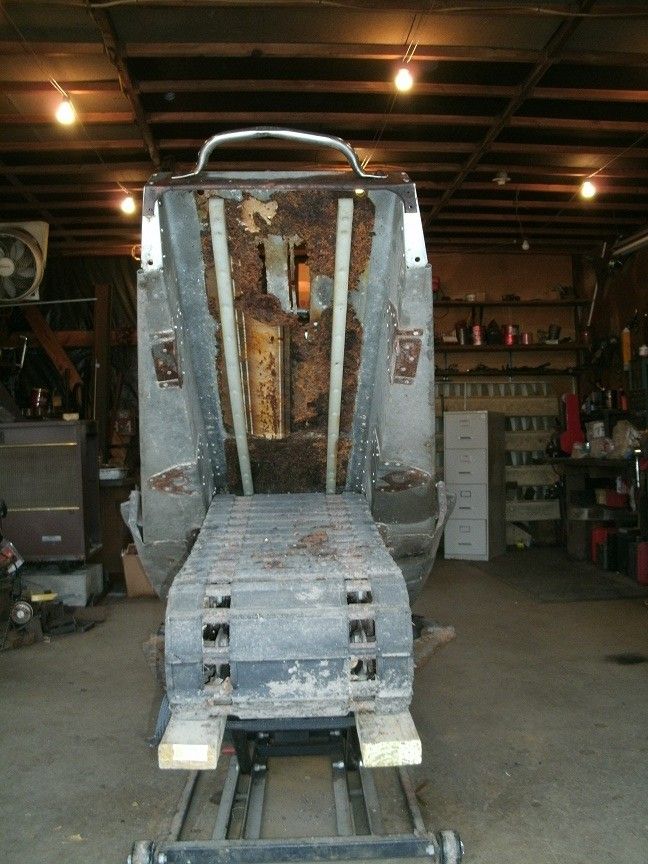
With the seat removed, it was discovered that the previous owner had made an attempt to repair the tunnel. Unfortunately, their repair has completely rotted out.
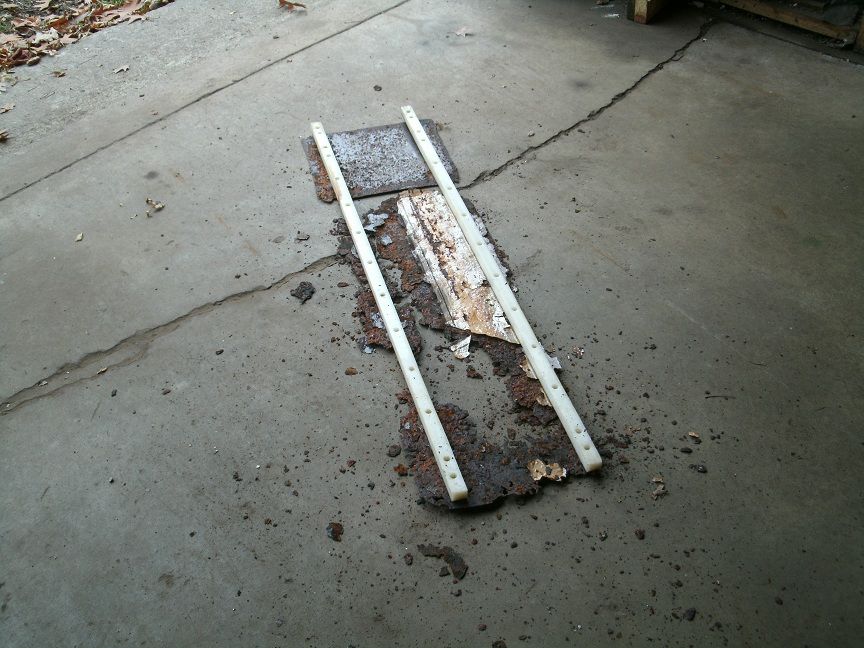
This is the modification that the previous owner had applied to the tunnel to repair it. Clearly, it has completely rotted out.
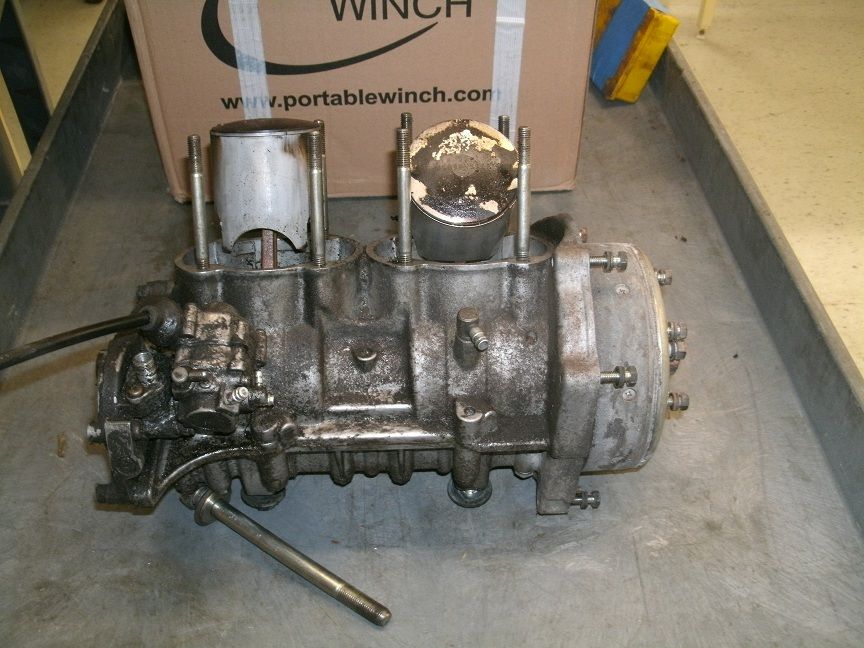
The sole reason for the restomod... reminder for all, ALWAYS check to ensure your carb boot clamps are secured! Not a fun thing to experience the guy in front of you making this gesture when it comes to a dead stop
As of 12/1/12, this is a work in progress.

Simply put, the sled with the hood and engine stripped out of it.

Sled on a lift, self explanatory. A little work to be done, as clearly seen in this picture.

What is left of the brake "puck" after about 10,000 kilometers, or roughly 6,213 miles.

With the seat removed, it was discovered that the previous owner had made an attempt to repair the tunnel. Unfortunately, their repair has completely rotted out.

This is the modification that the previous owner had applied to the tunnel to repair it. Clearly, it has completely rotted out.

The sole reason for the restomod... reminder for all, ALWAYS check to ensure your carb boot clamps are secured! Not a fun thing to experience the guy in front of you making this gesture when it comes to a dead stop

Last edited:
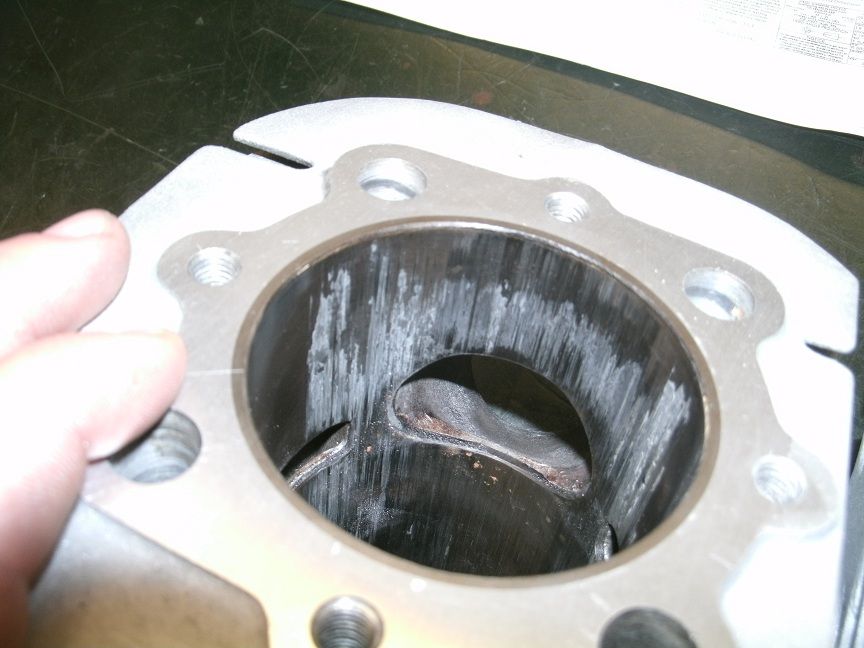
Detailed result of what happens when you don't double check your work after working on your carbs. I can NOT emphasize this enough, DOUBLE CHECK that you have tightened your boots!
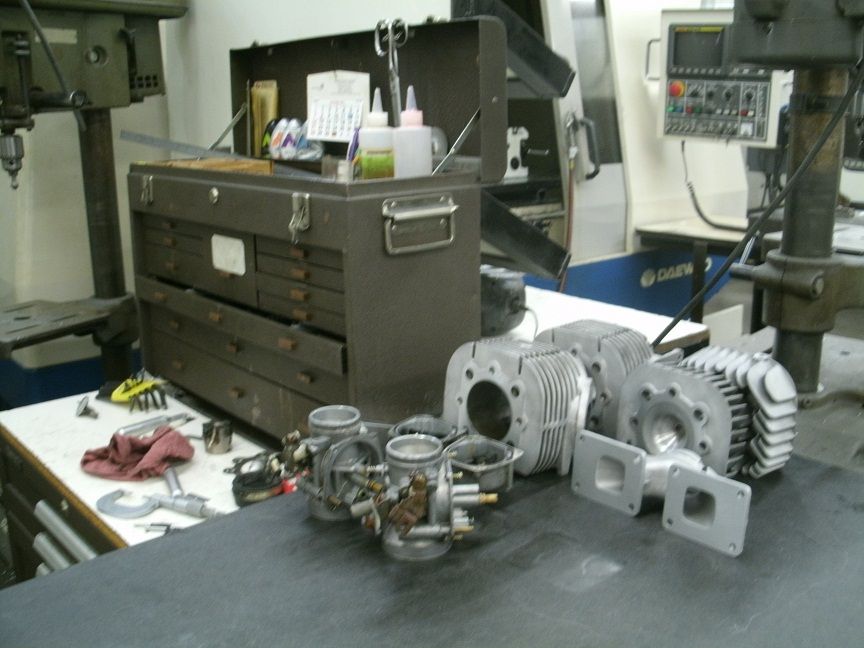
Parts that have been cleaned up.
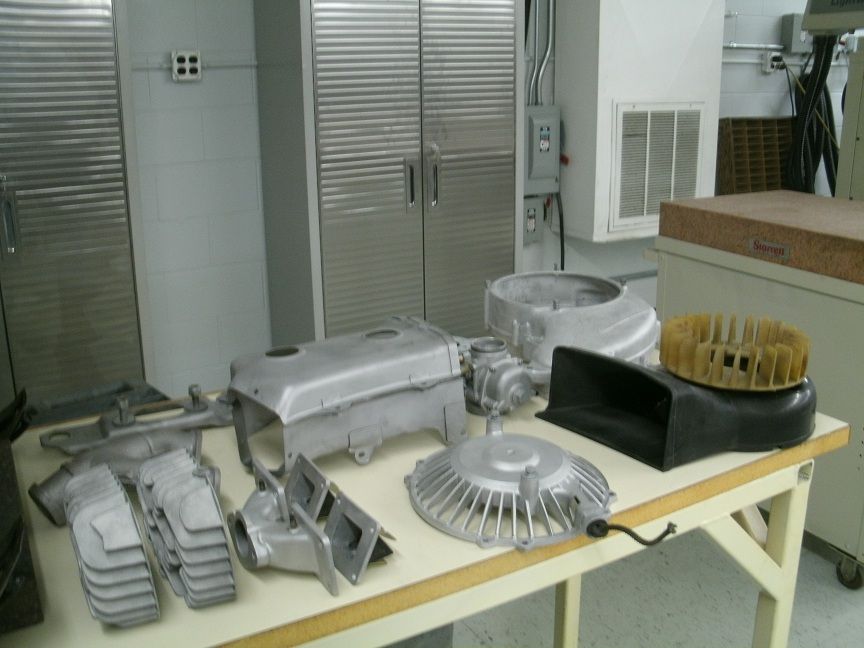
More parts that have been cleaned up, looking new..ish!
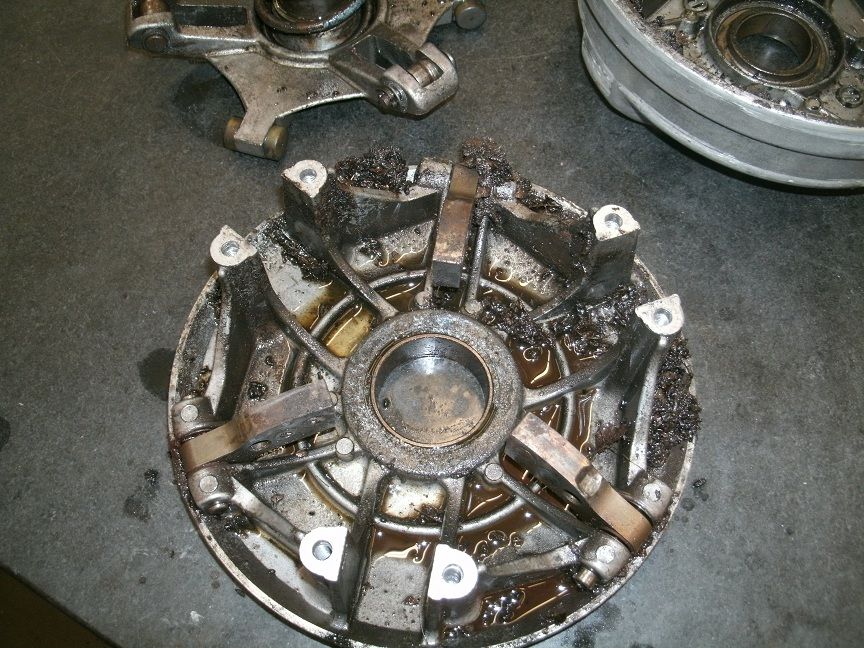
Clutch, before...
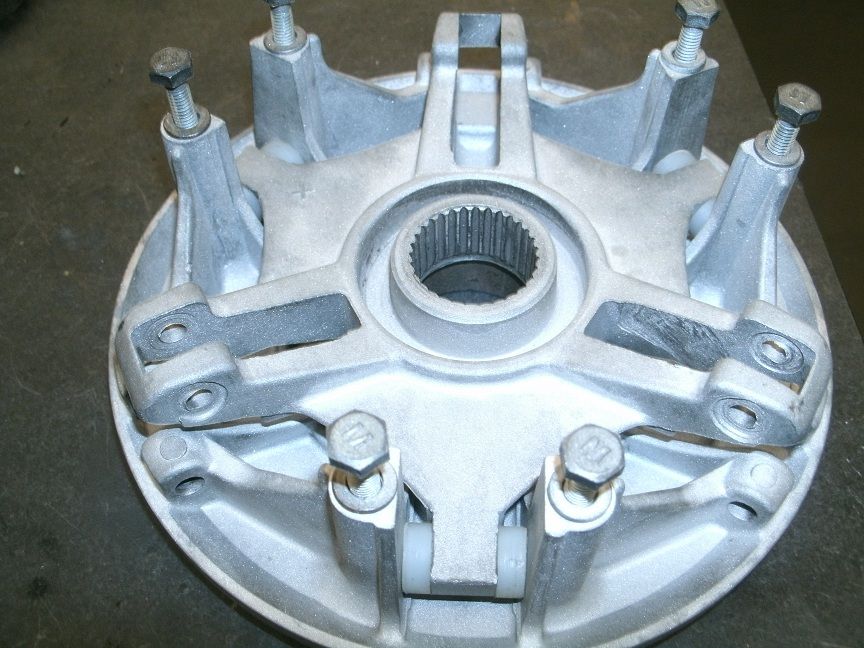
Clutch, after!
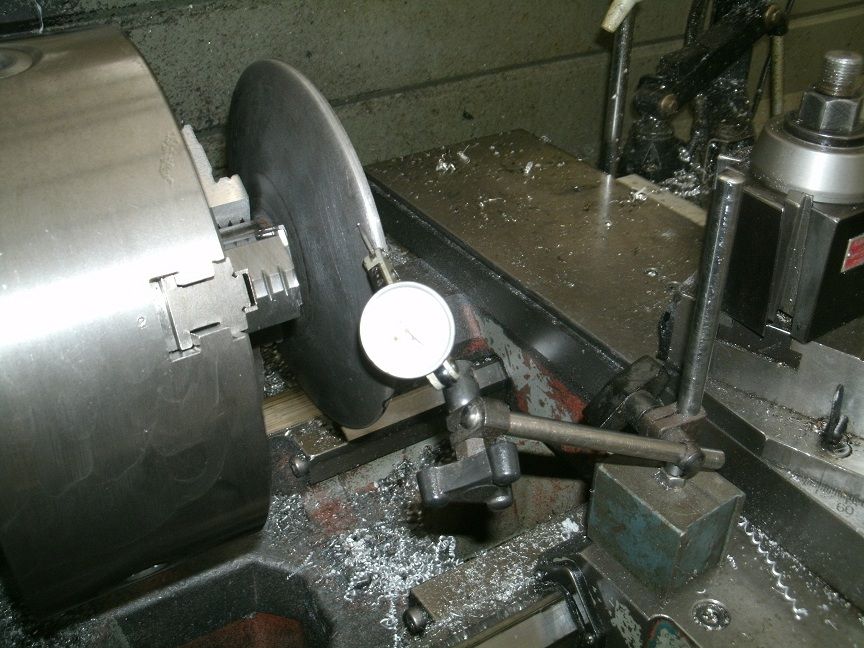
Getting machined!
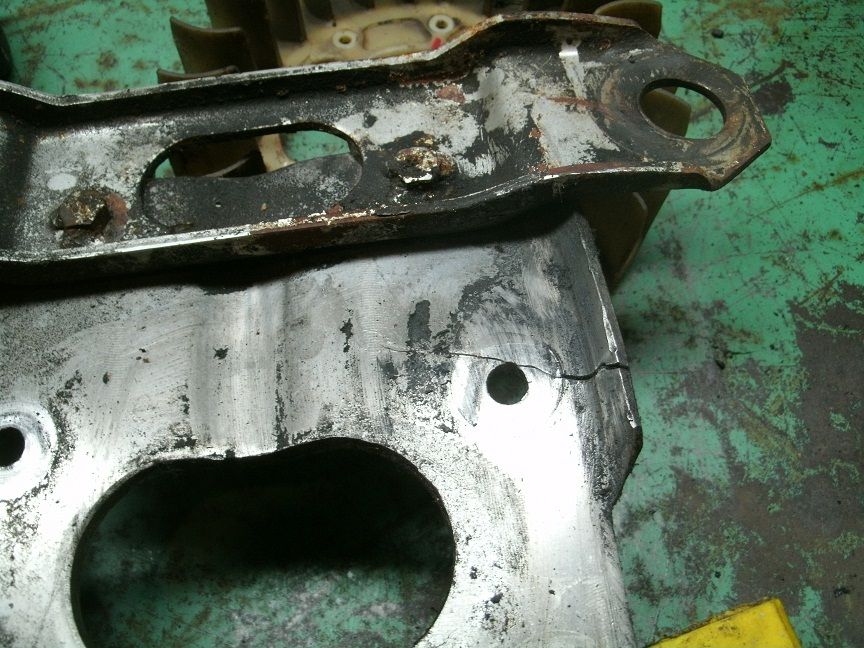
Additional headache discovered along the way, a cracked mount! The dude is a welding genius though... not a challenge!
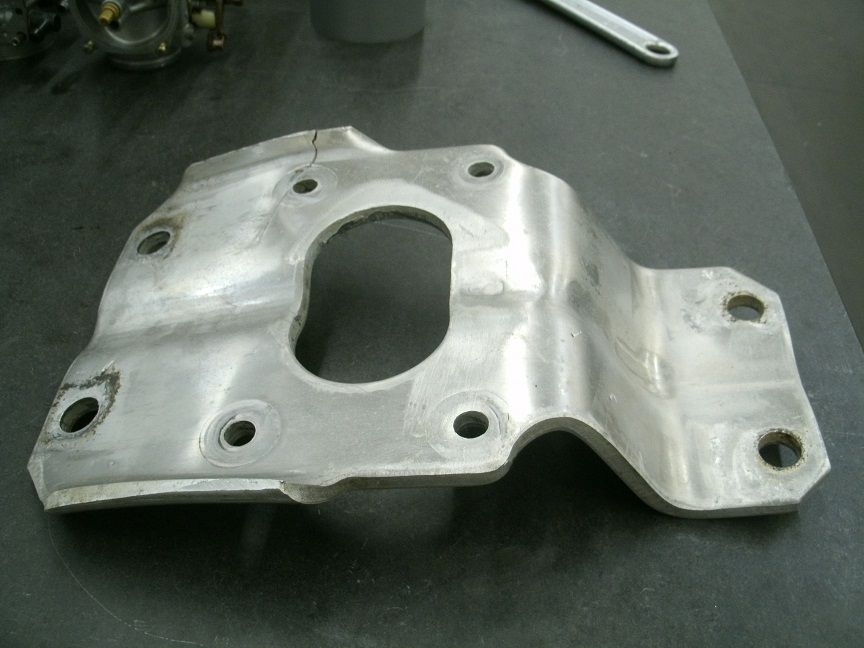
Headache, cleaned up a bit. As stated prior, not a challenge for him to weld!
This is just the progress thus far. Much more to come!
Last edited:
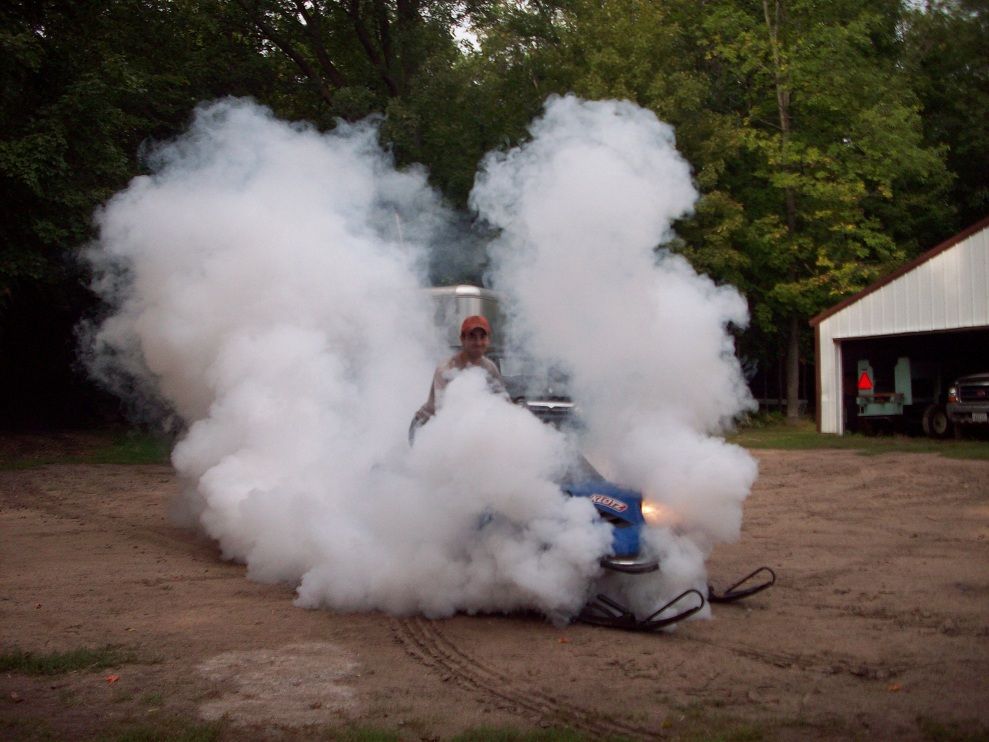
The last photo of it actually running. The engine ceased up on a trip that we went on. He said he dropped some diesel to soak in the cylinders just to see what could happen. It fired up!
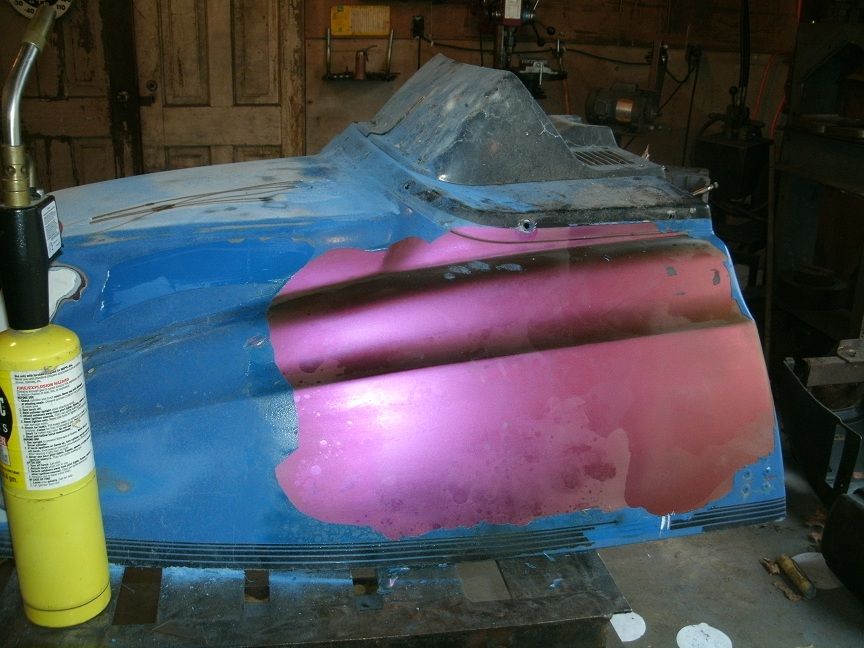
An interesting color was discovered while stripping the blue away... I like how it looks. I can't speak for him though!
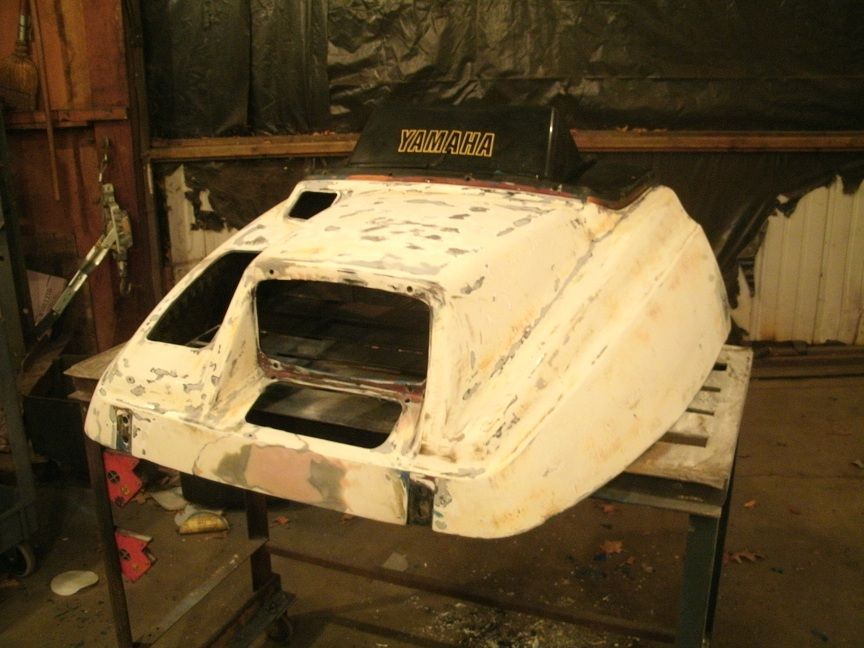
Paint removed! Some prep work needed, and then it is time for some paint!
At least there were no mosquitos around for a while.....lol! 

no doubt. engine work should be coming up shortly. will post more as stuff happens.
By the way, I am sure you likely already know this but you can remove 90+% or more of that melted aluminum on that cylinder liner with muratic acid.
Just be sure to dribble it on and let it sit and bubble up, let it do the work for you. It gives off a nasty gas when you do it so be sure the area is well ventalated and i wear a mask and gloves. Sometimes a little tiny pocket screw driver works great to use as a scraper, just scratch it across the area with acid on it real fast and it will make the acid eat the aluminum faster, wont hurt the iron liner. When your all done just run a 240 grit hone thru it and should be like new.
Just be sure to dribble it on and let it sit and bubble up, let it do the work for you. It gives off a nasty gas when you do it so be sure the area is well ventalated and i wear a mask and gloves. Sometimes a little tiny pocket screw driver works great to use as a scraper, just scratch it across the area with acid on it real fast and it will make the acid eat the aluminum faster, wont hurt the iron liner. When your all done just run a 240 grit hone thru it and should be like new.
it is getting bored out by Bill Bune, due to the extent of the damage
Last edited:
Yamaha Nutz
New member
IMHO find a different spider yours looks pretty but it is junk
and find a different motor plate if not you will have at least a hour or so with a press trying to make it right plus i do not care how good the welder is the crack in the plate is very common and it will crack again (been threw it many times) i have a pile of them that are cracked
and find a different motor plate if not you will have at least a hour or so with a press trying to make it right plus i do not care how good the welder is the crack in the plate is very common and it will crack again (been threw it many times) i have a pile of them that are cracked
Last edited:
BordnBill
New member
I'm in the process of restoring my son's 79 Enticer, but having a heck of a time trying to find parts for it. I've got some ski's from a 82 enticer, but need to find the wear plates for the ski's. Where do you find most of your parts?
Last edited:
BordnBill said:I'm in the process of restoring my son's 79 Enticer, but having a heck of a time trying to find parts for it. I've got some ski's from a 82 enticer, but need to find the wear plates for the ski's. Where do you find most of your parts?
https://www.denniskirk.com/1979-yamaha-enticer-300.mmy
idk which enticer you have, but this should help
kimpex is another great place for parts, parts unlimited has some goodies too.
BordnBill
New member
reaper89 said:https://www.denniskirk.com/1979-yamaha-enticer-300.mmy
idk which enticer you have, but this should help
I'm actually looking for a few parts that both Dennis Kirk and the others don't sell. I suppose that I can buy OEM wear plates for my ski's, but didn't want to spend $30+ each for them.
i guess i don't follow what you are referring to when you mention wear plate
Yamaha Nutz
New member
what he is refering to is the spring slider or WEAR PLATE that the spring moves on in the front of a leafer from end
More pics!
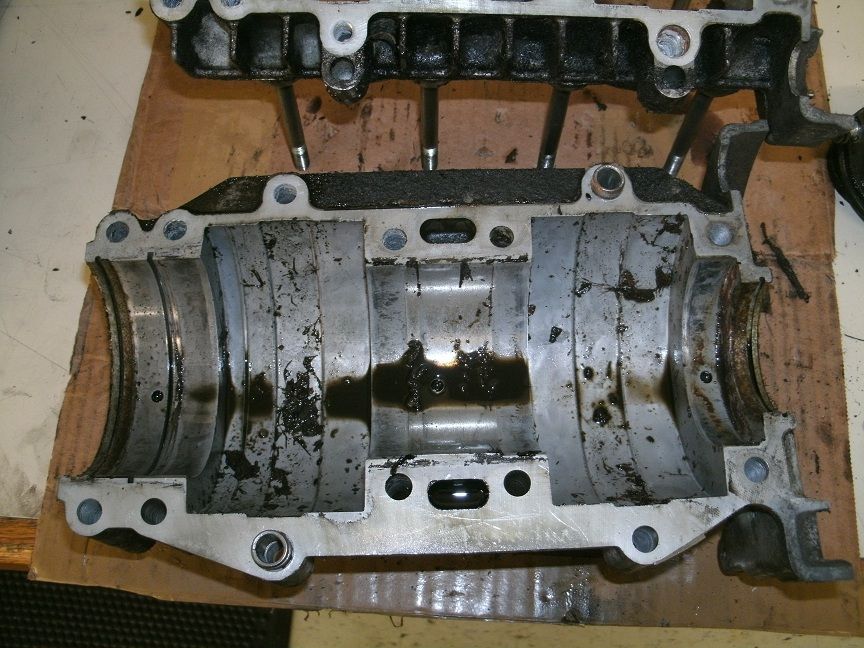
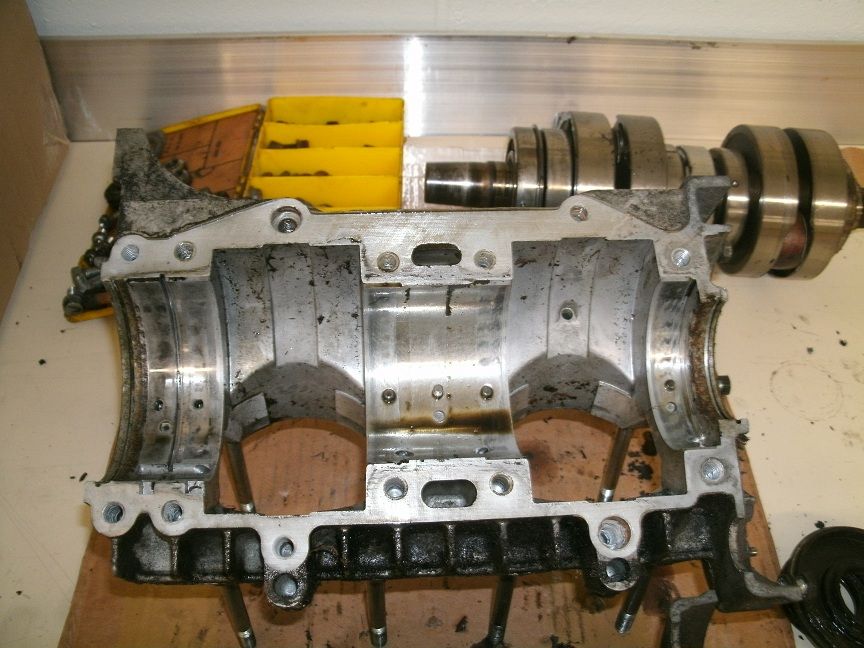
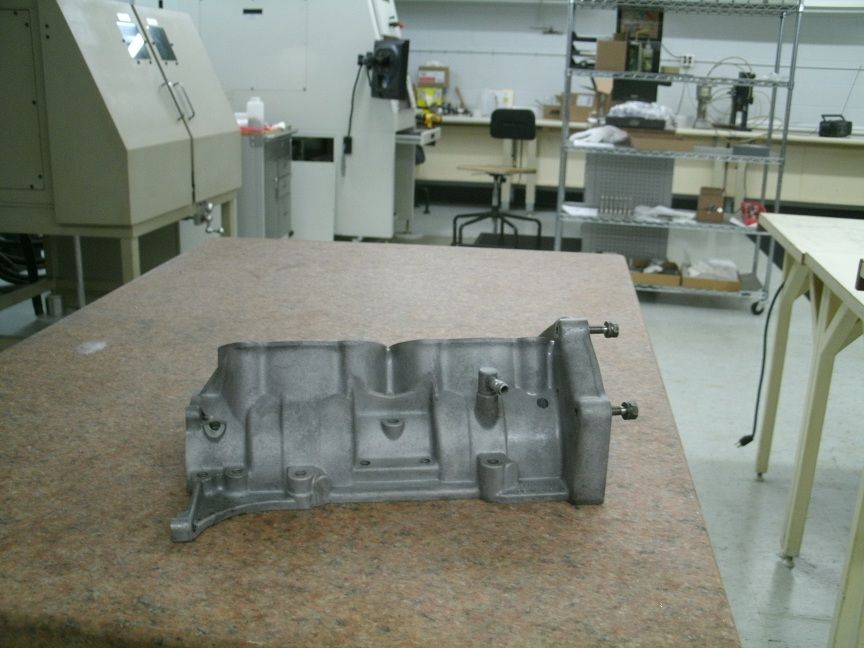
Cleaned up a bit!
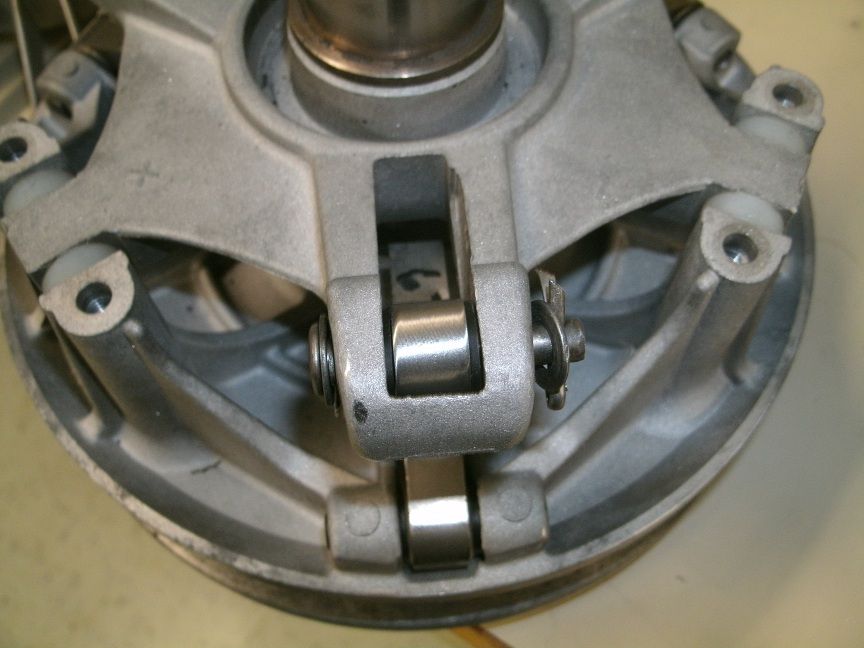
Rebuilt clutch.
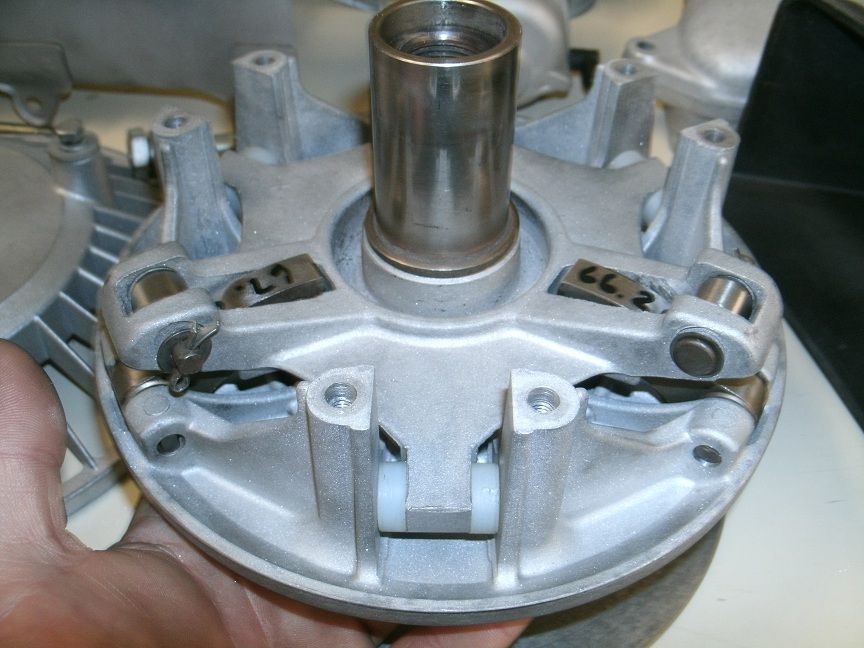
Another shot of the clutch.
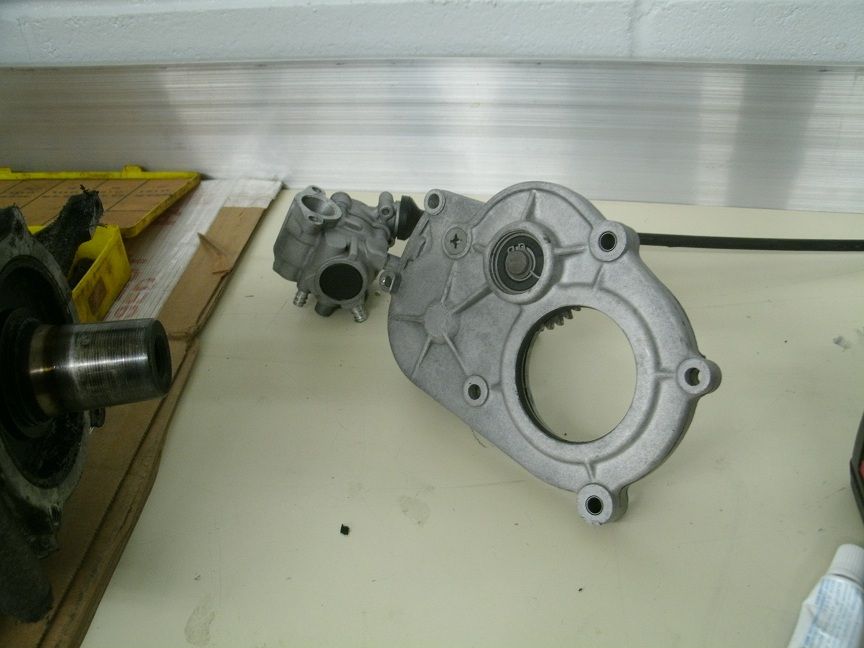
Ready to be put back into service!
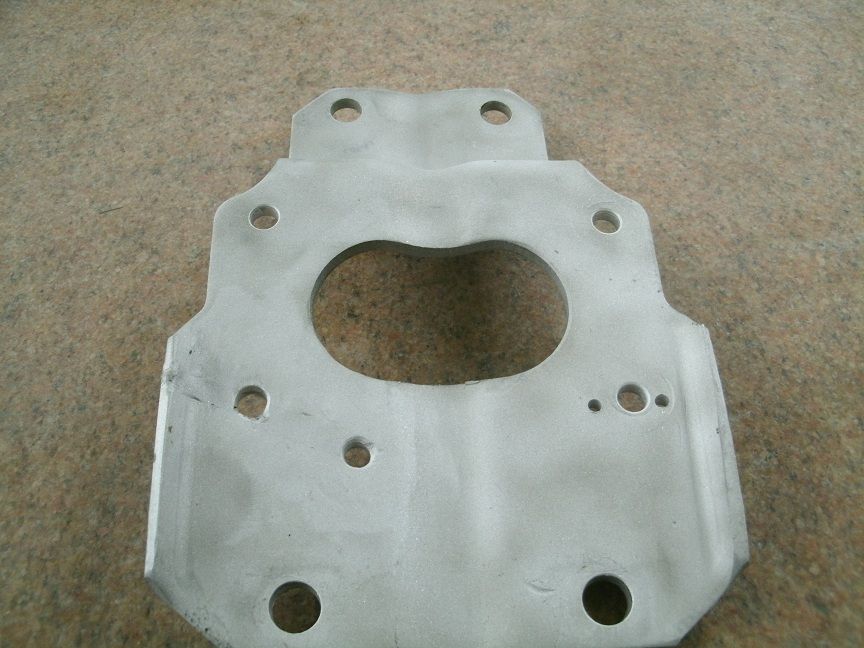
Plate repaired.
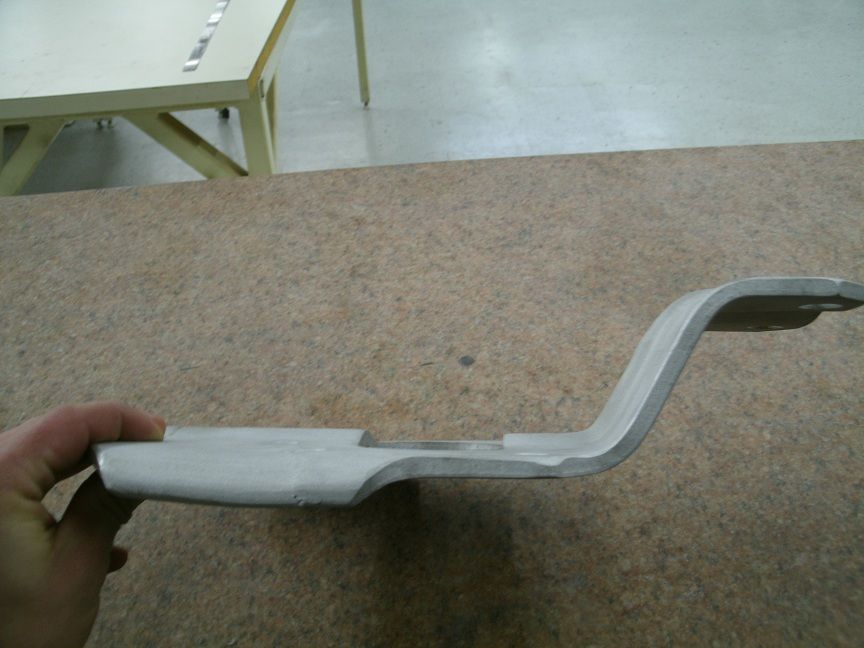
What crack? Repaired!


Cleaned up a bit!

Rebuilt clutch.

Another shot of the clutch.

Ready to be put back into service!

Plate repaired.

What crack? Repaired!
03viperguy
Moderator
cool project, looks good!
Yamaha Nutz
New member
shim those pins tight for the rollers if not they will where out faster just so you know............plus make sure all weights are the same gram wise if not it will be hard on the clutch
opsled
Active member
Yamaha Nutz said:shim those pins tight for the rollers if not they will where out faster just so you know............plus make sure all weights are the same gram wise if not it will be hard on the clutch
Listen to Mike on this build.
He REALLY knows what he's talking about and has TONS of experience with these clutches.
Your work looks great so far but as Mike said earlier that engine plate will probably break again, (It will be weaker because of the welding) and that clutch won't last a weeks worth of steady use if not done right.
Good Wook, Good Luck, opsled
garry499
New member
More pictures!!!
kenziesupra
New member
Looks amazing! How did you make those parts so clean?


