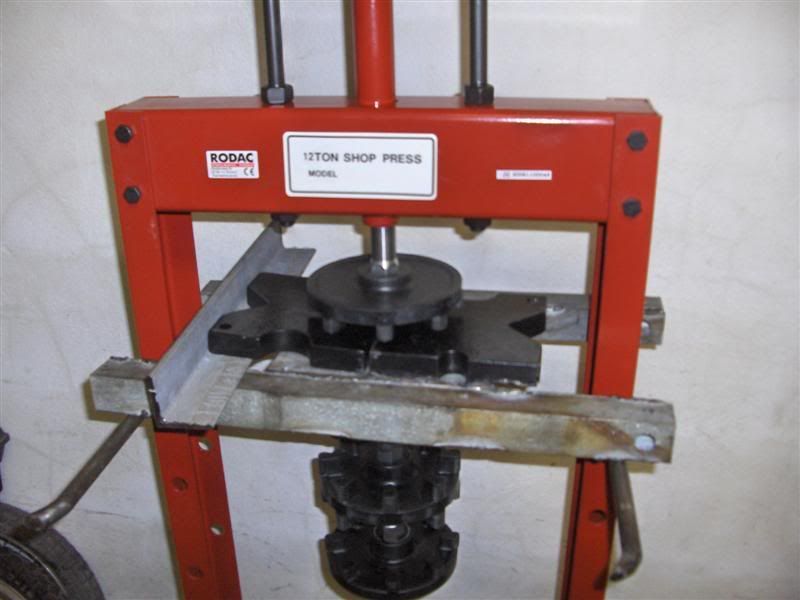
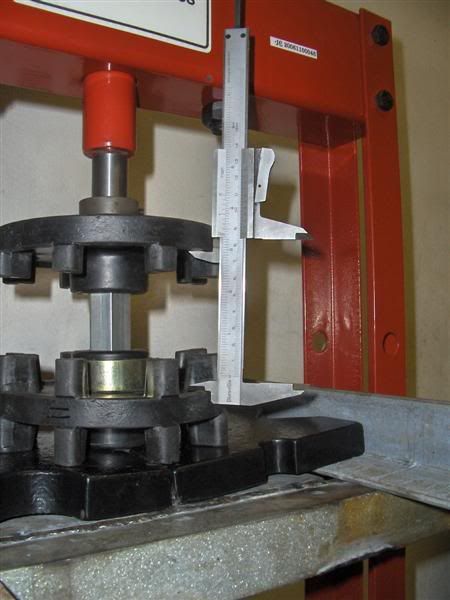
I then fine adjusted them according to the measurements I made before I removed them from the old shaft.
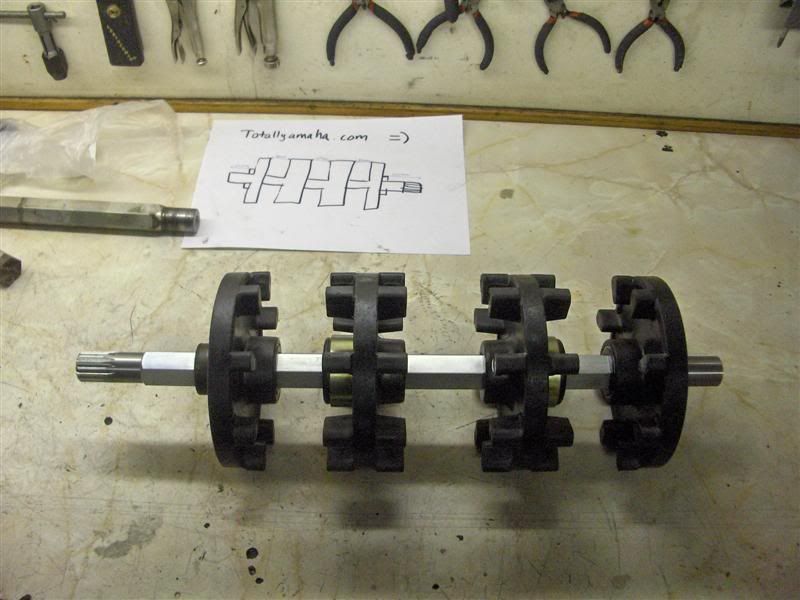
There she is!
Then the support rings were installed

Removed the lower bearing and seal from the chaincase.
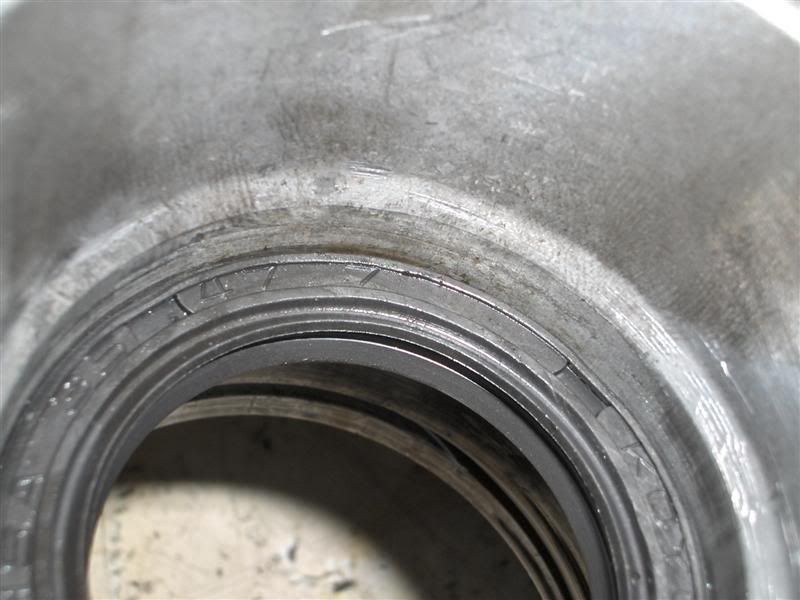
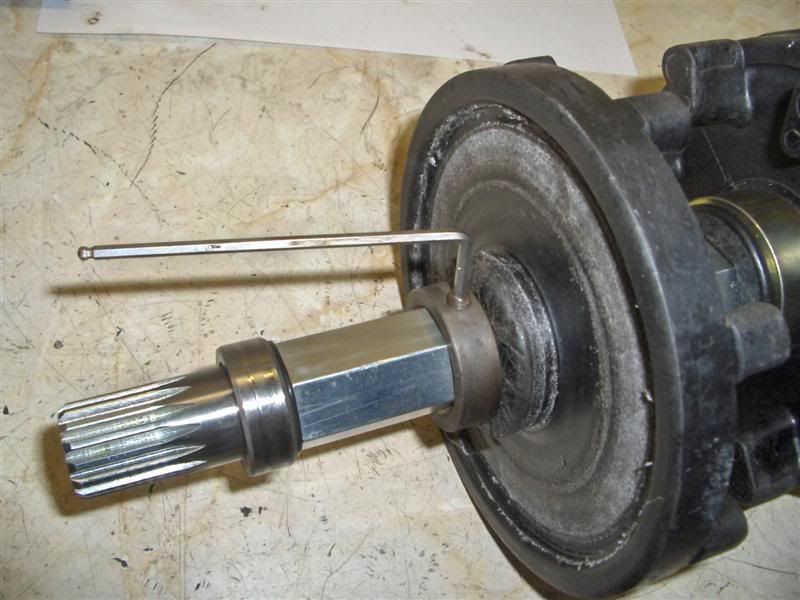
Fit the new seal. Here`s a little tip, make sure to notice where it should be mounted, it`s important to get it in the right place so that the lips on the seal will rest against the collar on the shaft.
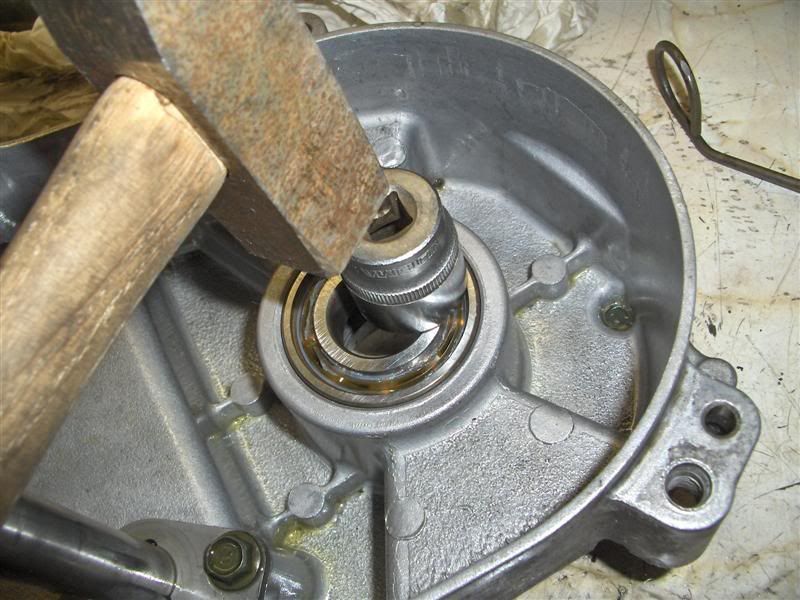
New bearing..
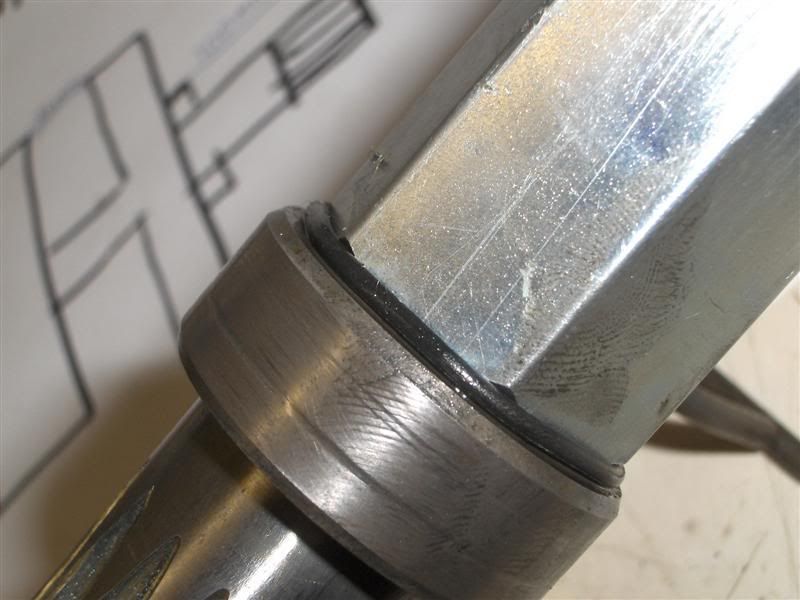
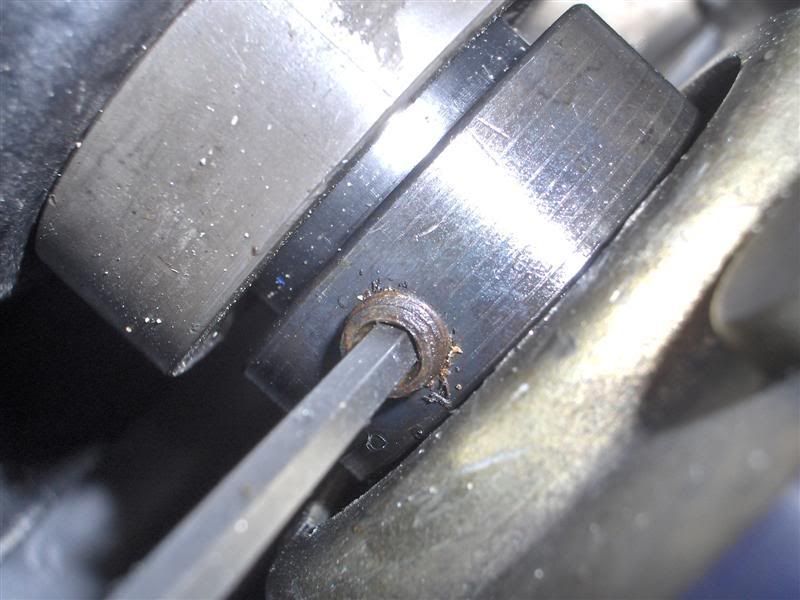
Collar I mentioned above. According to the microfiche there is suppost to be an o-ring fitted like this.. I fitted one.. seemed somewhat wierd but wellwell.
So it`s time to put the shaft back in.. . It was easy, just pushed the belt up and above the shaft then I put it in.
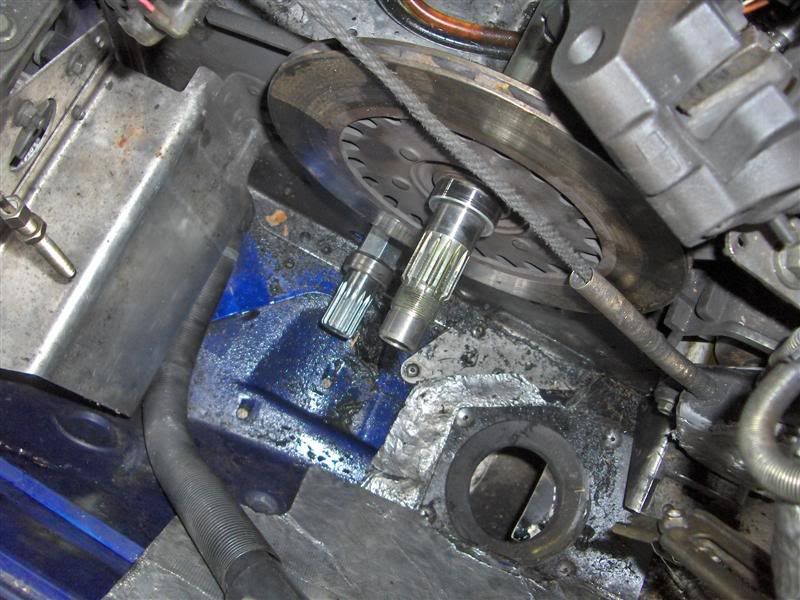
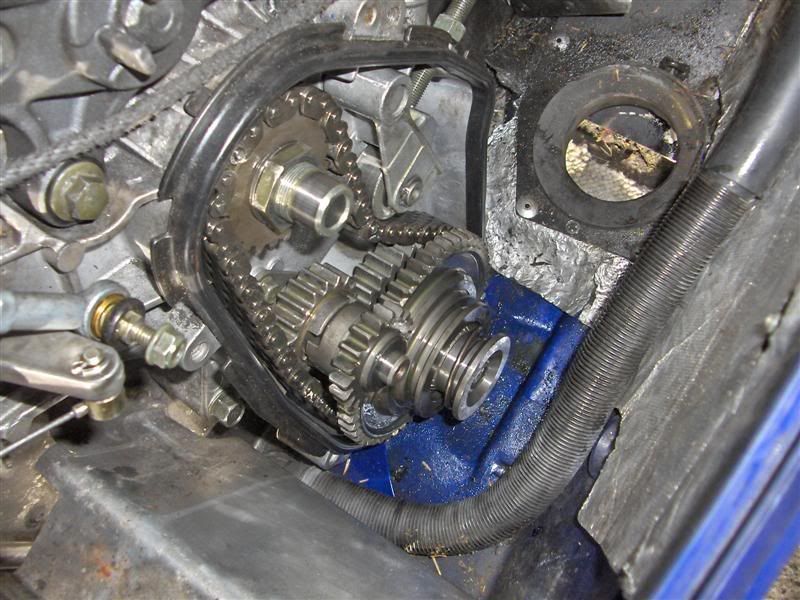
Shaft back in place. First thing I did after putting it in was to install the PTO side bearing, it only fit loose but thats just temporary. Then I fit the chaincase and installed the gears and tightened everything. It`s important to tighten the lower gear bolt before you tighten the set screw on the PTO side bearing.
Then I fit the brake disc and caliper + e brake.
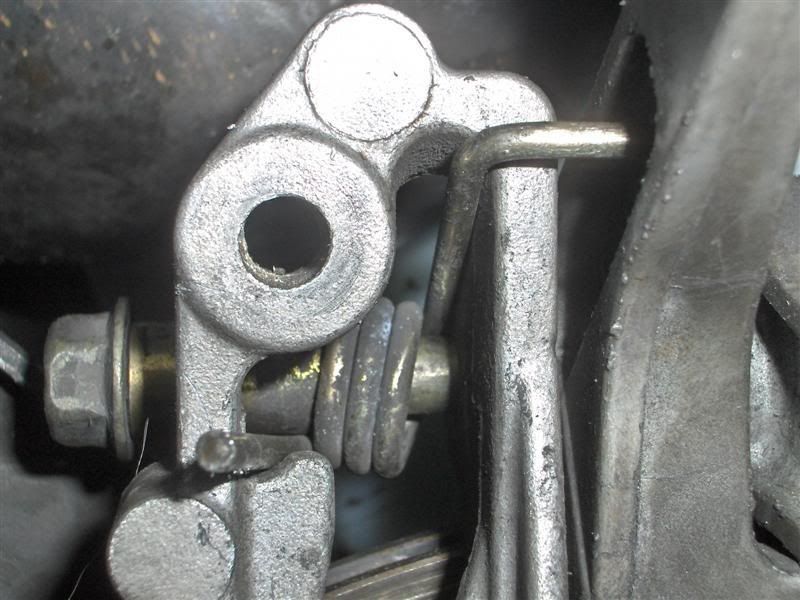
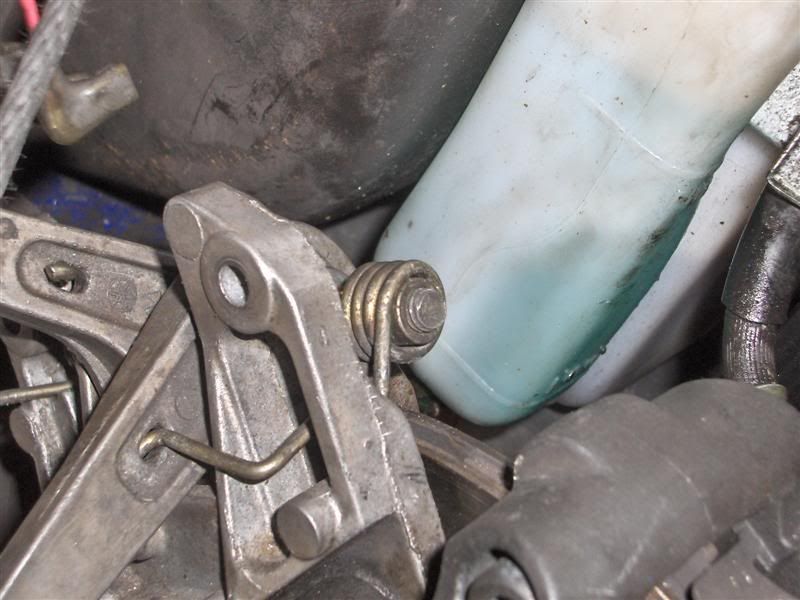
I spent a little time figuring out how the springs were suppost to be mounted.
Here are a few pics of them so that you wount have to spend an hour figuring it out.
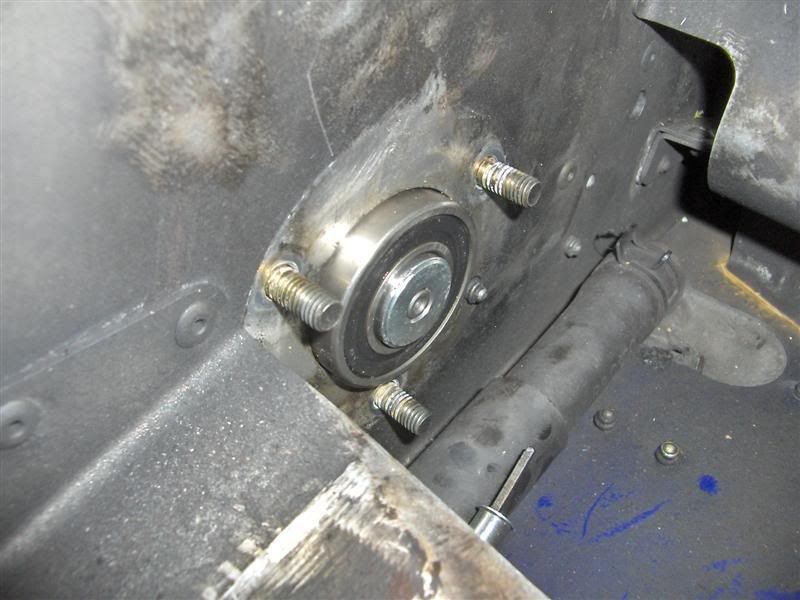
PTO side bearing. It looked somewhat un-even, but I tried tapping it gently with a hammer but there was no difference. I figure its right, since the bearing cover will support the bearing also.
Then I tightened the PTO side bearing set screw.
Then I put the primary clutch back in place, tightened it to 8 newton. (aluminium bolt).
Installed the chaincase cover and reverse gear linkage, canister etc.
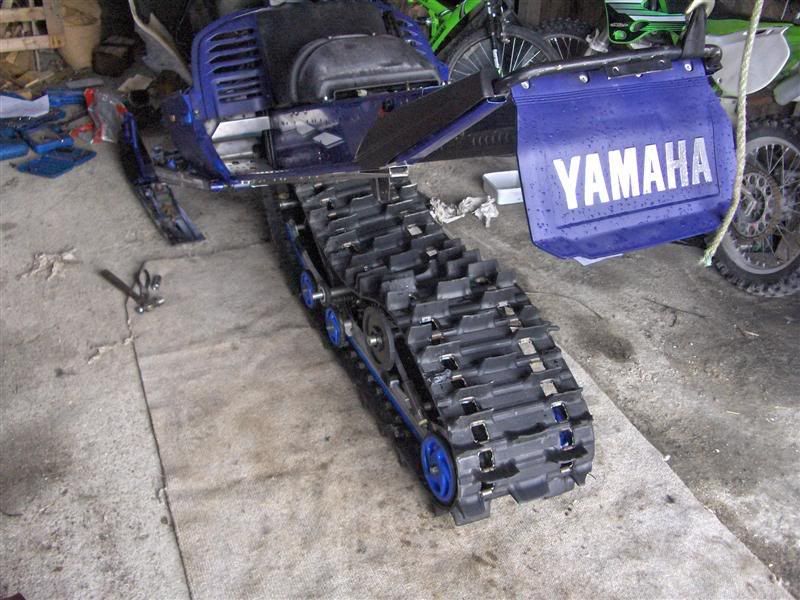
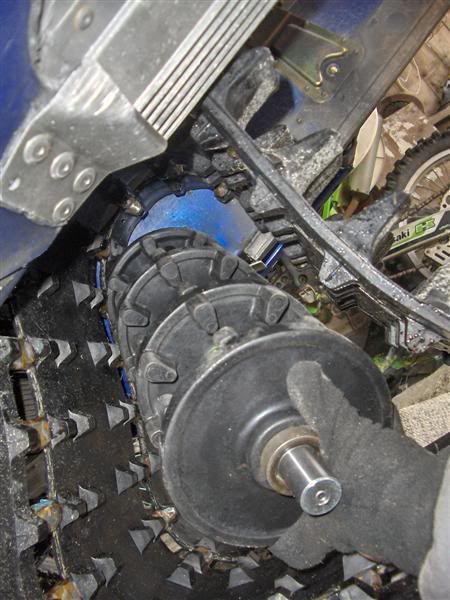
Put the skid back in.
It`s the first time I did it so I did fiddle a little before I got it bolted up, but from what I found out you have to install the front bolts first, then the rear ones and then the middle ones.
I had the sleds rear end lifted up and I lowered it down as I mounted the bolts.
It all went kind of easily for some reason.
I then tightened the track, it did seem to run a little un-even when comparing distance from belt into slides, but it did that before too so I wount worry too much about it. I measured how much the tightening bolts were sticking out before I loosened them, I measured 30mm from the end of the bolt to the skid. However I loosened it a little because I think the belt seemed tight.
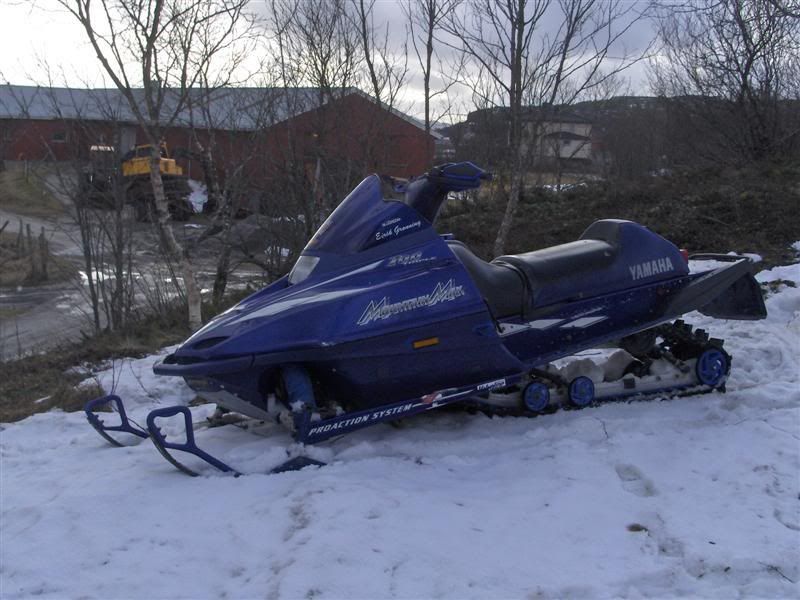
And she`s back in business")
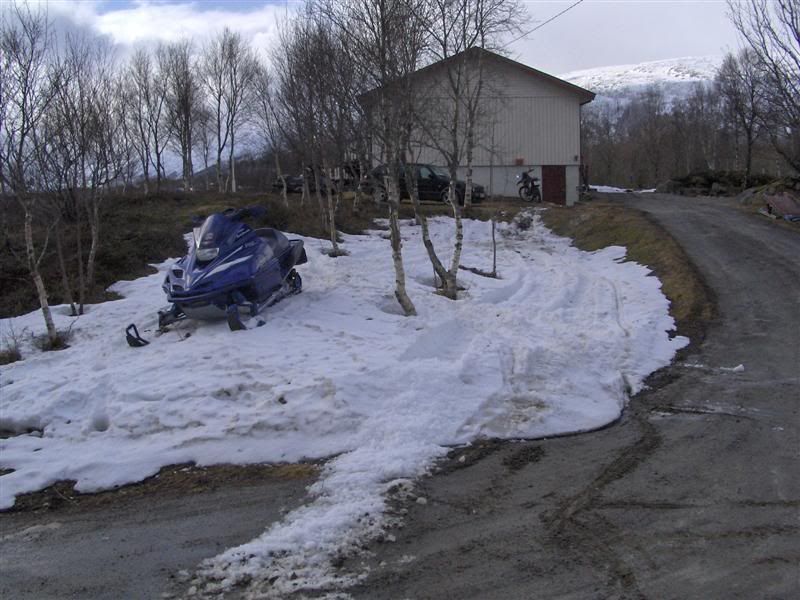
Went for a little ride on the huge snow spot hehe.
Installed the chaincase cover and reverse gear linkage, canister etc.
Put the skid back in.
It`s the first time I did it so I did fiddle a little before I got it bolted up, but from what I found out you have to install the front bolts first, then the rear ones and then the middle ones.
I had the sleds rear end lifted up and I lowered it down as I mounted the bolts.
It all went kind of easily for some reason.
I then tightened the track, it did seem to run a little un-even when comparing distance from belt into slides, but it did that before too so I wount worry too much about it. I measured how much the tightening bolts were sticking out before I loosened them, I measured 30mm from the end of the bolt to the skid. However I loosened it a little because I think the belt seemed tight.
And she`s back in business
Went for a little ride on the huge snow spot hehe
.I spent around 6,5hours on everything, will take less time the next time I think.
I hope my brother in law will get to test it before the season is over.
Well it actually seems to be over.. but like they say, "have a little faith".
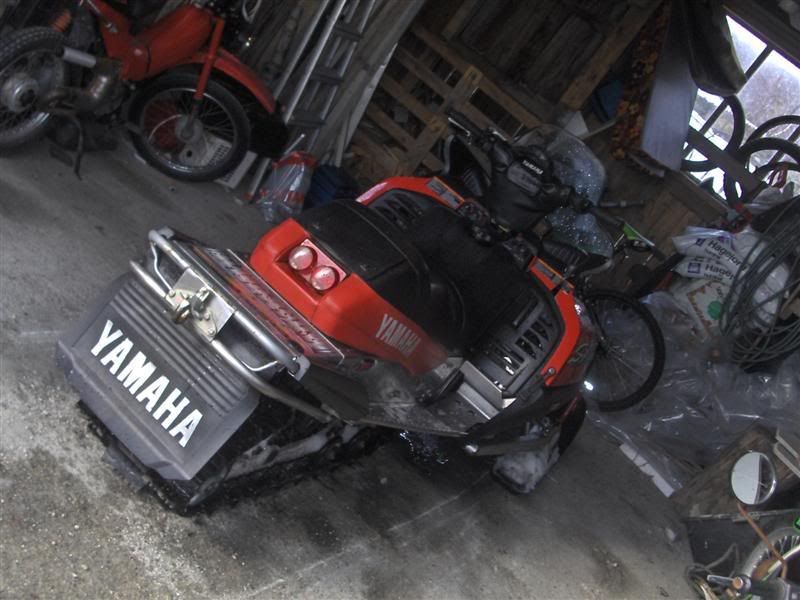
I then put the Viper in the gararge, I was going to rejet it but I had to help my dad so I`ll do the jetting tomorrow.
Wellwell thanks so much for all the replies, I really appreciate all the help I get here on the forum, makes everything so much easier.
Wellwell time to grab a coke.
I hope my brother in law will get to test it before the season is over.
Well it actually seems to be over.. but like they say, "have a little faith".
I then put the Viper in the gararge, I was going to rejet it but I had to help my dad so I`ll do the jetting tomorrow.
Wellwell thanks so much for all the replies, I really appreciate all the help I get here on the forum, makes everything so much easier.
Wellwell time to grab a coke.


I still see snow in the mountains in the background of the second last pick with your brotherin Laws sled. Now go out and test that Helmet Cam no i mean "Hat Cam"
Take Care Kimoaj
Nice job by the way
Take Care Kimoaj
Nice job by the way
Viper Treats
New member
"It`s the first time I did it so I did fiddle a little before I got it bolted up, but from what I found out you have to install the front bolts first, then the rear ones and then the middle ones."
Thats how I do it also. You can just rotate the cente shaft with a pipe wrench and it will line right up.
Thats how I do it also. You can just rotate the cente shaft with a pipe wrench and it will line right up.
BenderSRX: Yes there is stil some snow left in the mountains, and we went up there today. We had a hard time getting there because there was so little snow left in the lower parts of the mountain, and when we got higher up it was so foggy + it rained like hell, stones were starting to show under the snow etc. so conditiones werent good. However we had a heck of alot fun since it probably was our last ride.
It was my first ride on the Viper and gees I like it.
Did test the helmet cam but due to the bad weather I didn`t get any good footage, but it works brilliant.
Viper_Treats: Aha ok thanks for the tip. I was amazed by how easy it was to install the skid, maybe I was lucky.
Wellwell my brother in law and my sister didn`t come home today so I think he missed the last ride.. I`m sorry to say.. .
Wellwell
It was my first ride on the Viper and gees I like it.
Did test the helmet cam but due to the bad weather I didn`t get any good footage, but it works brilliant
.Viper_Treats: Aha ok thanks for the tip
. I was amazed by how easy it was to install the skid, maybe I was lucky.Wellwell my brother in law and my sister didn`t come home today so I think he missed the last ride.. I`m sorry to say.. .
Wellwell
pjwlk
New member
kimoaj said:Then I tightened the PTO side bearing set screw.
I've got an RX-1 with the same set up. Bearing needs replacing. Is that a press fit bearing or will it slide off if I loosen the set screws?
Thanks in advance...
redsnake3
New member
that 0-ring i think is supposed to go on the inside of the collar. i think. someone will post up if im wrong.
pjwlk: The bearing is not press fitted, you can slide it onto the shaft. Atleast that`s how it was on the MM. Guess it`s the same on the RX-1.
redsnake3: Hmm ok I thought I got it right according to the drawing, but maybe I didn`t. However I don`t think it`s a crucial part?. The seal in the chaincase should seal nicely.. .
Hmm
.redsnake3: Hmm ok I thought I got it right according to the drawing, but maybe I didn`t. However I don`t think it`s a crucial part?. The seal in the chaincase should seal nicely.. .
Hmm
Couple of things to consider:
1) The o-ring goes on the inside of the collar to seal the collar to the shaft. The collar provides a proper surface for the case lip seal to ride on.
2) The seal on the bearing actually is supposed to face the oil, leaving the backside open to the small cavity that is sealed by the case lip seal. Enough oil seeps through the seal to provide lubrication but keeps the metal particles out of the bearing.
3) pjwlk-The bearing should slide off the shaft assuming there is no damage or the bearing hasn't spun on the shaft. Loosening the track off should help greatly.
Hi crewchief47, thanks for an informative reply.
So the O-ring is suppost to prevent oil from leaking out underneath the collar?. I guess it`s unlikely but.. you never know.
Are you 100% sure about the seal on the bearing facing the seal?.
I think it sounds wierd.. but on the other hand I understand what you mean about particles ruining the bearing.
Gees I don`t to "not have faith" in you crewchieft, I just have to ask.
Joakim.
So the O-ring is suppost to prevent oil from leaking out underneath the collar?. I guess it`s unlikely but.. you never know.
Are you 100% sure about the seal on the bearing facing the seal?.
I think it sounds wierd.. but on the other hand I understand what you mean about particles ruining the bearing.
Gees I don`t to "not have faith" in you crewchieft, I just have to ask
.Joakim.
bluewho
Active member
Redsnake and crewchief are both right the collar has a o ring inside of it and the seal on the bearing goes towords the chain from the factory.Will work ether way but when the magnet falls apart on the dipstick the particals will go in the bearing.
That being said, unless you removed the origional oring from the inside of the collar, it should still be there now, there is a groove for it to sit in. The bearing seal is a topic of many a thread on here. It will most likely be fine untill you have a reason to go back into the chaincase, like when you have to change the drivers when your brother gets better on the sled. But if you find yourself bored through the summer......
Hi guys!
Aha so the collar has a groove for an O-ring, I should have seen that.. but I guess I didn`t since I wasn`t looking for it either.
I do think that the bearing seal was facing the seal when I took it apart.. I will try to look at some pics and see if I can find out wether it did or not. Maybe the chaincase has been apart before.. .
I`m sure it will be just fine the way it is so I wount "fix it" before my brother in law starts complaining about ratcheting drivers... *Crewchief.
Well thanks again this was useful info.
Joakim
Aha so the collar has a groove for an O-ring, I should have seen that.. but I guess I didn`t since I wasn`t looking for it either.
I do think that the bearing seal was facing the seal when I took it apart.. I will try to look at some pics and see if I can find out wether it did or not. Maybe the chaincase has been apart before.. .
I`m sure it will be just fine the way it is so I wount "fix it" before my brother in law starts complaining about ratcheting drivers..
. *Crewchief.Well thanks again this was useful info.
Joakim