staggs65
Moderator
something more like this


Ok, thanks! Yours looks good, haha.
Devilin AblueDress!
New member
WOW! NICE! if you guys are ever in michigan and want to practice polishing I would more than happy to turn ya loose on my sleds!

staggs65
Moderator
You did good by hand, dont take it wrong, we'll just make it look even better with some power tools
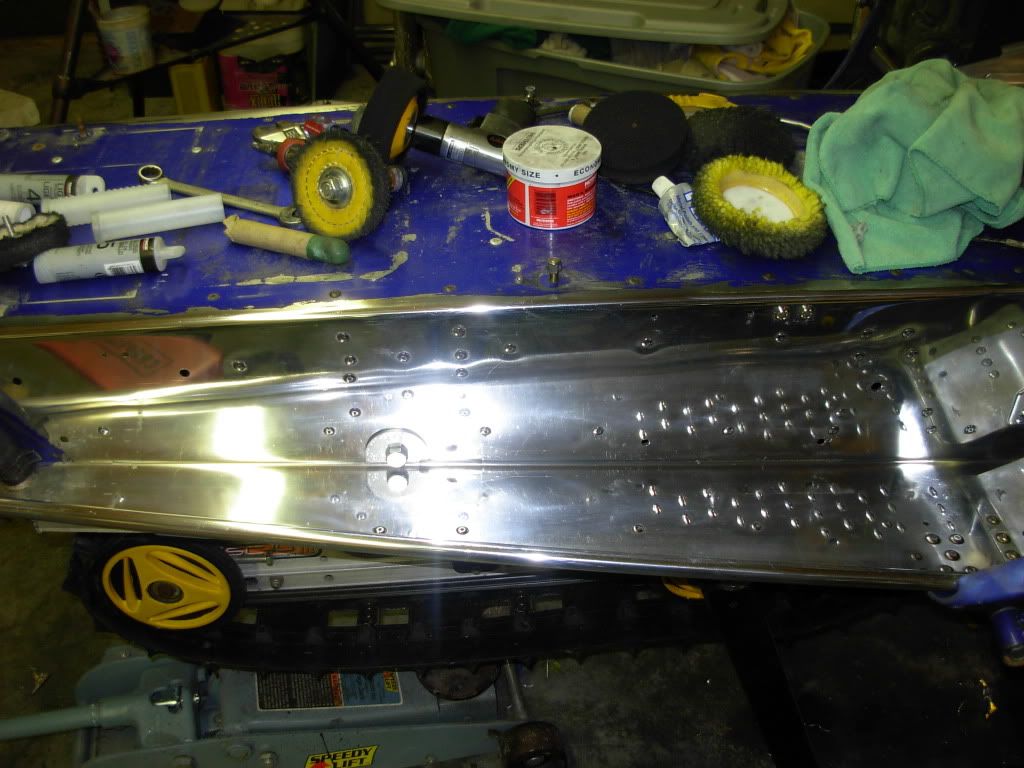
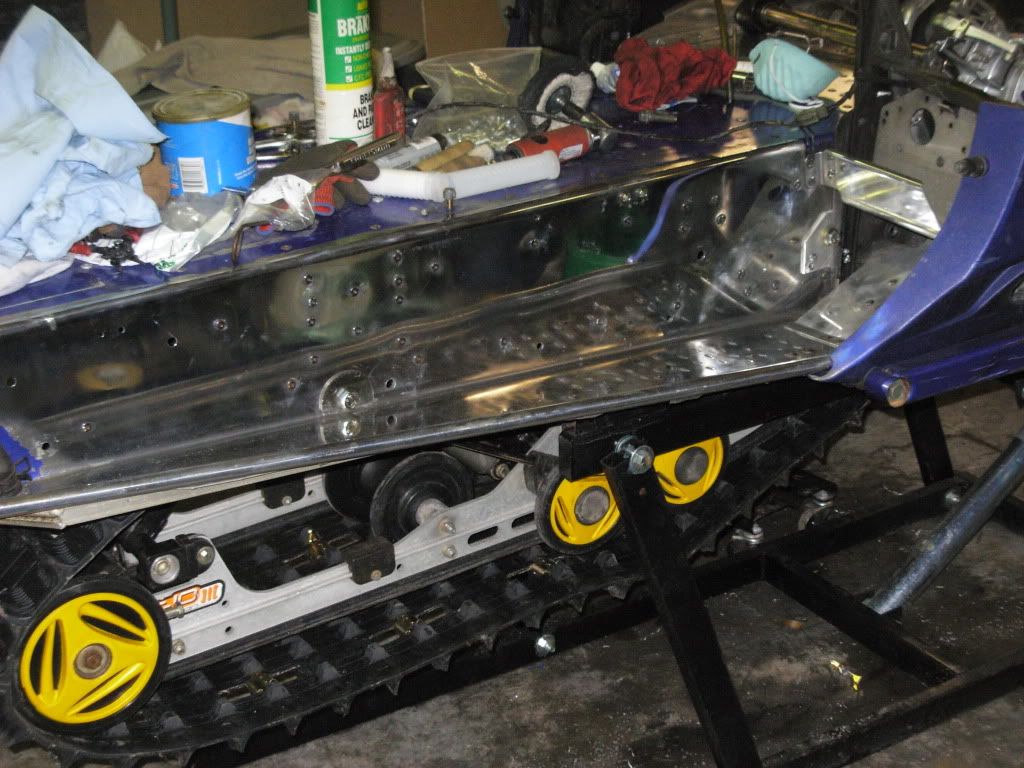
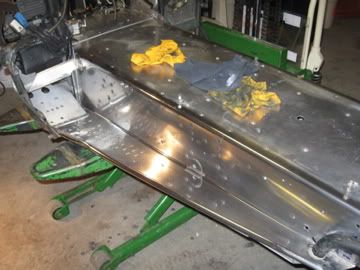
I got the tunnel sanded with 1500 and then 2500 and then i polished it. I used mothers mag and aluminum polish on the tunnel. I used my hands and a cotton t-shirt. I think it came out pretty good for the first time.


It aint goin on a show room floor.lol


It aint goin on a show room floor.lol
FJViper
New member
Looks great! Keep up the good work!

staggs65
Moderator
there you go! looks great!

Nice work!!
Thanks EVERYONE for the support! The color theme of the sled i think is going to be blue, black, and polished aluminum! That is for now at least till I decide to change my mind. If anyone has any suggestions of what to make the color theme let me know please.
Devilin AblueDress!
New member
Are you leaving tunnel raw and will be re-polishing as needed or can you clear coat it for ease of maintance? A buddy just pick up a ski dont that the stripped and polish 5-6 years ago and looks like hell now. Was thinking about doing my 99 srx 700 but dont want to HAVE to polish it all the time.
Ive never heard of putting a clear coat on the tunnel but im going to just leave it raw and polish it when needed. The hardest part of this whole thing is getting it stripped and polished for the first time. After that you can just go over it with a rag and polish. If you have any more questions let me know and I will help you out to the best of my ability.
I quickly polished the belt guard.

The middle pipe has a quick polish job on it.

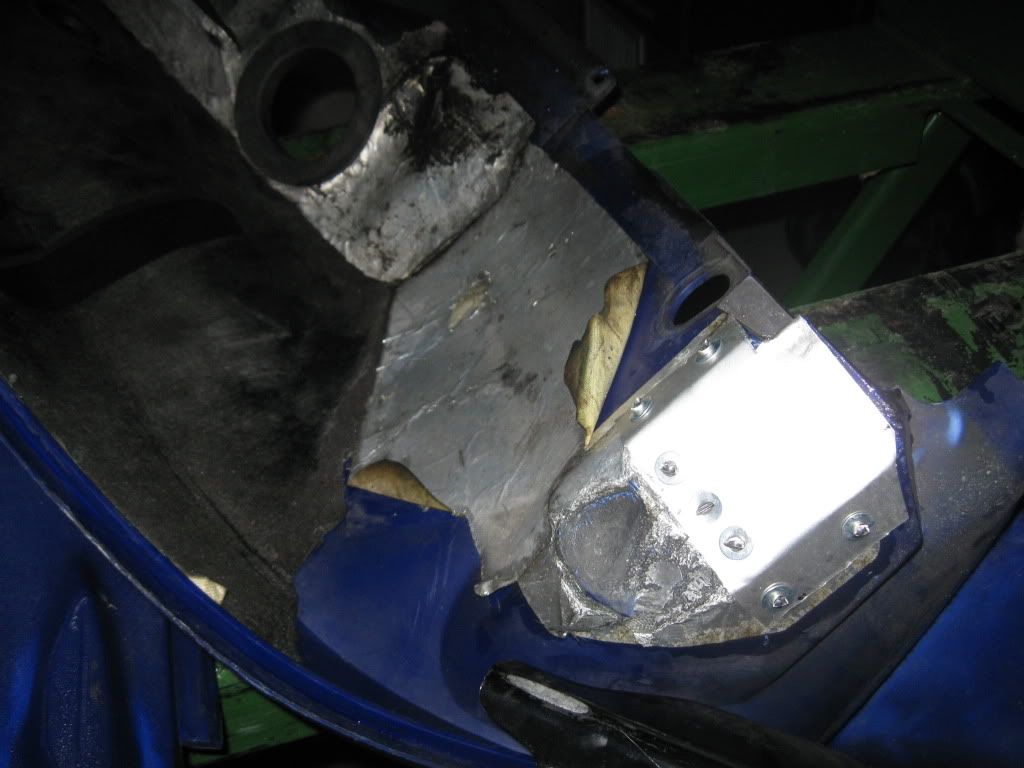
The Right side belly pan had a hole in it so I had a peice of thin aluminum and patched it. It looks good enough for my liking.


The middle pipe has a quick polish job on it.

The Right side belly pan had a hole in it so I had a peice of thin aluminum and patched it. It looks good enough for my liking.


super1c
Super Moderator
Nice, nice, work. Seeing your project now i cant wait to start mine. Your very lucky to have such a great resource to guide you through this. Cant wait to see the end product.
bluewho
Active member
Nice little patch but the top rivots will wear into the pipe.I would make it a little longer and cover the rest of the melted area,
.
.
.
.
viperking
Active member
Looks Great! I wish I was as ambitious on my projects as you are. Mine just tend to sit there and not do themselves lol
jaws jr
New member
My summer project is putting an artic skid in my 99, what you need for parts?
super1c said:Nice, nice, work. Seeing your project now i cant wait to start mine. Your very lucky to have such a great resource to guide you through this. Cant wait to see the end product.
Thanks for the compliment, I know that I would not be able to do this by my self. Thanks to all of you guys with your support and help.
viperking
Active member
Let me know when you guys figure out what all you need for parts and I'll see what I have, also if you want to go with the black theme i do have a black skidplate for sale if you are interested in adding one

staggs65
Moderator
x2, Josh, for that patch you should probably put the rivets down through from the inside instead of up through from the outside. you'll ever see the underside anyways.bluewho said:Nice little patch but the top rivots will wear into the pipe.I would make it a little longer and cover the rest of the melted area,
.
.
