Cooper0809
New member
Cooper0809
New member
i would fuse the shield wire just in case it should short out. better than frying the electrical system.
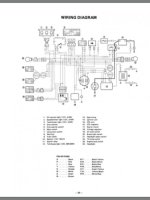
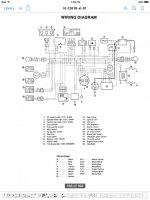
for your wiring diagram, look at #16. thats the mag/stator. on the left exiting you see the wire with the WH, thats the white wire. follow it to #8, the rectifier. on the opposite side of the rectifier is the R wire(red), follow it to #9, the fuse and then to #10, the battery. #11 is the relay for the starter. if you stare at that diagram for a bit and decipher the color codes, reading them is fairly straightforward.
now go back to the stator and on the right you see a wire with a W/R. thats white with a red tracer. it goes directly to the cdi box and you never see a w/r wire again anywhere in the diagram. thats where you confused me. someone may have spliced along the way, who knows. stare at the picture and it will all make sense.
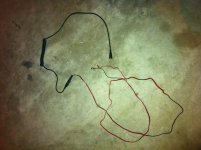
as for that shield wire, i would go directly off the battery, depending on the needed voltage supply and assuming its dc.
Cooper0809
New member
All makes perfect sense! And very simple to understand now. Thanks a lot snowdad! It's all the way it should be. I'm going to run it right off the battery. I think it'll be safer that way instead of fusing it into the system. I believe it is DC. Thanks again for all the help!��
Cooper0809
New member
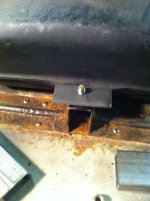
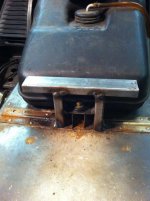
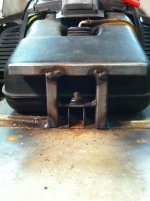
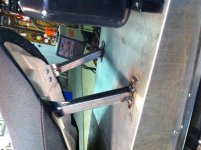
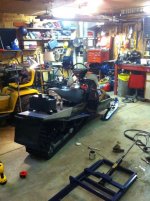
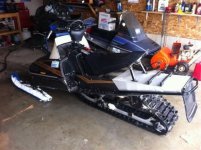
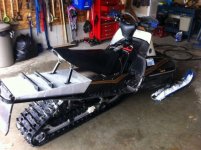
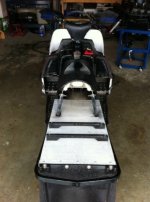
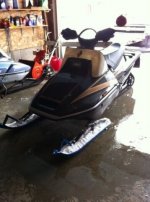
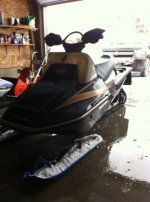
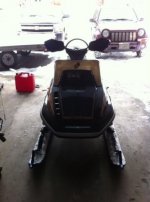
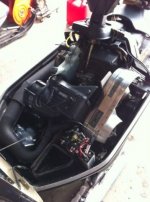
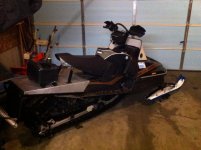
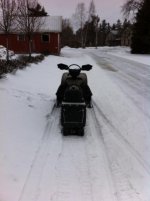
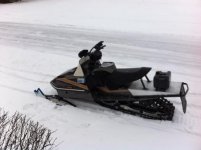
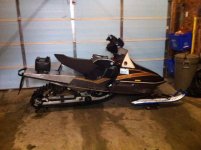
Finally all finished! Actually I still need to hook up the hand warmers. But the seat bracket is all finished.
image.jpg (75.7 KB)
image.jpg (82.0 KB)
image.jpg (77.5 KB)
image.jpg (97.1 KB)
image.jpg (102.8 KB)
image.jpg (75.7 KB)
image.jpg (82.0 KB)
image.jpg (77.5 KB)
image.jpg (97.1 KB)
image.jpg (102.8 KB)
Attachments
yamahamark
Member
Looks great. Nice job on the bracket.
Cooper0809
New member
Thanks mark!
Nice! Lets hope we finally get some white stuff that stays on the ground....
Cooper0809
New member
Ya for sure! We need the ground to freeze more than anything...I'm hoping this Texas low will bring at least 5-10cm so i can try the 540.
Vincent
Well-known member
Hey.We ended up getting 14 inches of snow Yesterday! You guys get much? Did you get to try out you toys?
yamahamark
Member
Here in southwest Michigan we go .5 inches of ice and a coating of snow still see the grass..
Cooper0809
New member
Wow!! We got about 5" and I did take the 540 out and it's a beast! But I guess there's a vent on the back of the chaincase and I guess for some reason the vent let out some oil so I thought it might've been the seals since there probably the originals. Nope, they were fine but I ordered some anyways. So I've got chaincase off now waiting on seals. But man does thing ever go like stink!!
Vincent
Well-known member
Awsome to hear!
Cooper0809
New member
I think I put too much in now that I remember. Oh well, it's apart now so I'll wait for new seals then reinstall!
YoungNwrenchin
New member
That's it I read this forum for a couple hours jus for it to end like this? I gotta see the finished product I'm doin the same build and it would definitely help me push to finish it very inspiring!! Great sleds tho can't wait for my new skid yours looks great!!!
Cooper0809
New member
Cooper0809
New member
image.jpg (78.0 KB)
image.jpg (50.9 KB)
image.jpg (58.4 KB)
image.jpg (55.2 KB)
image.jpg (66.4 KB)
image.jpg (84.3 KB)
image.jpg (85.3 KB)
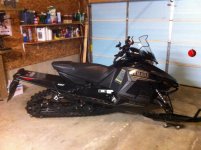
Last picture looks pretty close to the new toy. Funny how that turned out!
image.jpg (50.9 KB)
image.jpg (58.4 KB)
image.jpg (55.2 KB)
image.jpg (66.4 KB)
image.jpg (84.3 KB)
image.jpg (85.3 KB)
Last picture looks pretty close to the new toy. Funny how that turned out!
Attachments
Cooper0809
New member
Miss that sled, wish I hadve kept it. Took all year to build, rode it a few times and realized it's not trail worthy. Rear suspension was great! Just nothing up front. Handled pretty well considering, but it's a powder sled and that's where it belongs! My buddies built a couple of them with 162"s and went up to haliburton area to ride the power lines this past season and they said they made some pretty big climbs with them! They work very well in the powder, not so much on the trails. Good luck with the build! You should start a build thread, I wouldn't mind following your build. If you need any help just ask! I'm starting a new job so I will be very busy...so I may not respond right away. Cheers!
jjmoneysauce
Member
So if you were going to approach this build again, what if anything would you do differently?
I'm looking at stretching out an XLV skid to get a little more float. Longer term I might do a TSS conversion. New VK parts should be starting to turn up at wreckers.
I'm looking at stretching out an XLV skid to get a little more float. Longer term I might do a TSS conversion. New VK parts should be starting to turn up at wreckers.

