super1c
Super Moderator
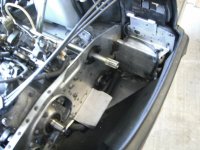
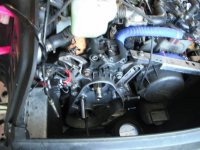
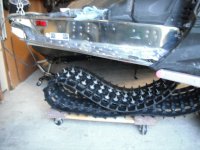
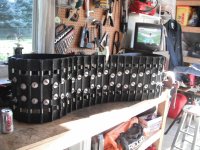
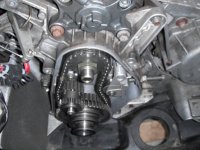
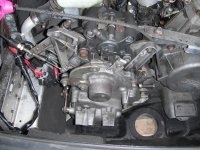
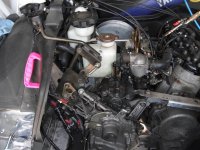
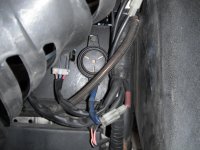
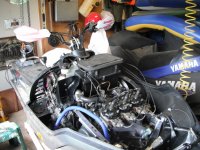
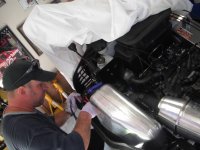
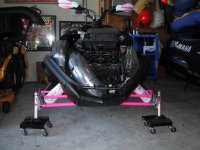
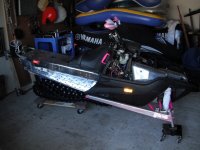
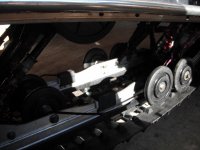
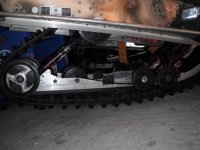
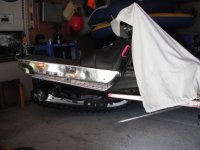
Got to some of the bigger items on the reassemble today. We got the track studded and installed. The lug pattern was a bit limiting in studding because i dont like to leave studs exposed (no lug in front or behind). So i went with a 3 stud V pattern. Turned out nice. Got the chain case in but no guts yet. Took long enough to do this and get the jackshaft and speedo squared away. Once the sun gets to 3 O'clock around here its directly into my garage and way to hot to work. Learned that lesson while polishing the tunnel. Few pic's. Sorry for the blur had grease on the lense.
Attachments
gil7247
VIP Member
Lookin good Chris!!

super1c
Super Moderator
Thanks were getting their. I would like to get this one done by the end of august as i have reverses to install and pv valves to clean on the other 2 yet.
tippmannator
New member
lookin good!! 

Nice work man! 


super1c
Super Moderator
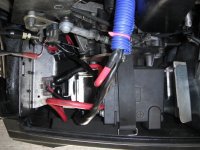
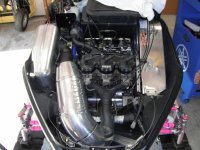
Dont look now but its starting to look a lot like a snowmobile again. Got the reverse done. Not a bad job at all. Directions in tech section and a quick reference from the manual now and then was all i needed for my first reverse install. The other 2 will be a piece of cake now. Please comment if you see anything wrong or out of place. Was not sure on the reverse beeper wiring and such so i just went with what worked. Then i threw in the air box and a few odds and ends to get it off the shelves. Going to work on battery mount for e-start tomorrow. Few pics!!!
Attachments
tippmannator
New member
looks good from my house  but really, its really coming along well!
 but really, its really coming along well!
Wow you got a great deal on that sled, good to see that you are going through it, nice work!
Looks like my ERs Chris. If you end up needing any nitnoid things for the linkages let me know. Heck I even got a new handle IIRC. They're NIP items so holler with a part number. They're just sitting in my spares drawer of my tool box. She's looking great.

super1c
Super Moderator
Got the battery mounted today. I wanted to use the small light weigh battery that came with my e start cause it works good yet but i wanted it set up so when the battery dies off i can just go to a regular battery. So i mounted the stock battery tray and put the light weight battery on its side. I looked up the battery manual and it says it can be mounted in any position so we will see. Then my next problem was the harness i had was from the older style e starts so it was short. I just soldered a extension on the positive lead and now it reaches fine. The battery seems nice and tight in the tray when strapped down. Seems to be secured and the harness is out of the way of any moving parts. I dont know where the harness runs for sure so i went with what i did with my other vipers. If anyone has a pic of the correct wire harness route that would be great. The manual is hard to follow. Also got the exhaust in, of course i have a spring that flew off into the depths of the belly pan. I spent an hour looking and no luck  Few pics of today. The daughter was behind the camera today so sorry for the cockeyed pic. She says it adds flare
 Few pics of today. The daughter was behind the camera today so sorry for the cockeyed pic. She says it adds flare
Attachments
gil7247
VIP Member
That's turning out to be an awsome lookin sled Chris.
tippmannator
New member
this build rocks chris! looking great! i showed my son (he is 4) the pics of this build and he got all excited and said "daddy, you buy me snowmobile and do that with me!" anyone with kids will understand when i say that is a proud moment!
anywa, would love to see a "full body" pic or so, of current state, to see the full progress. unless your saving those for dramatic affect
anywa, would love to see a "full body" pic or so, of current state, to see the full progress. unless your saving those for dramatic affect


super1c
Super Moderator
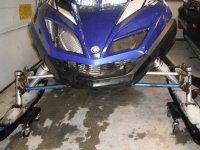
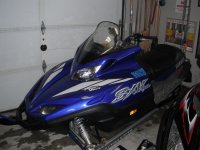
Here ya go! Its come a long way since march. Now just need to get the skid installed, waiting on hyfax. Hood together and on. Skid plate, still deciding between the ultra 2 and hole shot. A few misc items, adjust all cables and front end. A good cleaning and ready for snow!! Few pics, before and after. I even see some snow in the before pic's! LOL!
Attachments
Last edited:
Your daughter has awesome taste, if she ever wants to design a new color scheme for an Apex Mtn let me know lol
tippmannator
New member
NICE!! i saw the snow too and my thumb started twitching uncontrollably 


super1c
Super Moderator
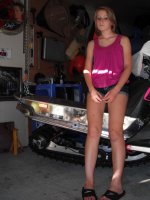
THE LAST OF THE GRUNT WORK IS DOOOOOOOONNNNNNNE. YEEEE HAAAA! Got the skid in and bolted up. Went pretty well overall. Best one yet. It really helped with elizabeth on the chain hoist helping line it up. She looked thrilled to be in my hot garage didnt she! Usually its just me with one leg on the chain and then trying to bolt it in. Not a pretty site. Few pic's
Attachments
gil7247
VIP Member
That's gonna be one great lookin sled. Thanks for sharing the build with all of us. I know I have learned alot. Gil
A couple of bucks
VIP Member
Now here's a question to mull over.........Are ya going to let her drive it to school?
A couple of bucks said:Now here's a question to mull over.........Are ya going to let her drive it to school?
Million dollar question right there. Sled would get some double takes!
A couple of bucks said:Now here's a question to mull over.........Are ya going to let her drive it to school?
That was the best part about high school, riding sled to school. Man I sure miss those days.

